Your Guide to Using an AI Video Quality Enhancer
An AI video quality enhancer is a tool that uses artificial intelligence to automatically sharpen, clean up, and improve your footage. Think of it as an expert editor in a box, capable of turning subpar video into professional-grade content without you needing to spend hours manually tweaking settings.
Why AI Video Enhancers Are Such a Big Deal
We've all been there. You shoot what you think is the perfect clip, only to find it's grainy, a bit blurry, or the colors just look flat and lifeless. In the past, fixing that meant diving into complex software and painstakingly editing your video frame by frame. This is precisely where an AI video quality enhancer completely changes the game.
Instead of you having to make all the adjustments manually, these modern tools use smart algorithms to analyze your video and intelligently reconstruct the data. This automates incredibly tedious tasks that used to be reserved for seasoned video editors with years of experience.
Moving Beyond Traditional Editing
Traditional video editing software gives you a powerful set of tools, but you're the one who needs to know how to use them effectively. AI enhancers flip that script—they do the heavy lifting for you.
Let's break down the difference with a few real-world examples:
-
Upscaling Resolution: If you've ever tried to manually stretch a 1080p video to fit a 4K screen, you know it usually ends up looking soft and pixelated. An AI doesn't just stretch the pixels; it intelligently creates new ones, resulting in a genuinely sharp and detailed image.
-
Denoising: Getting rid of that distracting grain or digital noise in low-light footage used to be a trade-off. You’d clean up the noise but often lose important details, leaving the video looking plasticky. AI is smart enough to tell the difference between unwanted noise and essential textures, so it cleans up the footage while keeping it looking natural.
-
Color Correction: Mastering cinematic color grading is an art form that can take years. AI algorithms can analyze your footage and correct exposure, fix white balance, and boost saturation to perfect levels, all in a matter of seconds.
To better illustrate this shift, here’s a quick comparison of the old way versus the new way.
Traditional Editing vs AI Enhancement A Quick Comparison
This table highlights just how much time and effort AI can save you on common video enhancement tasks.
| Enhancement Task | Traditional Method (Time/Effort) | AI Enhancer Method (Time/Effort) |
|---|---|---|
| Upscaling 1080p to 4K | High. Involves complex plugins and often produces soft results. | Low. A one-click process that generates genuine detail. |
| Denoising Grainy Footage | Medium to High. Requires careful masking and balancing to avoid detail loss. | Low. AI automatically identifies and removes noise while preserving textures. |
| Basic Color Correction | Medium. Requires manual adjustments of scopes, curves, and color wheels. | Very Low. Often a single-click auto-correction or simple slider adjustments. |
| Frame Rate Conversion | High. Can be a very technical process prone to artifacts and stuttering. | Low. AI generates smooth, new frames for seamless slow-motion. |
What this table really shows is a fundamental change in how we approach video creation. The AI is no longer just a simple filter; it's an intelligent partner in the editing process.
This isn't just a niche trend. The global market for video enhancement AI was valued at USD 1,077.7 million and is on track to hit USD 7,166.0 million by 2030. That's because modern AI tools deliver up to 78% greater efficiency than old-school methods, making incredible results accessible to everyone.
The real benefit here is democratization. Professional-level video restoration and enhancement are no longer locked away behind a steep learning curve or an expensive software license.
To get a feel for what’s out there, it’s worth taking a moment to explore the 12 best AI tools for video editing and see how these features are being built into modern platforms.
Integrated solutions like Auralume AI (https://www.auralumeai.com/) are taking this even further by bringing all these powerful restoration and enhancement tools into a single, cohesive workflow. This means you can go from a rough cut to a polished final product faster than ever before.
Your Workflow for Enhancing Video with AI
Alright, let's move from theory to action. This is where the real fun begins. I’m going to walk you through a practical workflow for taking a standard video clip and giving it a serious upgrade with an AI video quality enhancer. This isn't about slapping on random filters and hoping for the best; it's a strategic, step-by-step process that tackles specific problems to get you a polished, professional result.
The first thing I always do is a quick diagnosis. Before touching a single setting, you have to really look at your source footage. What are its biggest flaws?
- Low Resolution: Does it look a bit soft or pixelated, especially when you blow it up on a bigger screen? Is fine detail missing?
- Digital Noise: Can you see that grainy texture, particularly in the shadows or dark parts of the image? This is a classic sign of shooting in low light.
- Choppy Motion: Does the movement feel jerky or just a little unnatural? You'll see this with low frame rate footage, or when you're trying to create a slow-motion effect that the original footage can't support.
- Flat Colors: Do the colors look washed out and dull? Maybe the white balance is off, giving everything a weird blue or yellow tint.
Once you’ve pinpointed the main issues, you can attack them in a logical order—the same way a seasoned editor would. Integrated platforms like Auralume AI are actually built around this exact progression, so the tools you need are right where you'd expect them to be.
Start with Upscaling for Clarity
Resolution is your foundation. Get this right first. If your original footage is 720p or even 1080p but your goal is a razor-sharp 4K output, upscaling has to be your first move. An AI upscaler is brilliant because it doesn't just stretch the pixels; it intelligently rebuilds the image, literally creating new detail that wasn't there before.
Think about it: you’ve got a drone shot of a beautiful landscape. It looks okay on your phone, but on a 4K monitor, it just falls apart. By running it through an AI upscaler first, you create a much cleaner, more detailed canvas for every other enhancement you're about to make.
This is the core idea—AI isn't just filtering your video. It's fundamentally reconstructing it from the ground up for a far superior result.
Clean Up with Intelligent Denoising
Now that you have a high-resolution base to work with, it’s time to scrub out all that distracting visual noise. AI denoising tools are fantastic at this. They’re smart enough to tell the difference between unwanted grain and important details, like the texture on a coat or the bark on a tree.
I always apply the denoiser after upscaling. This gives the AI the maximum amount of image information to analyze, which results in a clean image that doesn't look overly smooth or "plastic-y."
Smooth Out Motion with Frame Interpolation
If you're chasing that silky-smooth slow-motion effect or just want a standard clip to feel more cinematic, frame interpolation is your next stop. The AI looks at the motion between the frames you already have and then generates entirely new ones to fill in the gaps.
This technique is a complete game-changer. What once required incredibly expensive high-speed cameras can now be pulled off right in the editing suite. It’s an easy way to add a high-end feel to otherwise ordinary footage.
For instance, you can take a standard 30 frames-per-second (fps) clip and effortlessly convert it to 60 fps for buttery-smooth playback. Or you can slow it way down without the horrible stuttering you'd get using older, non-AI methods.
Finalize with AI-Powered Color Grading
The final touch is always color. With the video's structural problems—resolution, noise, and motion—all fixed, you can finally focus on the look and feel. AI color grading can instantly fix common issues like bad exposure or white balance.
But its real strength is in setting a mood. With just a click, you can apply a cinematic look that makes your footage feel warm and nostalgic, or maybe cool and futuristic. Because the AI understands what's in the scene, it makes these changes intelligently. It will keep skin tones looking natural while pushing the colors in the background to create the vibe you're after.
To really get your workflow dialed in, it helps to see how different tools compare. Checking out a good video production software comparison is a great way to find the platform that best fits your needs.
Choosing the Right AI Settings for Your Project
Jumping into an AI video quality enhancer without a strategy is a bit like cooking without a recipe—you might get something edible, but you won't get a masterpiece. The settings you choose are everything. A one-size-fits-all approach just doesn't work if you're after professional results. The right adjustments can bring your footage to life, but the wrong ones can make it look artificial and over-processed in a heartbeat.
The real secret is to match the AI model and its parameters to your specific type of video. After all, not all footage is created equal, and neither are the algorithms designed to improve it.
Matching the AI Model to Your Footage
First, take a hard look at your source material. What are you actually working with? Are you trying to bring a compressed, decades-old family video back from the brink, or are you upscaling a clean 1080p clip to a crisp 4K? Each job requires a completely different tool.
-
Restoration Models: These are your heavy lifters, built to tackle nasty compression artifacts, film grain, and faded colors. They’re more aggressive in how they reconstruct information, which is great for damaged video but can sometimes soften the fine details in high-quality footage.
-
Upscaling Models: These are more delicate and designed for clean, modern video. Their main purpose is to intelligently add detail and sharpness without messing with the original character of the shot. This makes them perfect for turning your HD footage into brilliant 4K or even 8K.
If you use a restoration model on a clean clip, you risk getting that waxy, unnatural look. On the flip side, a standard upscaling model just won't have the muscle to fix a truly degraded video. This is why having a choice of models, like you’d find in a platform such as Auralume AI, is so critical.
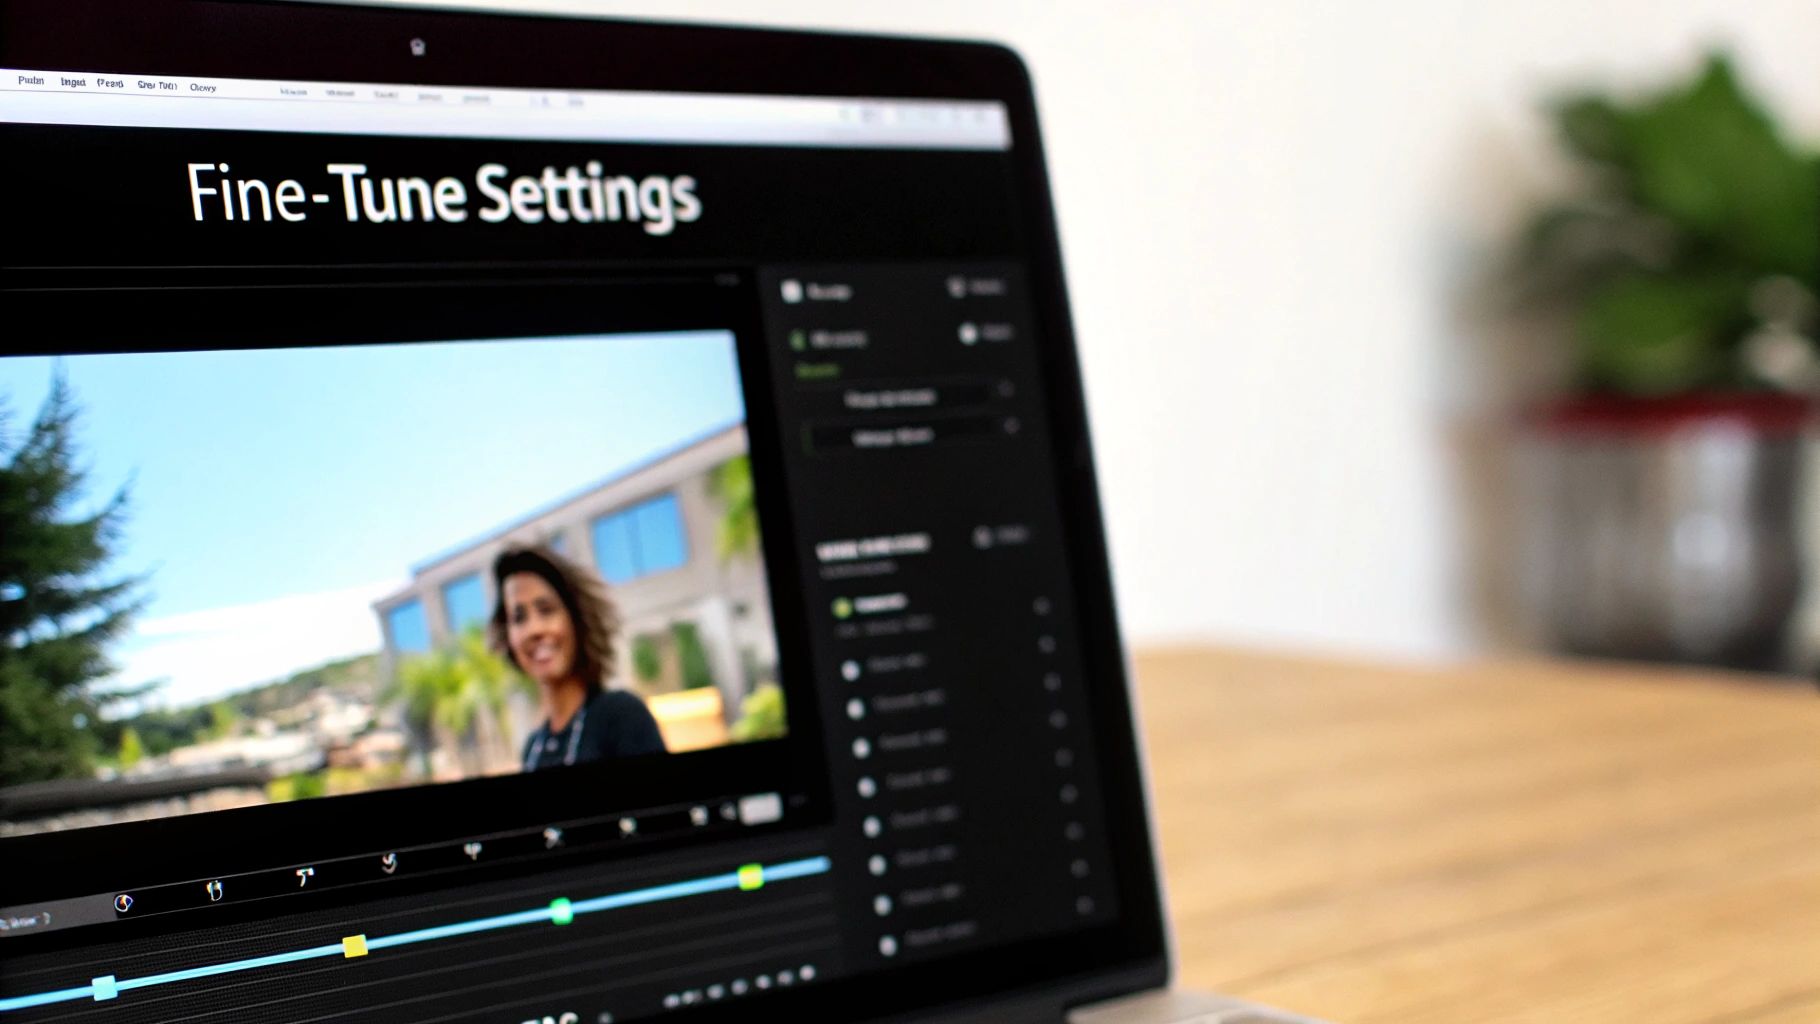
Fine-Tuning Key Parameters
Once you've picked the right kind of model, it’s time to get your hands dirty and dial in the settings. My advice is to always start with low values and nudge them up gradually. Keep previewing and comparing the result to your original clip—your eyes are the final judge.
The goal of an AI video quality enhancer isn't to make the footage look heavily fixed; it's to make it look like it was shot better in the first place. Subtlety is your most powerful tool here.
You'll generally be working with three main sliders:
-
Enhancement Strength: This is the master control for the AI's overall effect. Cranking this too high is the fastest way to get that dreaded "over-processed" look.
-
Sharpness: Tread carefully with this one. Too much sharpening creates ugly, unnatural halos around edges and can make any existing noise in the video even worse.
-
Noise Reduction: A real lifesaver for footage shot in low light. But if you overdo it, you'll strip away all the natural texture and detail, leaving your talent with a flat, "plastic" appearance.
The growth in this field is just staggering. The entire AI video market is already a USD 11.2 billion industry, and the fastest-growing piece of that pie is video enhancement. This specific niche is expected to expand dramatically, which shows how essential these tools are becoming in modern video workflows. You can dig into the projections for the AI video market on market.us to see the data for yourself. This trend is exactly why learning to master these settings will give you a real competitive edge.
Advanced Techniques for Professional Results
Once you’ve got the basics down, it’s time to dig into the techniques that really separate the good results from the great ones. This is where you move past simple, one-click fixes and start crafting a polished, intentional final product. You’ll begin to think less like a technician and more like an artist, with AI as your precision tool.
One of the most powerful pro-level methods is selective enhancement. Instead of blasting a single sharpening or denoising filter across your entire video, you can apply different levels of intensity to specific areas. Think about it: you might want to sharpen the intricate details on a product in the foreground but leave the background slightly softer to create a more natural depth of field. This careful approach is what helps you avoid that “over-processed” look that screams amateur.
Crafting a Unique Aesthetic with AI Color Grading
AI-powered color grading is another area where you can really start to flex your creative muscles. Sure, auto-correction is fantastic for a quick fix, but the real magic happens when you start building a distinct aesthetic that tells your story. Don't just settle for accurate colors—use the AI to create a mood.
Let’s say you're editing a travel vlog. You could use AI to push the greens in jungle footage for a lush, vibrant feel, or add warm, golden tones to a sunset shot to make it feel nostalgic. The idea is to move beyond simple correction and into creative expression, making deliberate choices that amplify the emotional punch of your video.
Combining AI Generation with Enhancement
Here’s a truly forward-thinking technique: blending AI video generation with enhancement. Imagine creating a completely unique animated logo or a short, abstract background clip from scratch using a platform like Auralume AI. The generated clip might be visually stunning, but it probably won’t be at the final resolution you need.
This is where a complete workflow comes into play.
- Generate: Create your unique video clip using a text prompt or an image.
- Enhance: Run that brand-new clip through an AI video quality enhancer.
- Integrate: Upscale it to 4K, clean up any minor artifacts, and make sure it seamlessly matches the quality of the other clips in your project.
This process gives you almost limitless creative potential. You can produce custom visuals that are polished and ready for any high-resolution screen.
The real game-changer with modern AI is efficiency. Advanced processes that once took hours of meticulous, manual work can now be knocked out in minutes. This fundamentally rewrites video production timelines.
These massive time savings are all thanks to breakthroughs in machine learning. For example, a color grading session that used to take 2 hours can often be automated in just 2 minutes. Complicated audio sweetening can be cut down from 30 minutes to 2 minutes. When you add it all up, the total production time can be slashed by about 90%. You can read more about these video enhancement AI tool market trends to see the full picture. This incredible speed frees you up to focus on what matters most: creativity.
Troubleshooting Common Enhancement Issues
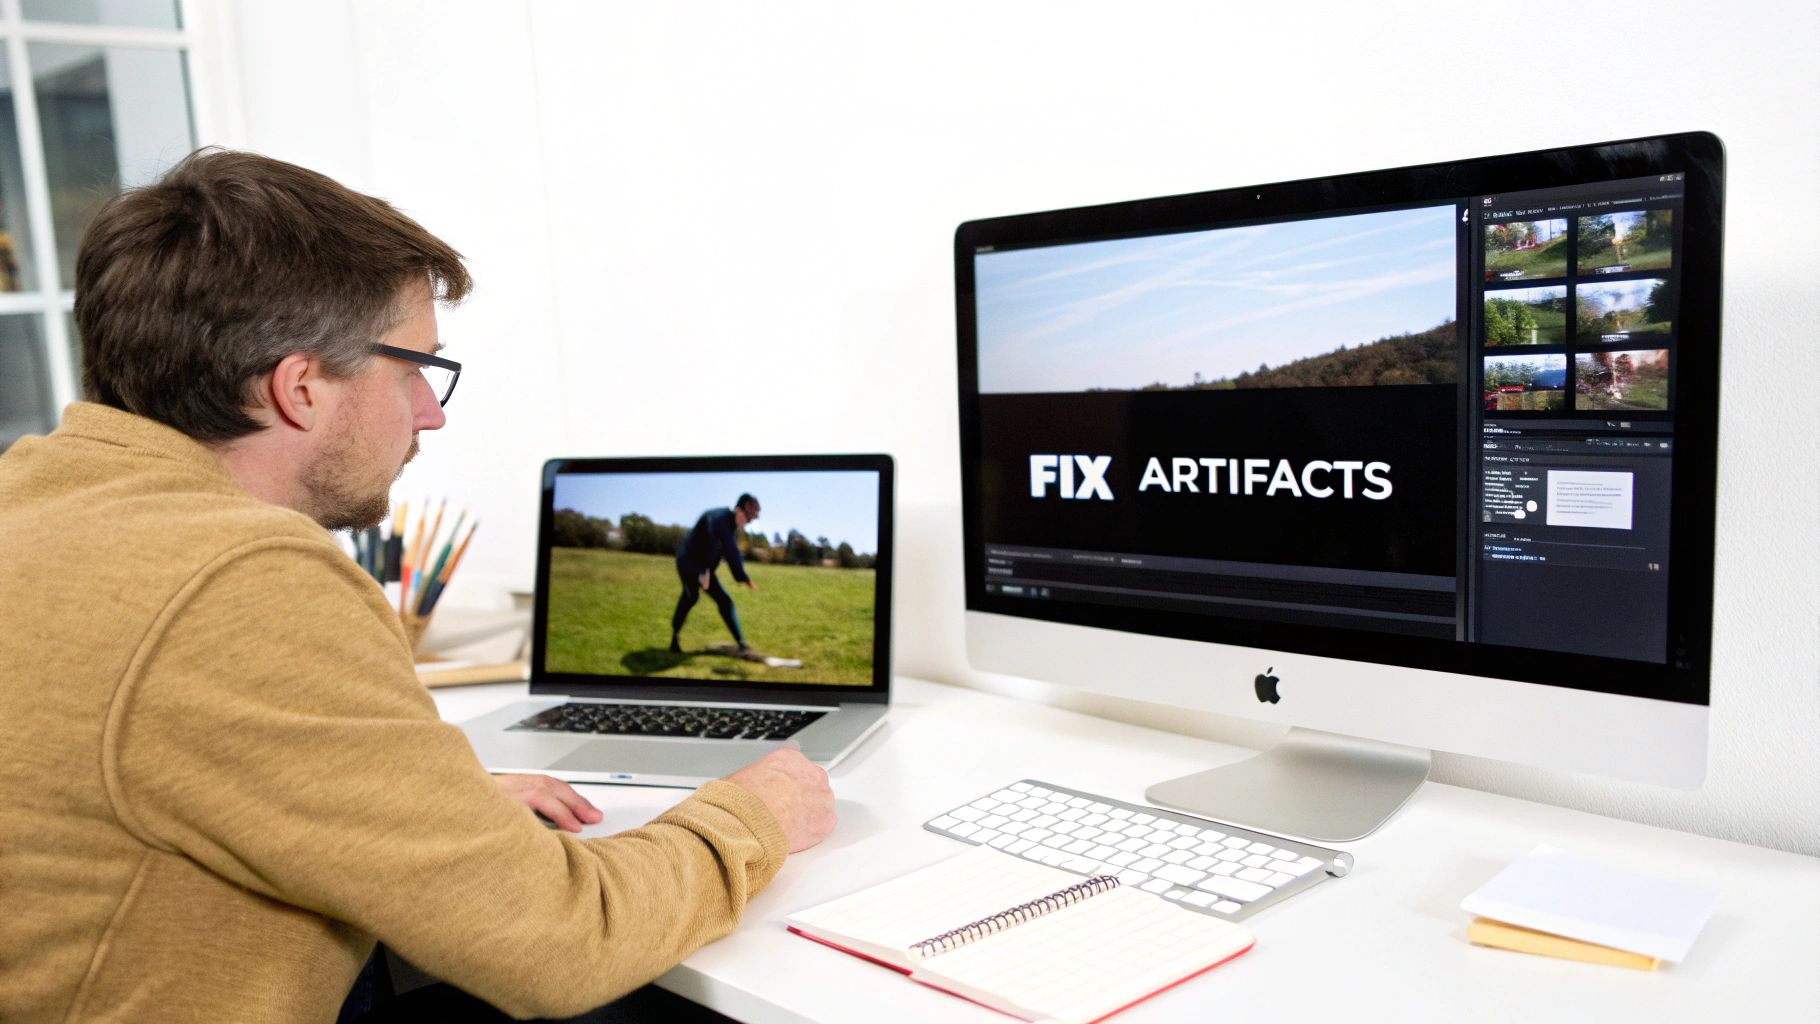
Let's be real: even the best AI video quality enhancer isn't a magic wand. Sometimes you’ll get results that look… off. If you push the settings too hard or feed it really challenging source footage, you're bound to run into a few common problems.
Don't get frustrated, though. These issues are almost always fixable. They're just the AI's way of telling you to step in and make some small adjustments. Once you learn to spot them, you can turn a potential headache into a better final product.
One of the first things you'll probably see is that weird, "waxy" or "plastic" look, especially on people's faces. This is a classic sign of over-aggressive denoising. The AI gets so focused on removing grain that it scrubs away the natural skin texture right along with it. The fix is simple: just ease up on the noise reduction until you see that fine texture come back.
Solving Motion Artifacts
Another common headache is motion artifacts. You know what I mean—that strange warping, ghosting, or blurring that shows up when things move quickly on screen. This is usually the fault of frame interpolation, where the AI gets confused trying to guess what happened between the original frames. It’s particularly common in scenes with a lot of chaotic action or complex backgrounds.
When you see this happening, here’s what to try:
- Ease up on the interpolation. Lower the setting that controls how many new frames the AI is creating.
- Swap out the AI model. Some algorithms are just better at handling motion than others. A platform like Auralume AI often lets you switch between models, which can solve the problem instantly.
- Look at your source frame rate. Trying to double the frames of a really low-fps clip (like 15 fps) is asking for trouble.
Correcting Unexpected Color Shifts
Finally, you might find that an automated color grade goes a bit rogue. Maybe it makes skin tones look unnaturally orange or pushes a blue sky into a weird purple territory. This happens because the AI is making an educated guess based on its training data, and sometimes that guess is just plain wrong for your specific scene.
The goal is never to completely overpower the original footage. Think of AI as a collaborator that needs your guidance. Your critical eye is the most important part of the process, ensuring the final output looks natural and intentional.
When colors get weird, don't just scrap the whole enhancement. Look for a way to make manual adjustments after the AI has done its thing. Most tools will let you apply the AI grade and then fine-tune it yourself. A tiny tweak to the hue or saturation is often all you need to pull the colors back to a place that looks believable and professional.
Common Questions About AI Video Enhancement
When you first dip your toes into using an AI video quality enhancer, you're bound to have questions. It's totally normal. Getting straight answers helps you get past the technical stuff and back to the fun, creative part. Let's tackle some of the most common questions I hear from other creators so you can get the best possible results from these incredible tools.
We'll get into everything from what AI can realistically fix to how new cloud platforms are making this tech available to anyone, no matter what kind of computer they have.
Can AI Really Fix Super Blurry or Out-of-Focus Footage?
This is the big one, right? AI enhancers are amazing, but they aren't magic. They need some information to work with. If your video is a bit soft, grainy, or just low-resolution, the AI can do a fantastic job sharpening details and intelligently filling in the gaps.
But if the footage is a complete, out-of-focus mess where you can't make out any shapes, the AI has nothing to latch onto. It can't invent detail that was never captured. It might clean up the clip a little, but it won’t be able to pull a sharp image out of a pure blur.
Think of it like a detective trying to restore a smudged fingerprint. If there are a few faint lines left, they can probably reconstruct the whole thing. If it's just a solid blob of ink, there's simply nothing to work with. Your best bet is always to start with the cleanest source footage you can get your hands on.
Will Using an AI Enhancer Make My Video Look Fake or Unnatural?
That's a valid worry. We've all seen that over-processed, plasticky look. The short answer is: it only looks unnatural if you crank the settings way too high. That artificial look usually happens when you go overboard with sharpening or apply way too much noise reduction.
The great thing is that modern AI models have been trained on massive libraries of beautiful, high-quality video, so they're designed to produce natural-looking results. The trick is to use a light touch.
- Start low and go slow: Always begin with the lowest enhancement settings and nudge them up gradually.
- A/B test your work: Keep your original video open and constantly compare it to the enhanced version side-by-side.
- Don't be afraid to switch models: If one AI model isn't giving you the vibe you're after, try a different one. Platforms that offer multiple models give you far more control to find the perfect match for your specific footage.
What Does an AI Video Enhancer Usually Cost?
The price really runs the gamut. Some of the older, standalone software programs can hit you with a steep one-time price or a hefty annual subscription. Thankfully, cloud-based platforms have come along and made things much more flexible and affordable.
A service like Auralume AI, for instance, has a few different ways to go. You can grab some pay-as-you-go credits if you just have one project, or sign up for a monthly plan that gives you more credits for your money. That second option is a no-brainer for anyone who's enhancing video regularly, from YouTubers to busy creative agencies.
Do I Need a Super-Powerful Computer for This?
Not anymore, and this has been a complete game-changer. Just a few years back, you absolutely needed a beast of a machine with a top-of-the-line GPU and loads of RAM to run this kind of software. It was a huge barrier to entry for a lot of people.
Today, the best tools are all cloud-based. Platforms like Auralume AI handle all the intense processing on their own powerful servers. This means you can upload and enhance your videos from any decent laptop or desktop with an internet connection. You don't have to spend thousands on specialized hardware, which has truly opened up high-end video enhancement to everyone.
Ready to see what AI can do for your footage? Auralume AI makes it incredibly easy to upscale, denoise, and generate amazing video content in just a few clicks. Start creating cinematic videos today at Auralume AI.