Master the best video format for instagram: Quick guide to high-quality posts
If you're looking for the short answer, here it is: The best video format for Instagram is an MP4 file with an H.264 codec and AAC audio. This is the winning formula. It’s the combination that gives you excellent quality, reasonable file sizes, and plays nicely with every part of the app.
Think of it as the gold standard for your Reels, Stories, and Feed posts.
Your Quick Reference for Perfect Instagram Videos
Getting your video settings right is the difference between a crisp, professional-looking post and a pixelated mess. To avoid the guesswork, you need a solid blueprint. We’ve put together this guide to give you the exact settings you need, and then we'll get into why they matter so much.

Core Video Specifications
Before we get into the specifics for Reels or Feed posts, let’s cover the foundational settings. Nail these first, and you're already halfway to a great-looking video.
- Container: MP4 is your best friend here. It’s the perfect mix of quality and compression that works everywhere. While Instagram technically accepts MOV files, sticking with the officially recommended MP4 format will save you from potential upload headaches.
- Video Codec: H.264 is the workhorse of online video. This is the magic that compresses your video file into a manageable size without sacrificing all that beautiful visual detail.
- Audio Codec: For sound, you’ll want to use AAC (Advanced Audio Coding). It delivers clean, high-quality audio at a low bitrate, which is exactly what you need for social media.
- Frame Rate: Stick to 30 frames per second (fps). It provides that classic, smooth motion that looks perfectly natural on a smartphone screen, which is where almost everyone will be watching.
- Bitrate: A variable bitrate around 3,500 kbps is the sweet spot. Giving Instagram a healthy bitrate like this helps you fight back against its aggressive compression, keeping your video sharp and clear.
Instagram Video Format Cheat Sheet
Here’s a quick-reference table breaking down the ideal specs for Instagram's main video placements. Bookmark this page or screenshot the table—it's your go-to guide for exporting your next video project.
| Specification | Reels & Stories | Feed Post (Portrait) | Feed Post (Square) |
|---|---|---|---|
| Aspect Ratio | 9:16 | 4:5 | 1:1 |
| Resolution | 1080 x 1920 px | 1080 x 1350 px | 1080 x 1080 px |
| Max Length | 90 seconds | 60 minutes | 60 minutes |
| Max File Size | 4 GB | 4 GB | 4 GB |
This table covers the essentials, from dimensions to file size, ensuring your video is perfectly tailored for where it will live on the platform.
Why Your Video Format Is the Secret to Instagram Success
Have you ever spent hours perfecting a video, only to upload it to Instagram and watch it turn into a blurry, pixelated mess? It’s a frustratingly common problem. The culprit often isn't your camera or your editing skills; it's the technical details of your video format. Nailing this is the difference between content that stops the scroll and content that just gets scrolled past.
Think of it like this: your video is a package you're sending to Instagram. The format, which should almost always be MP4, is the shipping box. The codec (think H.264) is how you carefully pack everything inside. If you use a flimsy box or just throw everything in haphazardly, Instagram's system has to rip it open and aggressively repack it. That process crushes the quality, leaving you with a video that looks nothing like the beautiful original you exported.
It's Not Just Tech Mumbo Jumbo
Picking the right video settings for Instagram isn't just a box-ticking exercise for video nerds—it’s a genuine strategic move. The Instagram algorithm is smart. It’s designed to promote content that gives users a great experience. A video that loads instantly, plays without a hitch, and looks sharp is a massive green flag for the algorithm.
This has a real impact on your reach. When Instagram doesn't have to wrestle with your file to compress or convert it, it's far more likely to serve your video to a bigger audience. A properly formatted video is essentially a signal of quality that can earn you better placement in the main feed, the Explore page, and especially in Reels.
When you optimize your video format, you're telling the algorithm, "Hey, this content is polished, professional, and ready to go." It’s a simple step, but it can make or break your performance.
Seeing Optimized Video in Action
Nowhere is the impact of correct formatting more obvious than with Reels, the undisputed engagement engine of the platform. For a mobile-first audience, a flawlessly rendered vertical video isn't just a nice-to-have; it's the whole game.
Engagement is everything on Instagram, and Reels are absolutely dominating, pulling in 45% of total platform engagement. That makes the vertical short-form MP4 the king of the castle. With users spending 30% of their time on the app watching Reels, and video driving a 157% lift in organic traffic, it's a format you can't afford to get wrong. This is where using the right tools to nail your specs, like making sure your Reels are a perfect 1080x1920 pixels, can make all the difference in grabbing—and holding—viewer attention. If you're curious about the data, check out these insightful Instagram statistics from Meltwater.
Decoding the Technical Specs for Each Placement
Let's break down the tech talk into something you can actually use. Getting a handle on terms like 'container,' 'codec,' 'aspect ratio,' and 'bitrate' isn't just for pro video editors—it’s for anyone who wants their content to look sharp and professional on Instagram. Nailing these fundamentals is the secret to a flawless viewing experience.
Container and Codec: The Perfect Pair
Think of a video container as the box your video gets shipped in. Instagram plays nice with a few different types, but MP4 is the gold standard. It's the one format you can count on to work perfectly everywhere, on any device, without any weird glitches.
Inside that box, you have the codec, which is the technology that compresses (or packs) your video. The undisputed champion here is the H.264 codec. It does an incredible job of shrinking your file size way down while keeping the visual quality crisp and clear.
This combination—the MP4 container with the H.264 codec—is your winning ticket. It’s the absolute best video format for Instagram.
When choosing between file types, it's easy to get confused, especially with formats like MOV being so common in editing software. Here’s a quick breakdown of why MP4 is the clear winner for Instagram.
MP4 vs MOV A Technical Comparison for Instagram
| Feature | MP4 (H.264 Codec) | MOV (Various Codecs) |
|---|---|---|
| Compatibility | Universal: Plays natively on almost all devices, browsers, and platforms, including Instagram. | Apple-Centric: Developed by Apple; can require specific players or plugins on non-Apple systems. |
| Compression | Highly Efficient: Offers excellent quality at very low file sizes, ideal for fast uploads and smooth streaming. | Variable: Quality and file size depend heavily on the codec used, which can be less efficient than H.264. |
| Instagram's Preference | Officially Recommended: This is the format Instagram's servers are optimized to handle, reducing compression issues. | Accepted, but Risky: Instagram accepts MOV, but it often leads to transcoding errors or unexpected quality loss. |
| Best Use Case | Final Delivery: The perfect choice for exporting and uploading your finished video to the web. | Editing: A great format for preserving quality during the editing process, but not for final upload. |
Simply put, while you might edit in a MOV file, you should always export to MP4 for Instagram. It gives the platform exactly what it wants, minimizing the risk of it messing up your video during its own compression process.
Tailoring Your Video Shape and Size
The aspect ratio is just a technical term for the shape of your video. On a visual platform like Instagram, the shape is everything. If you get it wrong, Instagram will crop your video awkwardly or slap on ugly black bars, which screams "amateur hour" to anyone scrolling by.
- For Reels and Stories (9:16): This is the tall, vertical format, and it's non-negotiable. A 9:16 aspect ratio (which translates to 1080x1920 pixels) fills the entire phone screen. This creates a much more immersive and professional-looking experience that grabs and holds attention.
- For Feed Posts (4:5): You can post a classic square (1:1) video, but the 4:5 aspect ratio (1080x1350 pixels) is the real powerhouse. This slightly taller portrait orientation takes up significantly more screen real estate in the feed, making your post far more likely to stop the scroll.
This diagram illustrates a simple but powerful truth: giving Instagram a video that’s already optimized is the first and most important step to getting better quality and reach.
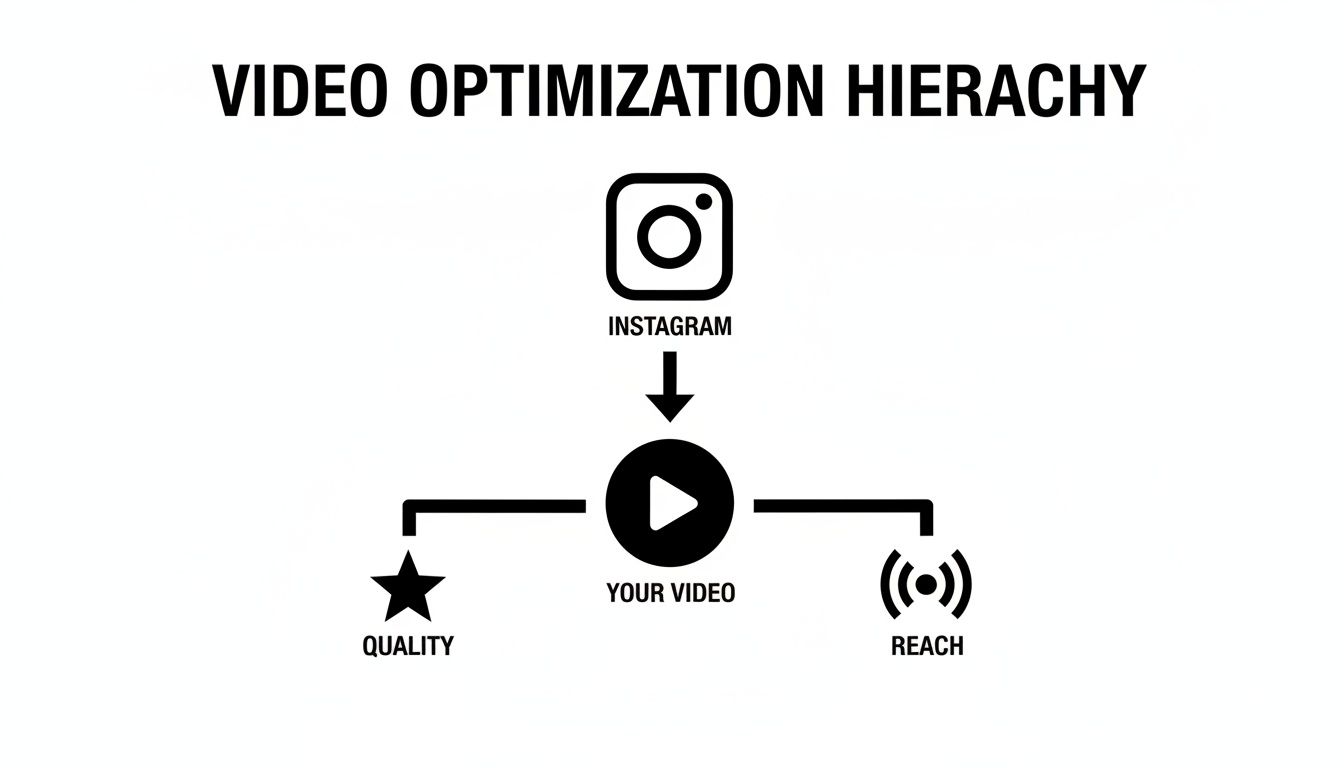
When you hand over a perfectly formatted file, you give Instagram's compression algorithm less work to do, which almost always results in a better-looking final product and smoother playback for your viewers.
Finding the Sweet Spot for Quality and File Size
Finally, we have bitrate. You can think of bitrate as the amount of data or detail packed into every second of your video. More data means higher quality, but it also means a much bigger file.
Instagram’s sweet spot for video bitrate is right around 3,500 kbps (or 3.5 Mbps). Trying to upload a video with a massive bitrate is a waste of time. Instagram is just going to aggressively crush it down to its preferred size anyway, and you have no control over how that happens. By exporting at the recommended spec, you stay in the driver's seat.
If you really want to go deep on the technical side, check out this ultimate guide to the perfect format for Instagram video, which covers all the nitty-gritty details on export settings.
By understanding these four pillars—container, codec, aspect ratio, and bitrate—you're no longer guessing. You're making informed decisions that directly impact how your audience sees and engages with your work.
Your Step-By-Step Guide to Perfect Export Settings
Knowing the theory is one thing, but actually putting it into practice is what gets results. This section is all about getting hands-on. I'm going to walk you through the exact export recipes you need to turn those abstract concepts into a simple checklist for creating killer Instagram videos every single time.
It doesn’t matter if you’re editing in Adobe Premiere Pro, DaVinci Resolve, or Final Cut Pro—these settings are your universal blueprint. Think of it as a pre-flight checklist for your content, guaranteeing a smooth journey from your timeline to your audience's feed.
The Universal Export Checklist
Before you even think about hitting that "Export" button, run through this list. These settings are the absolute foundation of the best video format for Instagram and work in pretty much any professional editing software you can find.
- Format/Container: Always, always choose MP4. It’s the gold standard for web video and plays nice with everything.
- Video Codec: Stick with H.264. It’s the magic ingredient that gives you a great-looking video without a massive file size.
- Audio Codec: Set this to AAC (Advanced Audio Coding). This will give you crisp, clear sound that doesn't make your file unnecessarily huge.
- Frame Rate (fps): Lock it in at 30 fps. This is the sweet spot for smooth playback on mobile phones, avoiding any weird, jittery motion.
- Resolution: This needs to match where the video is going. Use 1080x1920 for Reels or Stories, and 1080x1350 for vertical Feed posts.
Once you have these core settings dialed in, you're 90% of the way there. The next step is to fine-tune the details to feed Instagram's compression algorithm the highest quality file possible.
Setting Your Bitrate for Maximum Quality
This is where so many creators trip up. They either crank the bitrate way too high, creating a gigantic file, or set it too low and end up with a pixelated mess. For Instagram, you're looking for that perfect middle ground.
For the sharpest 1080p video, aim for a target bitrate of around 3,500 kbps (or 3.5 Mbps). I strongly recommend using a VBR (Variable Bitrate), 2-pass encoding setting. This tells your software to be smart about it—it analyzes your video twice, allocating more data to complex, high-motion scenes and less to static shots. The result is a much more efficient file that looks fantastic.
Yes, a two-pass export takes a few extra minutes, but the difference in visual quality is absolutely worth the wait. Trust me on this one.
The Auralume AI Shortcut
If manually tweaking all these settings feels like a chore, there's a much faster way to get it done. Tools like Auralume AI were built to handle the technical grunt work for you.
You can literally generate a video from a text prompt, and Auralume AI will spit it out with all the perfect Instagram specs already baked in. Or, if you have a clip that needs a boost, you can use its Video Upscaler to bump it up to a clean 1080p or 4K, correctly formatted and ready to go. It completely removes the guesswork, letting you get back to the creative stuff.
Once you’ve got your video specs on lock, you might also want to transcribe MP4 to text to quickly generate captions and make your content more accessible. With this guide, you’re not just exporting a video anymore; you're engineering it to win on Instagram.
Generate and Upscale Perfect Videos with Auralume AI
Let's be honest: wrestling with codecs, bitrates, and aspect ratios can kill your creative flow. What if you could skip all that technical stuff and just focus on your idea? This is exactly where AI video tools come in, giving you a straight shot from a simple thought to a perfectly formatted Instagram post.
Instead of getting lost in confusing export menus, you can now just tell an AI what you want to create. Tools like Auralume AI are built to be your personal production assistant, quietly handling all the technical details in the background. It’s a way to get professional results without the steep learning curve of traditional video editing software.
From Text Prompt to Perfect Reel
Picture this: you want a cinematic Reel, but you don't have a camera crew or hours to spend editing. With Auralume AI, you just type what you're imagining. Something like, "a dynamic shot of a new sneaker splashing through a puddle in slow motion." Then, you can pick a powerful video model like Sora or Google Veo to make it happen.
The platform takes your prompt, generates the video, and spits out a flawless MP4 file that’s ready to upload. It's already optimized with the right H.264 codec, AAC audio, and that crucial 9:16 aspect ratio that fills the entire screen on Reels and Stories.
The whole process is designed to get you from idea to finished content in minutes, not hours.
Breathe New Life into Existing Footage
Auralume AI isn't just for making new videos from scratch. It's also fantastic for rescuing and improving the footage you already have. Got a grainy clip from an old phone or a low-resolution stock video that just doesn’t look sharp enough? The built-in Video Upscaler can fix it.
This tool analyzes your video and intelligently enhances it, turning blurry, pixelated clips into crisp 1080p or even 4K masterpieces. It's the perfect way to make sure everything you post—whether it's brand new or a throwback—looks polished and professional.
By letting AI handle the technical side of video creation and enhancement, you’re free to experiment more and produce content faster. This gives you a serious leg up in keeping your feed fresh and engaging.
And this efficiency really matters. When 21% of marketers say short-form videos like Reels are their best-performing format, speed and quality are non-negotiable. Plus, Instagram Reels can deliver a 1.6 times higher ROI than static ads. Tools like Auralume AI simply make it easier to produce this high-value content consistently. For a closer look at these numbers, you can explore the full report on video marketing performance.
Troubleshooting Common Instagram Video Problems
You’ve done everything right. You followed all the rules, exported your video, and it looked perfect on your computer. But the second you upload it to Instagram, it’s a disaster—blurry, weirdly cropped, or just plain off. Sound familiar?
It's one of the most frustrating parts of creating content. Let's walk through how to diagnose and fix these common video headaches so your work always looks as good as you intended.

We'll tackle the most frequent culprits one by one, turning those video mishaps into polished, professional posts.
Solving Blurry or Pixelated Videos
This is the big one. Your video looks crystal clear before you upload it, but on Instagram, it turns into a pixelated mess. This almost always comes down to a battle between your export settings and Instagram's aggressive compression.
- The Cause: Your video's bitrate was either way too high or too low. If it's too high, Instagram's servers aggressively crush the file down, often leading to a loss in quality. If it's too low, the video didn't have enough data to look sharp in the first place.
- The Fix: Export your video using a variable bitrate (VBR, 2-pass) with a target of 3,500 kbps (or 3.5 Mbps). This gives Instagram a high-quality file that’s already optimized for its platform, which helps minimize the damage its compression can do.
Eliminating Annoying Black Bars
Seeing black bars framing your video is a dead giveaway that the aspect ratio is wrong. It immediately makes your content look amateurish and out of place, especially in a full-screen format like a Reel or Story.
- The Cause: The dimensions of your video simply don't match the dimensions of the placement. A classic example is uploading a wide (16:9) video meant for YouTube into the tall (9:16) format required for Reels.
- The Fix: This is a problem you need to solve before you even start editing. Always set your project's aspect ratio correctly from the beginning. Use 1080x1920 (9:16) for Reels and Stories, and 1080x1350 (4:5) for feed posts to fill up the most screen real estate.
When your video’s shape perfectly matches the placement, you create an immersive experience that holds viewer attention. This is especially true for Reels, which is a format you can't afford to get wrong.
With a staggering 200 billion Reels played every single day across Meta's apps, this format is non-negotiable for growth. Reels now account for 30% of all time spent on Instagram and drive 35% more engagement than regular video posts. Getting that 9:16 vertical format right is absolutely critical. If you want to dive deeper, you can explore the latest Instagram engagement statistics to see just how important this is.
Got Questions? We've Got Answers
Even when you think you have everything dialed in, a few nagging questions can pop up right before you hit "upload." Let's tackle some of the most common ones I hear from creators to clear up any final confusion.
So, Can I Upload My 4K Video to Instagram?
You absolutely can, but don't expect it to stay in 4K. Instagram's platform will automatically compress your beautiful, high-resolution video down to its own standards, which usually tops out around 1080p.
There's a little silver lining, though. Uploading in 4K can sometimes give Instagram's compression algorithm a better source file to work with, potentially resulting in a slightly crisper video than if you'd uploaded a 1080p file. It's not a must-do, but it can be a nice little quality boost.
What’s the Longest Video I Can Post?
This is a big one, and the answer completely depends on where you're posting it. Instagram has different rules for different parts of its app.
- Reels: You can now create Reels up to 90 seconds long.
- Stories: These are still capped at 60-second clips. If your video is longer, Instagram will automatically slice it into 60-second segments.
- Feed Videos: For most accounts, you can post a video up to 60 minutes long directly to your main feed.
Should I Use a Variable or Constant Bitrate?
For the best quality-to-file-size ratio, I always recommend a Variable Bitrate (VBR). Think of it like a smart painter who uses more paint on detailed parts of a canvas and less on simple backgrounds.
By using 2-pass VBR encoding, your video software analyzes the footage twice, intelligently assigning more data to complex, fast-moving scenes and less to static shots. This gives you the best possible quality without creating a massive file. A target bitrate around 3,500 kbps is a great starting point.
Can I Use a .MOV File Instead of an .MP4?
Technically, yes, Instagram will usually accept a .MOV file. However, from years of experience, I can tell you that MP4 is the gold standard. It's the format Instagram officially recommends, and it’s far more reliable.
To save yourself from potential headaches with uploads failing or videos not playing correctly, just stick to the tried-and-true formula: an MP4 container with an H.264 codec. It's the safest bet for a smooth experience.
Tired of triple-checking your export settings? Let AI take care of the technical details. Auralume AI can generate or upscale videos formatted perfectly for Instagram in just a few seconds, so you get flawless quality without the guesswork. Get started for free at Auralume AI.