A Guide to Improve Video Quality From Good to Great
If you want to genuinely improve video quality, you need to look at the entire process. It boils down to four critical areas: smart in-camera production (think lighting and a steady hand), the right capture settings (like resolution and bitrate), skilled post-production work (coloring and sharpening), and finally, the new world of AI enhancement (upscaling and generation). Nailing these four pillars is what separates amateur footage from professional, cinematic work.
Beyond HD: A New Standard for Video Quality
Not too long ago, creating professional-looking video required a studio and a massive budget. That world is gone. Today, anyone from a solo creator to a small marketing team can produce absolutely stunning, cinematic content with tools that are more accessible than ever. High-definition is no longer the goal; it’s just the starting point.
Viewers now expect incredible clarity, rich dynamic range, and an artistic flair that holds their attention. This guide isn't about the obvious stuff. We're digging into the practical, hands-on strategies that will actually elevate your video from "good enough" to something memorable.
The Four Pillars of Exceptional Video
I've found it's best to think about video quality in four distinct, manageable stages. Each one builds on the last, so getting the first steps right makes everything that follows so much easier.
- Smart Production: This is your foundation. It’s everything you do before hitting the record button—setting up your lights, framing a compelling shot, and making sure your camera is perfectly stable.
- Optimized Capture Settings: Here’s where you tell the camera what to do. Dialing in the right resolution, frame rate, and bitrate is crucial for capturing as much detail and information as possible.
- Powerful Post-Production: The edit is where the magic really happens. This is where you shape your raw footage with color grading, audio sweetening, noise reduction, and a final touch of sharpening.
- AI-Powered Enhancement: This is the exciting new frontier. We can now use AI to intelligently upscale resolution, add motion to still photos, or even generate video clips from a simple text prompt.
The gap between a creative vision and a professional final product has never been smaller. Today’s tools empower creators to achieve results once reserved for Hollywood, making cinematic quality an attainable goal for everyone.
To see just how far visual fidelity has come, it's worth looking at adjacent fields. For example, insights from guides like Photorealism in Games: A Guide to Mastering Lifelike Rendering Techniques show how much detail is possible when you push the technology. By mastering these four core areas, you'll build a complete workflow to improve video quality on any project, big or small.
Getting It Right in the Camera
Your journey to better video quality doesn't start on the editing timeline; it begins the second you look through the viewfinder. Everything you capture in-camera becomes the raw material for your final video, and you can't build a masterpiece on a shaky foundation.
Nailing this first stage comes down to three things: lighting, framing, and stability. Get these right, and every part of the process that follows becomes easier and far more effective.

Working with Light and Composition
Even the most expensive cinema camera will struggle in a poorly lit room. On the flip side, you can make a simple setup look incredible with thoughtful lighting. The good news is you don't need a truckload of expensive gear to get a professional look.
I've seen fantastic results with just a single, affordable light and a plain white wall. The trick is to bounce your main light off the wall, turning that small source into a massive, soft light that wraps beautifully around your subject. This diffusion technique kills harsh shadows and creates a flattering, almost cinematic feel that helps your subject stand out. It’s a simple hack that immediately boosts your production value.
Beyond just lighting, the way you frame your shot guides the viewer's eye and sets the entire mood. One of the first principles you learn is the rule of thirds. Just imagine your frame is split into a 3x3 grid, like a tic-tac-toe board.
By placing your key subjects along those lines or at the points where they intersect, you create a composition that feels more balanced and dynamic than just sticking everything in the center.
My Go-To Framing Tip: For interviews, I always try to line up the subject’s dominant eye with the top-right or top-left intersection. If I’m shooting a product, I’ll place it along one of the vertical lines. This subtle shift makes your framing look deliberate and professional.
Keeping Your Shots Rock-Solid
Nothing kills the vibe of a video faster than shaky footage. While post-production stabilization has gotten incredibly good, it can’t work miracles on excessively wobbly shots without creating weird visual artifacts. The goal is always to get the smoothest take possible right from the start.
If you’re doing a lot of moving shots, a gimbal is a game-changer for that fluid, cinematic motion. But even if you’re just shooting handheld, you can make a huge difference with a few simple techniques.
- Three Points of Contact: This is my mantra. Always have three points of contact. That could mean two hands on the camera with your elbows braced firmly against your body. It creates a much more stable base.
- The "Ninja Walk": It sounds silly, but it works. When you need to move with the camera, bend your knees and walk gently, heel-to-toe. This absorbs the impact of your steps and keeps the camera from bouncing around.
When you focus on these three things—soft lighting, intentional framing, and steady hands—you end up with raw footage that’s clean, compelling, and ready for the edit.
Diving Into Your Camera and Capture Settings
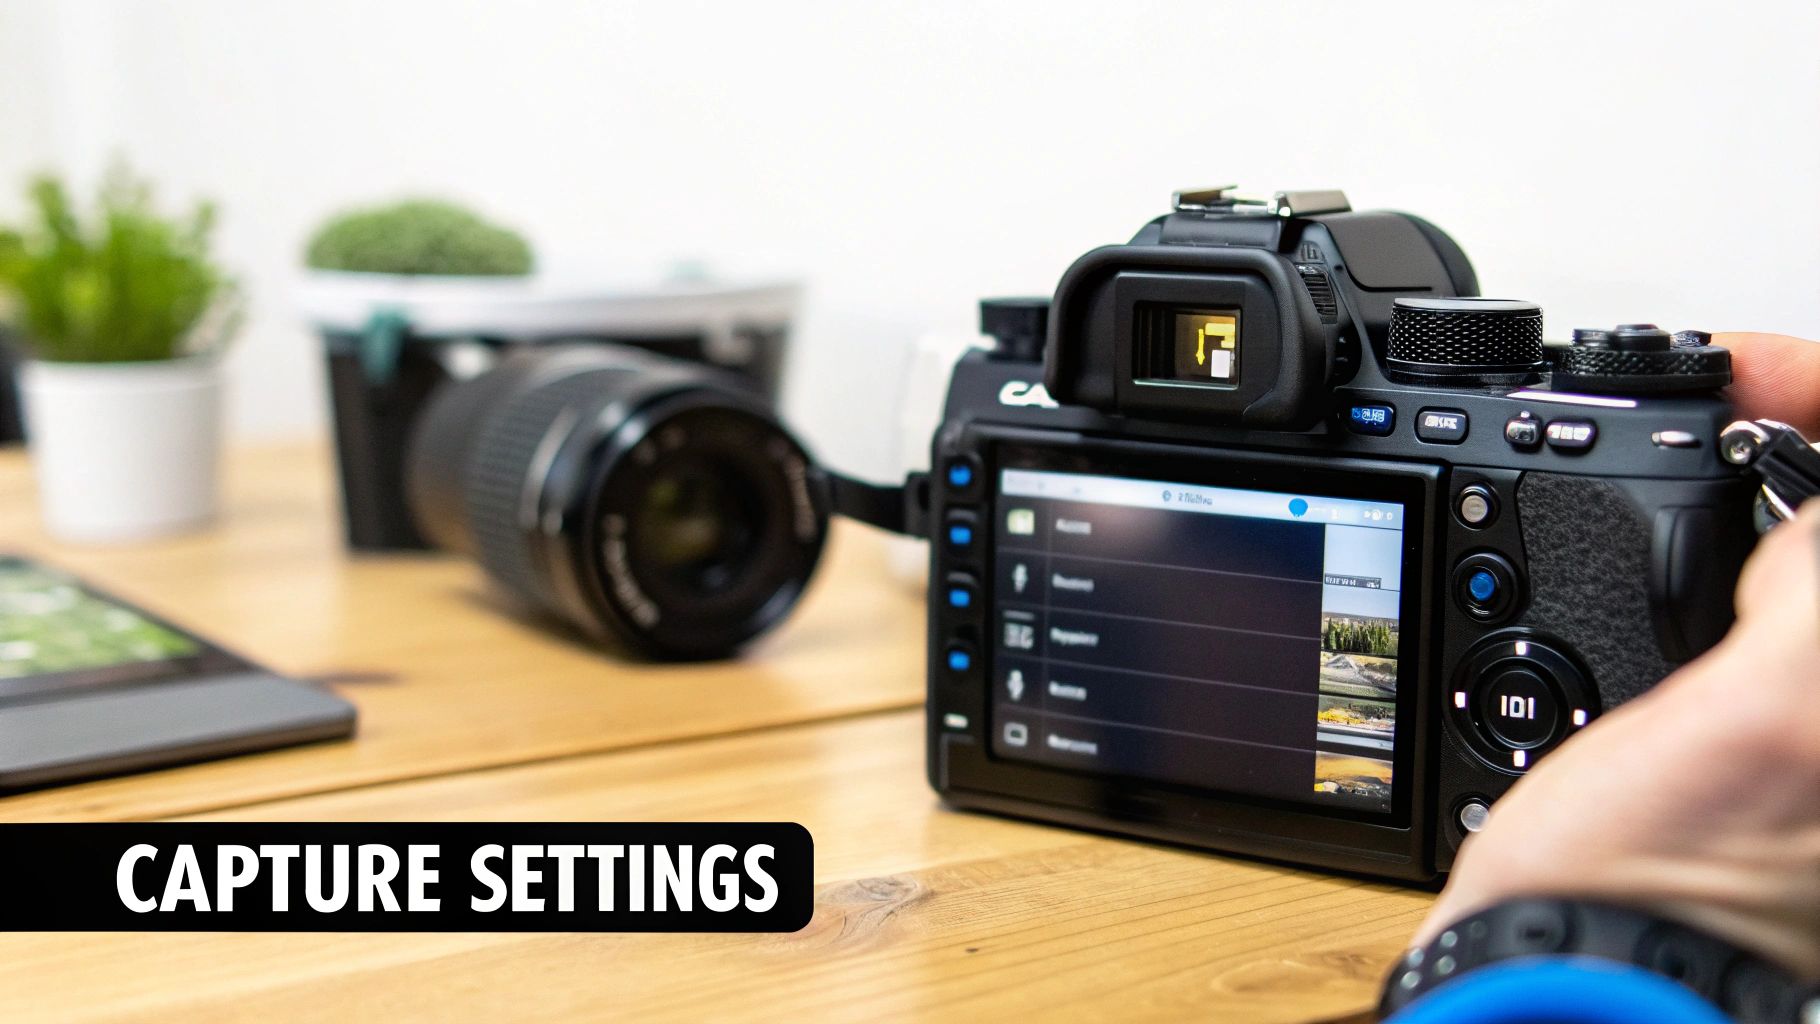
Great lighting and a well-composed shot are the foundation, but the technical settings you dial into your camera are what build the house. Getting into the camera menu can feel like deciphering a secret code, with terms like resolution, bitrate, and codec staring back at you. But if you want to improve video quality at the source, this is where the magic happens.
Think of it this way: these settings determine just how much raw information your camera actually records. Getting them right from the start gives you a dense, data-rich file that can be pushed, pulled, and manipulated in post-production without falling apart.
The Hidden Advantage of High-Resolution Footage
Here's a tip I share with everyone: even if your final video is destined for a 1080p screen, shooting in 4K is one of the smartest things you can do. The immediate payoff is pure flexibility. All that extra resolution gives you a much bigger canvas to play on in the editing room.
Let's say you shot a wide interview in 4K. In post, you can easily crop in for a tight close-up, and because you're exporting to 1080p, you lose absolutely no quality. It’s like getting a second camera angle for free. This technique, called oversampling, also gives stabilization software a ton more pixel information to work with, resulting in smoother shots with fewer weird artifacts.
Shooting in 4K for a 1080p delivery is a pro-level technique that gives you immense creative control. It allows for reframing, digital zooms, and superior stabilization, fundamentally upgrading your production value without extra equipment.
Getting a Handle on Bitrate and Codecs
If you want to really understand your camera, you need to know about bitrate and codecs. Think of bitrate as the amount of data your camera is recording every single second. A higher bitrate means more data, which translates to richer colors, finer detail, and fewer of those ugly compression artifacts.
This is especially critical when you're filming something with a lot of movement—think sports, a waterfall, or even just leaves blowing in the wind. A low bitrate will turn that motion into a blocky, smeared mess. A high bitrate keeps it crisp.
To manage all this information, your camera uses a codec (coder-decoder) to compress the video. Here’s the lowdown on the two you’ll see most often:
- H.264 (AVC): This is the workhorse. It’s the industry standard you'll find on almost every camera, and it’s supported by practically every device and editing software. It strikes a great balance between quality and file size, making it a super reliable choice for most projects.
- H.265 (HEVC): This is the newer, more efficient kid on the block. It can deliver the same visual quality as H.264 but with a much smaller file size—often cutting it by up to 50%. The trade-off? It’s a bit more demanding on your computer during the editing process.
For a static talking-head shot, a lower bitrate with H.264 is probably all you need. But if you're filming a dynamic, action-packed scene, bumping up the bitrate (and maybe using H.265 if your system can handle it) will be a game-changer for preserving all that beautiful detail.
Choosing the right bitrate is a balancing act between quality and file size. Here's a quick cheat sheet to get you started.
Recommended Bitrate Settings for 1080p and 4K Video
| Resolution | Frame Rate (fps) | Recommended Bitrate (Mbps) |
|---|---|---|
| 1080p | 24 / 25 / 30 | 35-45 |
| 1080p | 50 / 60 | 50-65 |
| 4K | 24 / 25 / 30 | 100-140 |
| 4K | 50 / 60 | 140-200 |
Remember, these are solid starting points. If your scene has a ton of complex motion, you might want to push these numbers a bit higher. If it's a simple, static shot, you can likely get away with less. Test what works for your camera and your computer.
Getting this balance right ensures your raw footage is both stunning and manageable, setting you up for a much smoother and more creative editing experience.
Transforming Footage in Post-Production
Nailing the shot in-camera is a huge win, but it's only half the story. The real magic, the part that separates good footage from great video, happens in the editing suite. This is your chance to fix minor issues, develop a distinct visual style, and truly bring your creative vision to life.
Let's walk through the key post-production steps that can dramatically improve video quality. These are the techniques that turn raw clips into a polished, professional, and compelling final product.
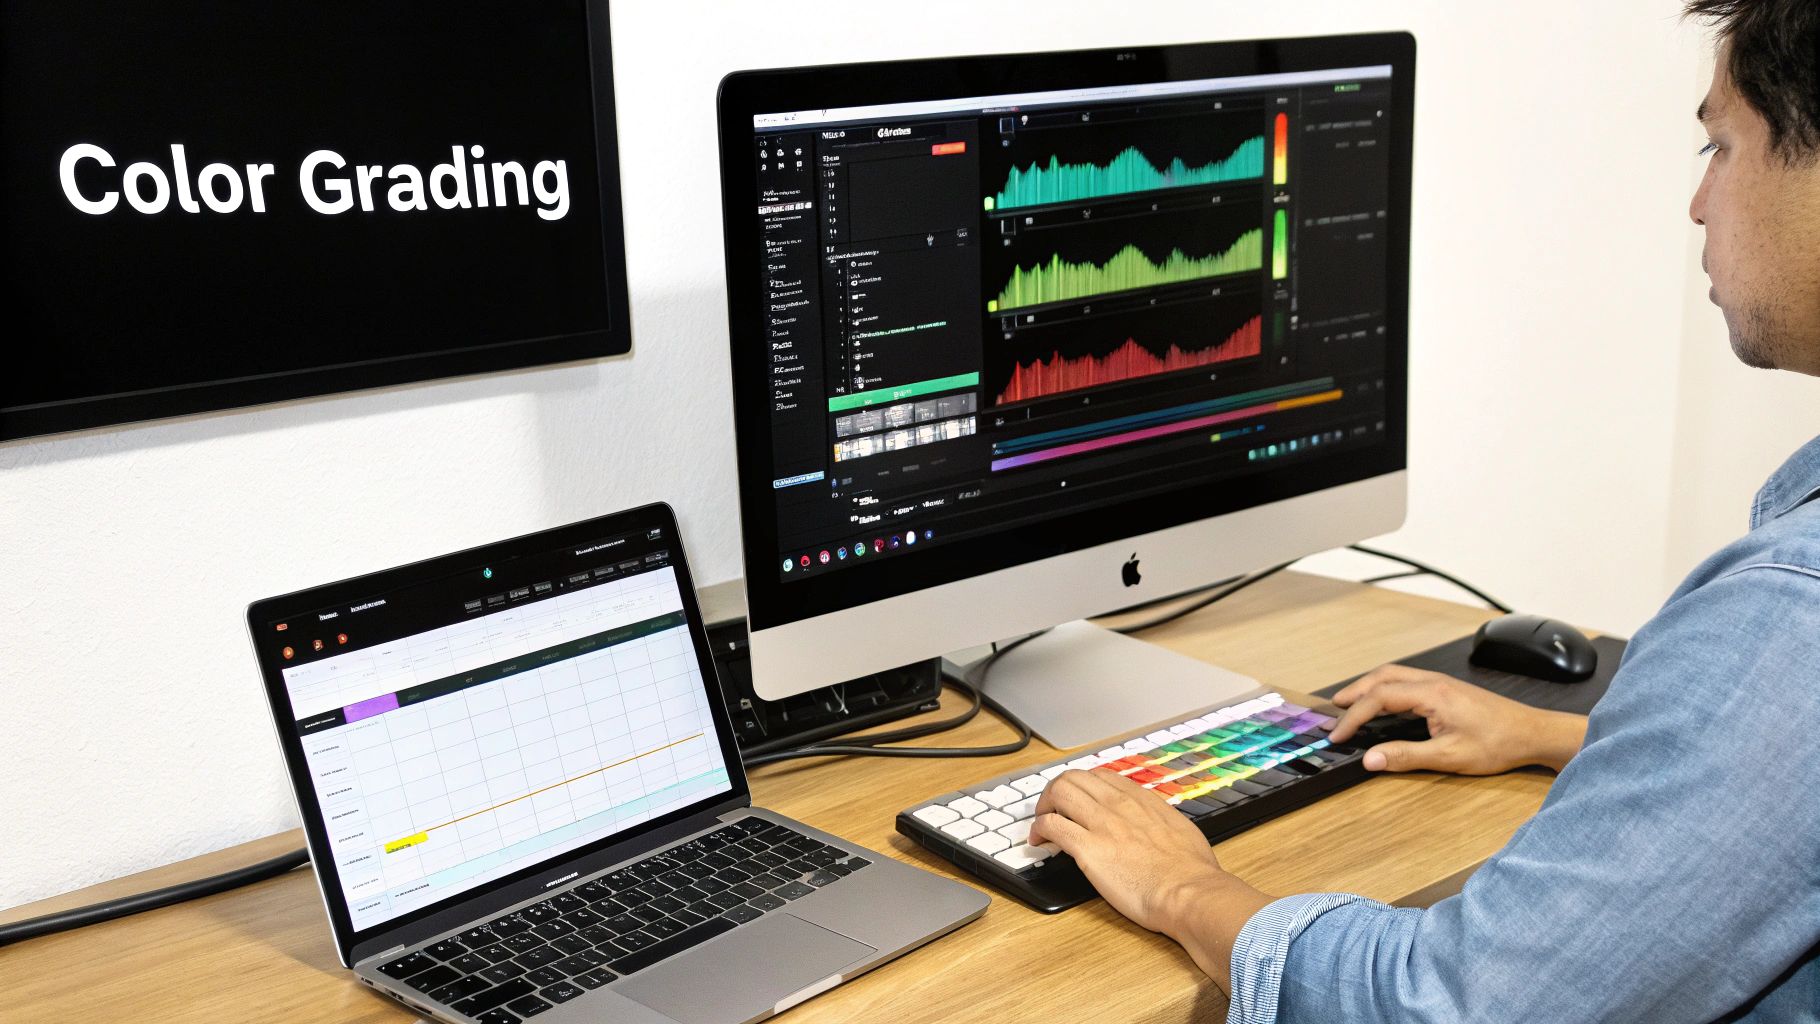
The Art of Color Grading and Correction
Color is pure emotion. It’s one of the most immediate and powerful tools you have to set a mood and guide your audience's attention. This all starts with color correction, which is the technical side of the coin. Your goal here is to create a neutral, true-to-life image by balancing your whites, blacks, and mid-tones.
Once you’ve got a clean, consistent base, you can get creative with color grading. This is where you apply a specific look to evoke a feeling. Think warm, golden hues for a nostalgic summer day or cool, muted blues for a somber, dramatic scene. For anyone working with aerial shots, mastering this is essential; you can find a deep dive into the best tools in this guide to drone video editing software.
A popular shortcut in the color grading world is using LUTs (Look-Up Tables). Think of a LUT as a color preset that instantly applies a complex color grade to your footage.
LUTs are fantastic for getting you in the ballpark quickly. My advice? Apply a LUT that gets you 80% of the way there, and then fine-tune it. Manually adjusting contrast, saturation, and specific hues is what will make the look truly your own and perfect for the shot.
Cleaning Up Digital Noise and Artifacts
Even with great lighting, you'll sometimes find distracting digital noise or "grain" lurking in your footage, especially in the shadows. This can cheapen the look of your video, but thankfully, most editing software has excellent built-in noise reduction tools.
The key is a light touch. Going overboard with noise reduction will give you a soft, waxy look that smears away all the important detail.
- Start low and go slow. Begin with the lowest possible setting and nudge it up just enough to take the edge off the grain. Stop before you see details in textures like fabric or hair start to disappear.
- Be selective. Many advanced tools let you target noise reduction to specific areas, like just the shadows. This is a game-changer because you can clean up the noisiest parts of the image while keeping the well-lit areas perfectly crisp.
The Final Polish with Selective Sharpening
The last step in my workflow is almost always a touch of sharpening. It adds that final bit of "pop" and perceived detail that makes a video feel incredibly crisp and professional. But just like noise reduction, overdoing it is a classic mistake. Too much sharpening creates ugly, glowing edges and can actually introduce new visual problems.
Instead of a blanket effect, I always use selective sharpening. By masking the effect, you can apply it only where it matters most—a person's eyes, the logo on a product, or the intricate details of a building—while leaving softer areas like skin or out-of-focus backgrounds untouched.
This is also where modern AI-powered video tools are making a massive difference. They can streamline these post-production tasks, with some platforms saving creators up to 62% of their time. For Auralume AI users, this means turning images into compelling video clips with models like Pika or Vidu AI is more efficient than ever. In fact, 78.8% of video course creators say that reduced production time is the single biggest benefit of using AI, showing just how much these tools are changing the game.
Getting a True Cinematic Edge with AI
Artificial intelligence isn't just a buzzword anymore; it's a practical, powerful tool you can use right now to drastically improve your video quality. In fact, a new generation of AI platforms is leveling the playing field. They're handing creators the kind of visual firepower that, just a few years ago, was reserved for big studios with deep pockets.
We're not just talking about cleaning up existing pixels. The real shift is that AI can generate entirely new visual information from scratch. This opens up creative workflows that were completely out of reach for most of us until now.
Upscaling and Restoring Old or Low-Res Footage
One of the most immediately useful things you can do with AI is video upscaling. Let's say you've dug up an old family video shot in standard definition, or a client sends you a 720p clip for a 4K project. AI doesn't just stretch the image and make it blurry. Instead, it intelligently analyzes the pixels it has and generates new ones to fill in the detail, effectively recreating the footage at a higher resolution.
The result is a much sharper, clearer video that looks like it was shot on better equipment. This is a lifesaver for:
- Restoring memories: Breathe new life into grainy, low-resolution home movies.
- Saving a project: Fix those moments when you receive footage that's too small for your timeline.
- Punching up stock clips: Upgrade standard stock video so it blends seamlessly into your high-res project.
Turning Still Images into Moving Video
Here's where things get really interesting. AI can now create motion where there was none. Got a killer photograph that you wish was a video clip? Platforms like Auralume AI can take that single, static image and animate it with believable camera moves, depth, and other effects.
This "motion-from-still" technology is a total game-changer. An artist can upload a digital painting and see it come alive. A small business can turn a simple product photo into a captivating social media ad without a single second of filming. It’s all powered by sophisticated models (like those from Sora or Pika) that can interpret an image and build a dynamic story around it.
AI is closing the gap between a great idea and a finished product. A task that once required a team of animators and VFX artists can now be handled by one person with a good prompt.
Writing Better Prompts for Better Results
The text prompt is the heart and soul of AI video generation—it's the instruction you give the AI to bring your scene to life. Getting the prompt just right is part art, part science, but thankfully, modern tools are making it much more of a science.
Instead of guessing and hoping for the best, many platforms now include a "prompt wizard" or assistant. It helps you find the right words, suggests cinematic terms, and guides you toward a description that will get you professional-looking results. This flattens the learning curve dramatically, so anyone can turn a vision in their head into a jaw-dropping video clip.
The demand for these capabilities is absolutely exploding. In 2024, the global AI video generator market was valued between USD 534.4 million and USD 614.8 million. By 2032, it's expected to skyrocket to over USD 2.5 billion. That incredible growth shows just how much AI is changing the game, making high-quality video production accessible to everyone. You can learn more about the rise of AI video generators and their market impact.
Your Essential Video Quality Checklist
So, how do we pull all these techniques together into a repeatable process? Think of this less as a rigid set of rules and more as a practical workflow you can lean on for any project. Getting these habits down is what separates amateur footage from polished, professional work.
It all starts before you even hit record. Your pre-production efforts lay the groundwork for everything that follows. Focus on getting your lighting and composition right from the get-go. You'd be amazed what a single bounced light can do to create a soft, cinematic feel. Then, think about your framing—simple principles like the rule of thirds are timeless for a reason. They just work.
When it's time to capture, nail your camera settings. I always recommend shooting in the highest resolution your camera allows, usually 4K. This gives you a ton of wiggle room in post-production for things like reframing a shot or applying digital stabilization. Keep a close eye on your bitrate, too. A higher bitrate is crucial for capturing fast motion without those ugly compression artifacts.
From Editing to AI Enhancement
With your raw footage secured, the real magic begins in post-production. The first step is always color correction, which involves balancing your clips to get a clean, neutral starting point. From there, you can move on to creative color grading to evoke a specific mood.
Be gentle with noise reduction and sharpening. A little bit can add some pop and clarity, but overdo it, and your footage will scream "digital" in the worst way.
This is where you can really elevate your work with AI enhancement. Got some older, lower-resolution clips you need to mix in? AI upscalers are phenomenal for breathing new life into them, as this diagram shows.
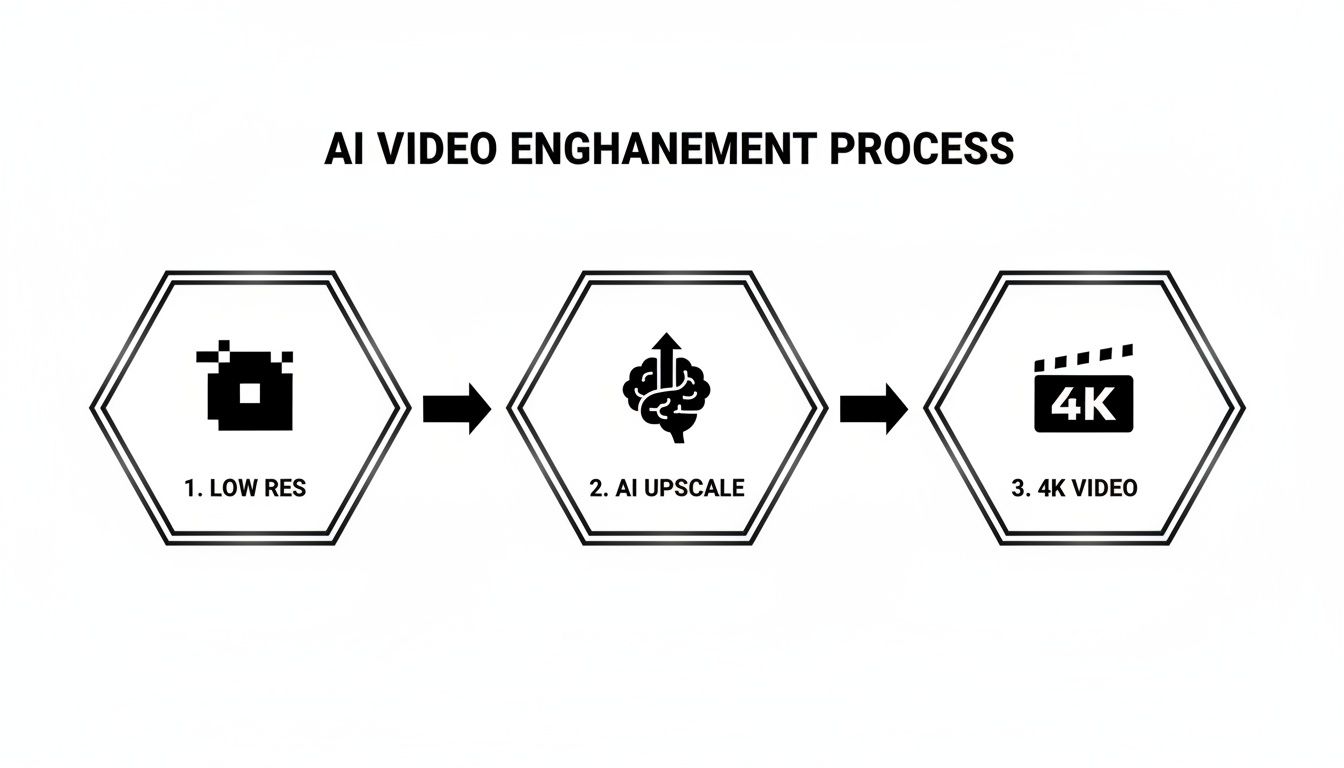
This isn't just a simple resizing trick. The AI is actually generating new pixel data to intelligently transform standard footage into something crisp and detailed. The impact of this technology is undeniable; 93% of video marketers have seen a positive ROI from video, and AI tools are amplifying those results.
Platforms like Auralume AI are at the forefront, using sophisticated models like Hunyuan and Minimax to create dynamic clips from simple text prompts and images. It's no surprise that 58% of marketers are planning to increase their investment in AI. These tools are quickly becoming essential for anyone serious about video quality.
If you're curious about the numbers, you can dive deeper into the ROI of AI-enhanced video.
Got Questions? We’ve Got Answers.
We get asked a lot about the nitty-gritty of improving video quality. Here are some of the most common questions that pop up from creators trying to get that perfect shot.
Can I Actually Fix Bad Video Quality After I’ve Already Recorded?
You absolutely can. Think of post-production as your second chance to get things right. Even with basic editing software, you can work wonders. Color correction can warm up a cold-looking scene, noise reduction can clean up that annoying graininess from low-light shots, and a touch of sharpening can make the details pop.
If you need a more dramatic improvement, that's where AI tools come in. They can actually upscale your video's resolution, intelligently filling in detail that the camera never captured in the first place. It’s pretty amazing to see a 1080p clip look convincingly like 4K footage.
If You Could Only Focus on One Thing, What Would It Be?
Hands down, lighting. It's the one thing that will make or break your shot. Great lighting carves your subject out from the background, adds depth, and feeds your camera the clean, rich information it needs to produce a beautiful image. I’ve seen a high-end cinema camera produce garbage in bad light, and a simple smartphone create magic with a well-lit scene.
Good lighting isn't just a nice-to-have; it's the foundation of good video. It solves a ton of problems before they even start, from digital noise to muddy colors. Your camera's sensor is hungry for light—feed it well.
How Is AI Any Different From Just Using My Editing Software?
Traditional editing is all about refining what you already have. You’re working with the pixels you captured on the day. AI, on the other hand, can actually generate brand-new visual information from scratch.
When an AI upscaler boosts resolution, it isn't just stretching the image. It's analyzing the existing pixels and intelligently creating new ones to fill in the gaps. Beyond that, AI can dream up entirely new video clips from a simple text description or even bring a still photo to life with believable motion. It’s like having a VFX studio at your fingertips.
Ready to see what AI can do for your video? Give Auralume AI a try and turn your ideas into something cinematic in just a few clicks. You can get started for free and see the results for yourself.