Turn Live Photo Into Video: How to turn live photo into video in seconds
That fleeting moment you caught with a Live Photo? It’s more than just a picture. It’s a tiny, dynamic story waiting to be told, and converting it is the key to sharing that story with everyone, on any platform. Learning this simple trick completely changes how you share your favorite memories.
Why Bother Turning a Live Photo Into a Video?
Live Photos are a brilliant idea, but they have one big catch: they really only play nice within the Apple ecosystem. Ever sent a great Live Photo to a friend with an Android phone, or tried to post it online, only for it to show up as a flat, boring still image? The movement, the sound, all the magic is just gone.
When you convert that Live Photo into a video, you fix that problem instantly. The process creates a standard MP4 file, a format that's universally understood. It’ll play on just about any device or social platform you can think of, no questions asked.
Getting Past Platform Roadblocks
When Apple introduced Live Photos back in September 2015, it really kicked off the shift from static images to content with a bit more life. Suddenly, "turning a Live Photo into a short video" became something everyone wanted to do. By 2020, both Apple and Android had baked this into their systems, making it a one-tap process for the roughly 80% of global smartphone users. You can see just how much video has taken over by checking out these video marketing statistics on vidico.com.
But this isn't just a technical fix for compatibility. It’s about making your content more engaging. A short video clip almost always tells a richer story and grabs more attention than a single photo ever could.
A converted Live Photo isn't just a file change; it's a strategic move to make your content more engaging and universally shareable. It ensures the moment you captured is seen—and heard—exactly as you intended.
Here’s why swapping Apple's proprietary format for a standard video is such a game-changer:
- Universal Compatibility: Your clip will play perfectly on Android phones, Windows PCs, and every social media site. No more dead-on-arrival moments.
- Better Storytelling: That little bit of motion and sound adds context and emotion that a still photo just can't match.
- More Engagement: It's no secret that content with motion performs better on social feeds. It stops the scroll and holds attention.
- Creative Freedom: Once it’s a video, the world is your oyster. You can easily edit it in other apps, add music, or stitch it together with other clips to create something entirely new.
Using Your Phone’s Built-In Conversion Tools

Sometimes the best tool is the one you already have. Before you go hunting for a special app, it's worth checking your phone's photo library. Both iOS and Android have surprisingly capable features built right in to turn a live photo into a video. This is by far the fastest way to get a quick, shareable clip from a moment you've already captured.
For iPhone users, this is all handled within the Photos app you’re already familiar with. It’s a beautifully simple process, letting you convert that interactive memory into a standard video file in just a couple of taps.
Converting Live Photos on an iPhone
First, open your Photos app and find the Live Photo you want to work with. You can easily spot them by the small concentric circle icon and the word "LIVE" that appears in the top-left corner when you view the image.
With the photo open, just tap the Share icon (the little box with an arrow pointing up). A menu will pop up with all your sharing options. You'll need to scroll down a bit, but you'll see a choice for Save as Video. Give that a tap, and a brand new video file will be saved right to your camera roll, leaving your original Live Photo completely untouched.
But don't stop there. You have more creative control than you might think. Before you save, tap the Edit button on your Live Photo to really fine-tune it.
- Change the Key Photo: This is a big one. You can slide through the frames at the bottom and pick the absolute best still shot to act as the thumbnail for your video.
- Trim the Clip: Got a little wobble at the beginning or end? Just drag the handles on the timeline to shorten the video and keep only the best part.
- Apply Effects: At the top, tap the "LIVE" dropdown menu. This is where you can turn your clip into a Loop that plays over and over, or a Bounce that creates a fun back-and-forth effect, much like an Instagram Boomerang.
The most overlooked feature is definitely the ability to choose a new key photo. This single action can dramatically change the first impression of your video, ensuring the most impactful frame is what people see first.
Managing Motion Photos on Android
If you're on an Android device, the concept is almost identical, though it's typically called a Motion Photo. The steps to export it as a video are just as straightforward, whether you're using Google Photos or Samsung's own Gallery app.
Inside Google Photos, open a Motion Photo—you’ll see a small play icon that shows it contains movement. To save it, tap the three-dot menu in the upper-right corner. From there, look for an Export or Save as video option. This will create a standard MP4 video file you can send to anyone or post anywhere.
For Samsung users, the workflow in the native Gallery app is very similar. Just open your Motion Photo, tap the More options menu (the three vertical dots), and hit Export. You’ll get the choice to save it as a Video or even as a GIF, which gives you some extra flexibility for sharing online.
Taking Your Creations to the Next Level with Third-Party Apps
While your phone's built-in tools are great for a quick conversion, they often stop short of true creative expression. This is where third-party apps and online tools really shine, offering a playground of features that let you transform a simple clip into something far more compelling. You’re no longer just changing a file format; you're stepping into a world of real editing possibilities.
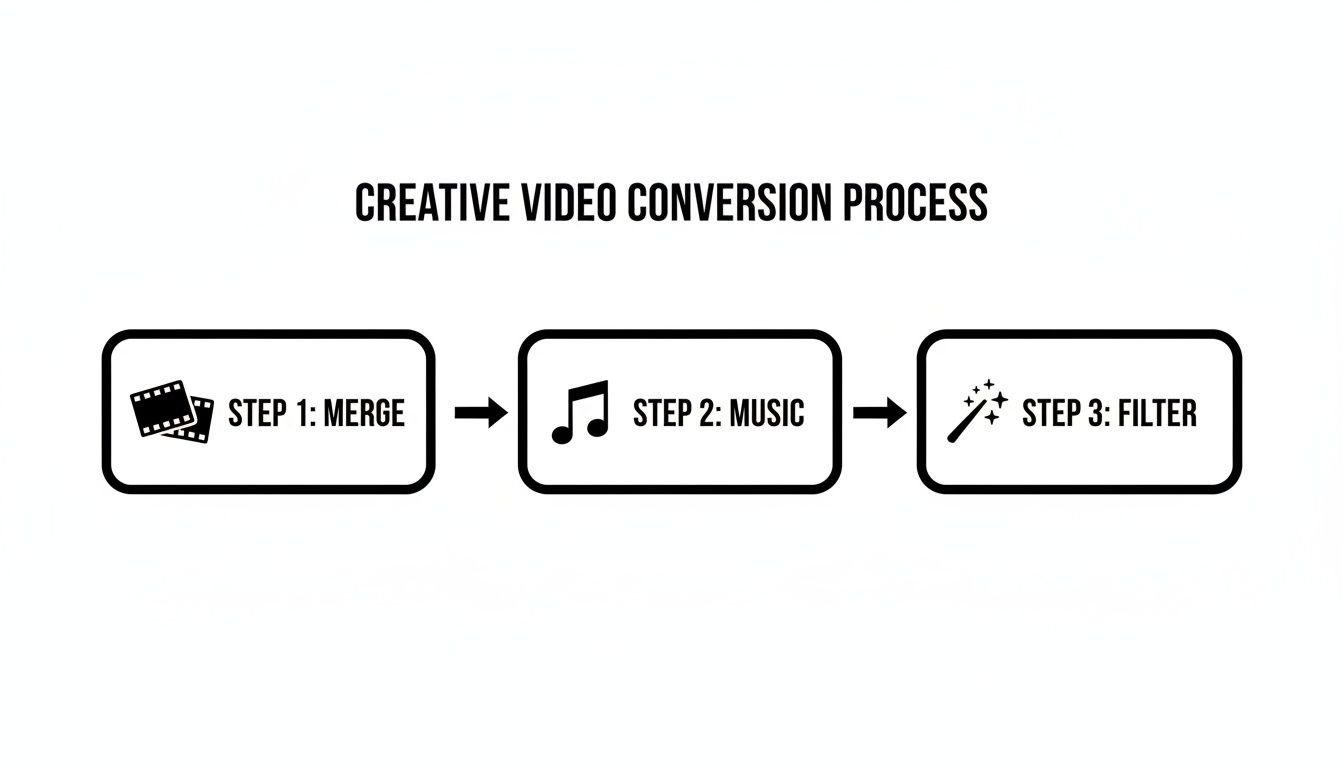
Think about putting together a dynamic montage for an Instagram Reel. Instead of just one Live Photo, a tool like CapCut lets you merge several clips to build a seamless narrative. From there, you can layer on a custom music track that fits the mood, apply professional-looking filters, or add text overlays to tell a richer story.
Why Bother with Another App?
The decision to turn a live photo into video using a dedicated app usually comes down to needing features your phone just doesn't have. For example, if you want to create a custom GIF for a lively group chat, you'll need specific formatting and looping options that go way beyond a simple "Save as Video" command. These tools give you that granular control over the final product.
When you're ready to explore options with more creative muscle, checking out third-party services like vidfarm is a great next step. Many apps in this space are built for specific outcomes, providing templates and effects already tailored for social media success.
The push for more dynamic content isn't just about what looks cool; it's backed by hard data. Study after study shows that posts with motion consistently blow static images out of the water. For instance, some research shows that videos can generate up to 1,200% more shares than text and images combined. Turning your Live Photos into polished videos directly taps into what audiences actually engage with. You can dig into more of the numbers over at Wyzowl's video marketing statistics page.
Scenarios Where Third-Party Apps Really Shine
Some projects almost demand the advanced features that external apps provide. Here are a few real-world situations where these tools make all the difference:
- Building Highlight Reels: You can finally combine the best moments from a vacation or event by stitching multiple Live Photos into one cohesive video. Add some simple transitions and a soundtrack, and you’ve created a mini-movie of your memories.
- Making Looping Social Content: Crafting a perfect, seamless loop is an art form on platforms like Instagram or TikTok, and these apps give you the tools to get it just right.
- Adding a Professional Polish: Ever wonder how some clips look so good? It's often advanced color grading, cinematic filters, and speed adjustments. You can use these tools to give your short clip a high-quality look that stands out in a crowded feed.
- Creating Custom GIFs: Export your creation as a high-quality GIF with specific loop counts and resolutions, perfect for dropping in messages or on platforms that favor the format.
The real power of third-party apps lies in their ability to transform a simple 1.5-second moment into a deliberate piece of content, tailored precisely for its intended platform and audience. It’s the difference between sharing a memory and telling a story.
Animating Any Photo with AI Tools
While converting a Live Photo is about reliving a captured moment, AI tools let you invent motion where there was none. This is where the real creative fun begins. You can take any photo—a treasured family portrait, a stunning landscape, or even a simple product shot—and breathe life into it.
The tech behind this is pretty clever. An AI model analyzes your image and builds a sophisticated "depth map" to figure out what's in the foreground versus the background. From there, it simulates camera movements like zooms and pans, creating a parallax effect that gives the illusion of 3D space. It's like having a personal cinematographer for your still images.
Choosing the Best Photos for AI Animation
I've learned from experience that the success of your animated video really hinges on the photo you start with. Not every image is a great candidate, and picking the right one can be the difference between a mesmerizing clip and something that just looks... weird. A little forethought here saves a ton of frustration.
For the best results, I always look for photos with these traits:
- A Clear Subject: Images with a distinct separation between the main subject and the background almost always animate more naturally. It gives the AI a clean slate to build its depth map.
- Good Lighting and Contrast: High-contrast photos with well-defined edges provide more data for the AI to work with, leading to sharper, more precise motion.
- Rich Textures and Detail: You'll get stunning results from landscapes, cityscapes, or close-ups of textured objects. The subtle movements across these details create a really immersive effect.
Here's the key takeaway: The AI is essentially "guessing" what's behind the objects in your photo to create movement. A clear, well-composed image with good depth gives it the best possible information to make an intelligent, realistic animation.
This technology has some seriously practical applications, too. For example, in real estate, AI tools can turn standard property photos into dynamic, cinematic videos, creating engaging virtual tours from what were once simple listings.
A Workflow for Bringing Images to Life
Once you've picked a great photo, the animation process itself is usually pretty straightforward. Platforms like our own Auralume AI are designed to walk you through it, so you don't need any technical experience. The main idea is to upload your image and tell the AI how you want it to move.
Animation is just the first step. The real magic happens when you start layering elements like music and filters to create a polished video.
Here's the typical flow you'll follow:
- First, upload your image. Start with the highest resolution file you have.
- Next, choose a motion preset. Most tools offer predefined styles. You might pick a slow zoom-in for drama, a horizontal pan for a sweeping landscape, or a subtle "breathing" motion for a portrait.
- Then, fine-tune the parameters. This is where you can adjust the intensity of the motion, the speed, and even the focal point of the animation.
- Finally, preview and export. Generate a quick preview to check your work. If it looks good, export the final clip.
Choosing the Right AI Motion Preset for Your Photo
The motion preset you select has a huge impact on the final feel of your video. It's not just about adding movement; it's about telling a story that matches the image. Choosing the right style can make a good animation great.
Here’s a quick guide I've put together based on what I've found works best for different types of photos.
| Motion Preset | Best For Photo Type | Creates This Effect | Pro Tip |
|---|---|---|---|
| Horizontal Pan | Wide landscapes, cityscapes, group photos | A sweeping, cinematic feel that reveals the scene | Set the motion speed to slow for a more majestic, calming effect. |
| Vertical Pan | Tall buildings, waterfalls, full-body portraits | Draws the eye up or down, emphasizing height and scale | Great for "revealing" a subject from top to bottom in a dramatic way. |
| Zoom In/Out | Portraits, product shots, images with a clear focal point | Focuses attention on a specific detail or creates a sense of drama | A slow zoom-in on a person's eyes can be incredibly powerful for portraits. |
| Subtle (Breathe) | Portraits, close-ups of objects, still life | A gentle, lifelike motion that adds a touch of realism without being distracting | This is my go-to for adding just enough movement to make an image feel alive. |
| 3D Parallax | Photos with clear foreground and background layers | A dynamic, three-dimensional effect where layers move at different speeds | Works best on images where the subject is clearly separated from the background. |
Ultimately, the best way to learn is to experiment. Try a few different presets on the same image to see how each one changes the mood and focus. You'll quickly get a feel for what works.
Common Issues and Quick Fixes
AI animation is impressive, but it’s not foolproof. You’ll occasionally hit a snag, but most issues are easy to fix with a few tweaks. Knowing what to look for will help you troubleshoot and get a better result, faster.
-
Warping or Distortion: This often happens when the AI gets confused by complex shapes or overlapping objects. The fix? Try a different photo with a clearer subject, or just dial back the intensity of the motion to make the effect more subtle.
-
Unnatural Movement: Sometimes the animation just feels robotic or doesn't match the photo's mood. The solution is to experiment with different presets. A "Subtle" or "Gentle" motion almost always works better for a portrait than a dramatic "Zoom."
-
Blurry Edges: You might notice the edges between your subject and the background look a bit soft after animating. Always start with a sharp, high-resolution image to minimize this. You can also run the final video through an upscaler to enhance its clarity.
By picking the right photos and learning how to tweak the settings, you can consistently turn a photo into a video that looks captivating and professional. This opens up a world of possibilities for creating unique social media content, dynamic presentations, or just bringing your favorite memories to life in a completely new way.
Polishing Your Newly Created Video
So you’ve converted your Live Photo or still image into a video. Great! But the raw output is just the beginning. The real magic happens in the editing, where a few small tweaks can turn a simple clip into something truly special.
Think of it like developing a photograph. The initial shot has potential, but the final adjustments are what make it pop. This is where you can inject your own style and bring the video to life, and it's a lot easier than you might think.
Fine-Tuning the Visuals and Sound
The first thing I always tackle is the overall vibe of the video. The quickest way to do that is by playing with color and sound, which are incredibly powerful tools for setting a mood.
- Color Grading: Never settle for the default look. Dive into filters or manual color adjustments to create a specific feel. Want a nostalgic, late-summer vibe? Push the colors toward warm, golden tones. Going for something more modern or even a little moody? Cooler, blueish hues will get you there.
- Adding Ambient Audio: A silent video feels lifeless. Adding a subtle soundscape can make a world of difference. For a landscape, try the gentle sound of wind or rustling leaves. For a city shot, the low murmur of a distant crowd adds incredible depth. Even a simple, low-key music track can make your clip feel more immersive.
- Cropping for the Right Platform: The shape of your video is crucial. That beautiful wide-screen clip will look terrible crammed into a vertical frame. Always crop your video for its final destination. A 9:16 aspect ratio is perfect for TikTok, Instagram Reels, and Stories, while a classic 1:1 square works best for the Instagram feed.
From my experience, the single most impactful change you can make is adding the right sound. A silent video is just moving pixels. A video with thoughtful audio becomes an experience.
Troubleshooting Common AI Animation Issues
When you bring a static photo to life with AI, you're bound to hit a few weird snags. Don't worry, most of these are easy to fix once you know what to look for. The trick is to make small, targeted adjustments.
One of the most common issues is movement that looks a little stiff or robotic. If the AI-generated motion just doesn't feel right, the simplest fix is to dial back the intensity. Try lowering the animation speed or switching to a more subtle preset, like a gentle "breathe" or "drift" effect. This can smooth out any jerky motion and make the whole thing feel much more natural.
Another classic problem is when the AI gets confused about the depth in your photo, causing parts of the background to stretch or warp in weird ways. If this happens, your best bet is to try a different photo, ideally one with a very clear separation between the subject and the background. Sometimes, just changing the focal point of the animation can also nudge the AI in the right direction. It's these little corrections that take an animation from good to great.
A Few Common Questions About Animating Photos
When you start turning Live Photos into videos or animating still images, a few practical questions always pop up. Getting these details straight from the start will help you nail the final result, whether you're doing a quick conversion on your phone or using a more advanced tool.
Let's tackle some of the most frequent things people ask.
Will My Video Have Sound?
Yes, it absolutely can. If you're converting a Live Photo using your iPhone's built-in "Save as Video" feature, the original audio comes along for the ride. That little bit of sound is often what makes the moment feel so alive, so it's great that iOS preserves it automatically.
When you bring a photo into a third-party app or an AI tool, you usually get more options. You can often add your own soundtrack, sound effects, or just keep the original audio if you started with a Live Photo.
Does Turning a Live Photo into a Video Ruin the Quality?
Not really. The quality drop is usually so small you won't even notice it, especially on a phone screen. The native iPhone conversion does a fantastic job of keeping the original resolution intact.
The key is to pay attention to your export settings when using other tools. Any good app or AI platform will let you export in high definition (HD) or even 4K. As a rule of thumb, always start with the best quality photo you have and choose the highest resolution available when you export.
What's the difference between a 'Loop' and a 'Video'? A video is just a standard
.movor.mp4file that plays from start to finish. A loop, on the other hand, is designed to play on repeat seamlessly, which is perfect for creating those eye-catching, endlessly repeating clips you see on social media.
Can I Make a Regular, Still Photo Move?
You bet. This is where AI photo animation tools really come into their own. Your phone’s built-in features can't do this, but dedicated platforms like Auralume AI are built for exactly this purpose.
These tools can take any static image—a brand new portrait, a landscape shot, or even a scanned photo from an old family album—and intelligently add motion. The AI builds a 3D depth map from your 2D picture, allowing it to create realistic camera pans, zooms, and parallax effects that make it look like it was filmed, not photographed.
Ready to see it for yourself? With Auralume AI, you can bring any photo to life with stunning, cinematic motion in just a few clicks. Explore our tools and start creating today.