Video editing software for beginners: A quick-start guide
The right video editing software for beginners isn't about having the most features; it's about having the right features. The sweet spot is a simple, clean interface paired with powerful tools that save you time, like drag-and-drop timelines, AI assistants that handle tedious tasks like captioning, and ready-to-go templates that give you a head start.
Finding Your Starting Point in Video Editing
Diving into video editing for the first time can feel like stepping into the cockpit of a 747. You’re faced with a dashboard full of intimidating buttons, complex dials, and blinking lights. It's enough to make anyone want to turn around and walk away. But here’s the secret: you don't need a Hollywood-grade studio to create amazing, professional-looking videos.
Think of it like learning to drive. You wouldn't start with a high-performance manual race car. You’d pick something automatic, reliable, and easy to handle. The goal is just to get you on the road and build your confidence. The same goes for video editing—the best tools today are built for creators, not just seasoned film editors, making them more approachable than ever.
What Truly Matters for a Beginner
The trick is to ignore the hundreds of obscure features you'll probably never use and focus on what you actually need. The right software helps you bring your vision to life without getting tangled up in technical jargon. Instead of getting overwhelmed by every bell and whistle, you just need to nail down a few core elements that make the entire process feel smooth and, dare I say, fun.
This massive shift toward user-friendly design is no accident. With the video editing market expected to hit USD 4.78 billion by 2030, developers are racing to build smarter, simpler tools for the growing wave of creators. Features like one-click templates and AI assistants aren't just trendy additions; they're essential tools designed to help you get great results without a painful learning curve. You can read more about the video editing market trends and growth.
The best video editing software for beginners isn’t the one with the most features. It’s the one that makes the most sense to you and helps you create content without friction.
Your Quick Evaluation Checklist
When you're trying out different programs, it can be tough to tell what's a genuinely useful feature versus what's just marketing fluff. This quick checklist will help you cut through the noise and figure out if a tool is truly beginner-friendly.
Here's a handy table to keep these priorities straight as you explore your options.
Beginner's Checklist for Choosing Video Editing Software
| Feature Category | What to Look For | Why It Matters for Beginners |
|---|---|---|
| Interface & Usability | A clean, uncluttered layout. Can you find the "cut" tool easily? Is it drag-and-drop? | A simple workspace lets you focus on being creative instead of hunting for buttons. It reduces frustration and speeds up learning. |
| AI & Automation | Automatic caption generation, silence removal, background noise reduction, or AI-suggested clips. | These tools automate the most boring and time-consuming parts of editing, letting you get to the fun stuff faster. |
| Templates & Guides | Pre-built project templates for TikTok, Instagram Reels, YouTube intros, etc. | Templates provide a proven structure. They’re like training wheels that teach you pacing and formatting while you build your skills. |
| Exporting & Sharing | Simple, preset export options for specific platforms (e.g., "Export for YouTube"). | You shouldn't need a degree in video engineering to share your work. Good software handles all the complex settings for you. |
Keep these four pillars in mind as you read through our recommendations. They'll give you a solid framework for deciding which tool will get you from raw footage to a finished video with the least amount of headache.
Understanding the Core Tools You Will Actually Use
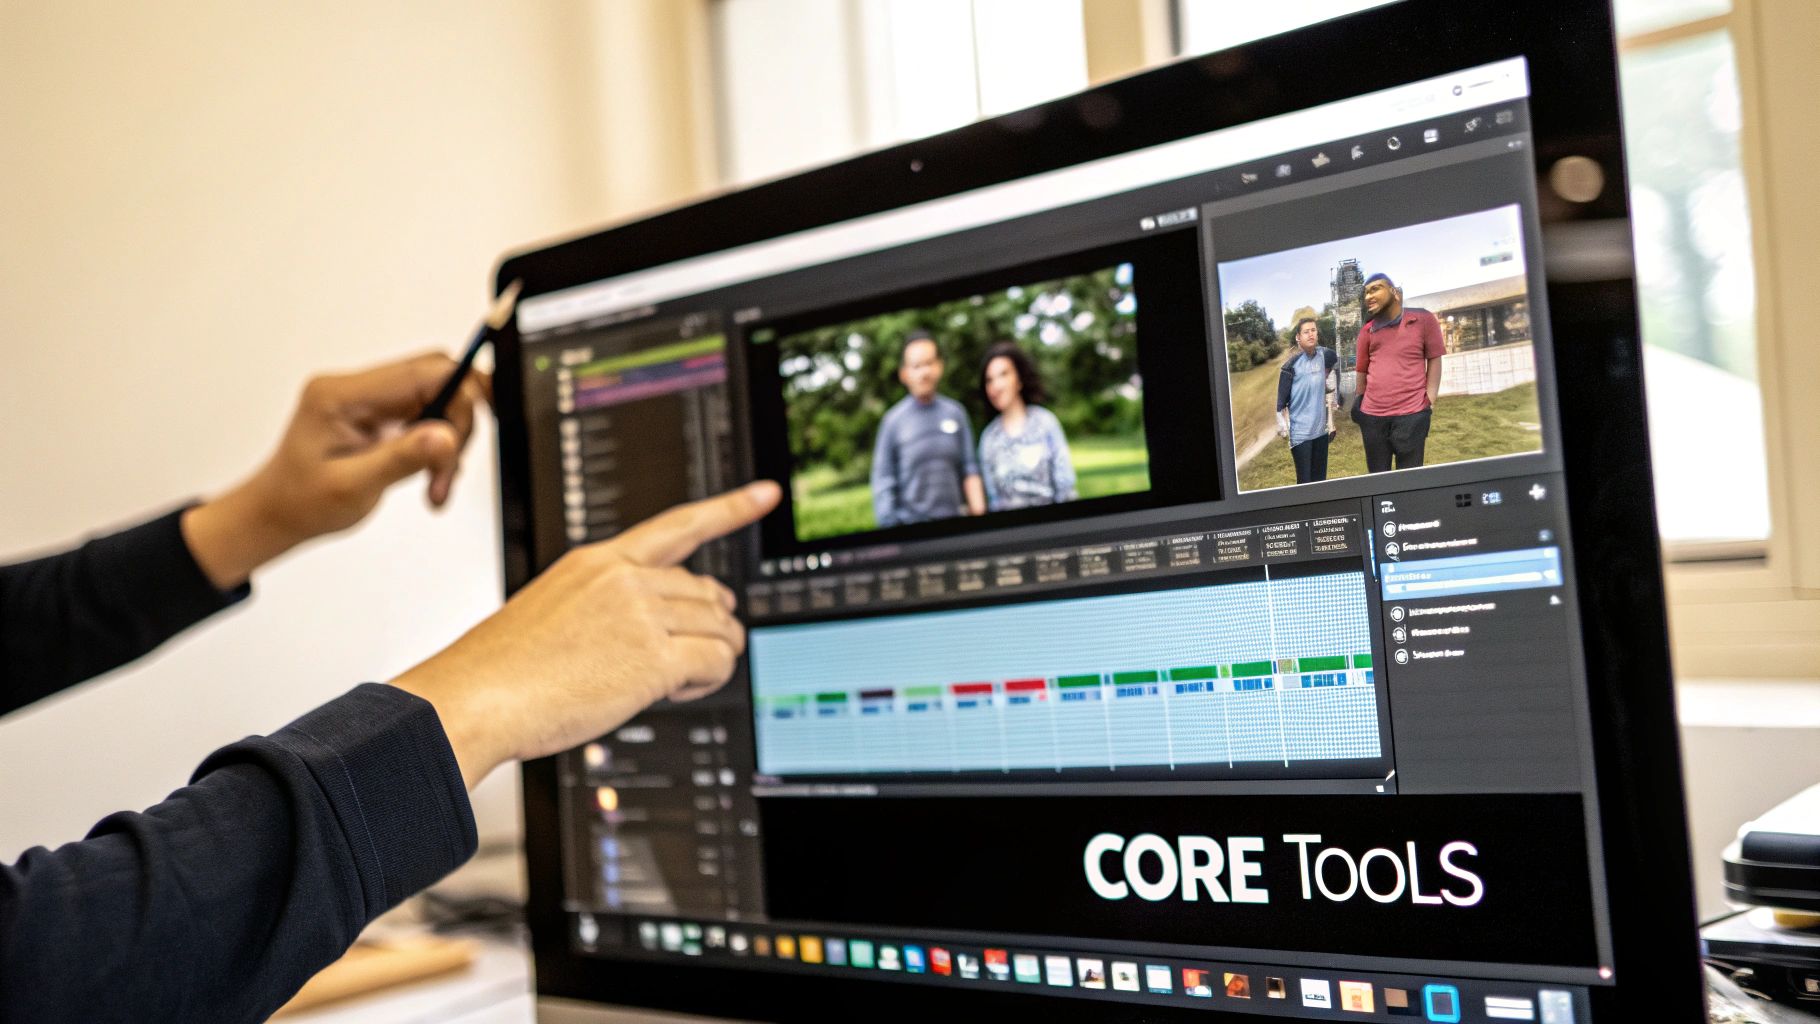 Firing up video editing software for the first time can be a shock to the system. You’re hit with a wall of icons, menus, and panels that all look impossibly complex. But I’ll let you in on a secret: you can safely ignore about 90% of it when you're just starting.
Most of the real work in editing boils down to a handful of fundamental tools. Think of it like learning to cook. You don't need a sous-vide machine and a blast chiller on day one. You just need a good knife, a cutting board, and a stove. Once you get a feel for those, you can make incredible things.
Let's break down the key parts of your new digital workspace. We’ll focus only on what you need to get your first project out the door.
The Media Bin: Your Digital Pantry
Every video starts with your raw ingredients—all the video clips, audio files, and images you’ve gathered. The Media Bin (you might also see it called the Project Panel or Library) is where you keep all of these assets organized. It’s your digital pantry, holding everything you might need for your edit.
Just like you’d lay out all your ingredients before you start cooking, you import your files here first. This keeps your project tidy and makes it easy to find exactly the clip you’re looking for.
The Timeline: Where Your Story Comes to Life
This is it—the heart of the operation. The Timeline is the single most important part of any editor. If the Media Bin is your pantry, the Timeline is your cutting board and stovetop all in one. It’s where you actually build your video.
You’ll see it as a horizontal space where you drag clips from the Media Bin and place them in the order you want them to appear. This is where you perform the three most basic, yet powerful, actions in editing:
- Cutting: Using a "razor" tool to slice a clip into smaller pieces.
- Trimming: Shortening the start or end of a clip to tighten up the action.
- Arranging: Shuffling clips around to get the pacing and story just right.
Getting comfortable with dragging, dropping, and slicing clips on the Timeline is the foundation of everything. It's how you shape a pile of raw footage into a story that flows.
Beginner's Tip: It's easy to get bogged down in fancy effects. But at its core, video editing is just choosing what to show, what to cut, and when. The Timeline is where you make those crucial decisions.
The Preview Window: Your Taste Test
As you're chopping and arranging clips on the Timeline, you need a way to see how it’s all coming together. That’s what the Preview Window (or Program Monitor) is for. It plays back whatever you've built on your Timeline in real time.
Think of it as your feedback loop. Does that cut feel too abrupt? Is that text in the right spot? The Preview Window gives you the answers. You’ll have your eyes glued to this screen, constantly playing back your work and making tiny tweaks until it feels perfect.
These three elements—the Media Bin, Timeline, and Preview Window—are the holy trinity of video editing. Every single video editing software for beginners is built around this workflow. Focus on mastering these three areas, and you'll cut through the clutter and start creating with confidence.
From Raw Clips to Your First Video Project
Knowing what all the buttons do is one thing, but actually making a video is where the real learning begins. Let’s walk through the entire process, step-by-step, taking a few random clips and turning them into something you’d actually want to share. This is the fundamental workflow you'll use for pretty much any project you tackle.
Let's say you just got back from a quick weekend trip. You have a few clips on your phone: a nice landscape shot, a video of you walking down a trail, and a quick clip of that amazing burger you had for lunch. We'll turn this into a mini travel vlog using a simple five-step process that works in any beginner-friendly editing software.
Step 1: Get Your Files in Order
Before you can even think about telling a story, you need to gather your ingredients. This first step is all about setting up a clean, organized workspace.
Think of it like cooking. You wouldn't just start tossing things in a pan, right? You'd get your veggies, spices, and everything else out on the counter first. In editing, this means importing your video files, any music you want to use, and maybe a logo or two into your software’s Media Bin or project panel.
Most programs have an "Import" button, or you can just drag and drop your files right in. Taking a minute to do this now will save you a massive headache later when you’re digging around trying to find that one perfect shot.
Step 2: Build the Bare Bones of Your Story
With all your clips ready to go, it’s time to start building. This is where you put on your storyteller hat. Just drag your clips from the Media Bin down onto the Timeline in the order you want your audience to see them.
Don't sweat the small stuff here. The goal is to just get the basic skeleton of your video in place. For our little travel vlog, you’d probably lay it out like this:
- Opening Scenery Clip: Sets the mood and shows where we are.
- Walking Clip: Creates a sense of journey and action.
- Lunch Clip: Adds a personal, relatable touch.
This initial sequence is what editors call a "rough cut." You're just establishing the flow and making sure the story makes sense from beginning to end.
Step 3: Trim the Fat for Better Pacing
Alright, you've got a story, but it’s probably a bit clunky. Now it's time to tighten things up. This is where the real craft of editing comes into play—you’ll go through each clip and snip out all the boring or unnecessary bits.
Did your camera wobble for a second when you started recording? Snip it off. Is there a long, awkward pause where nothing happens? Use the cut tool (often called the razor or blade tool) and get rid of it. Pacing is everything. It's what keeps people watching. Your job is to show them only the best, most essential moments.
Trimming is the art of subtraction. Great editing isn't about what you add; it's about what you take away. Every single second of your video needs to earn its place.
Step 4: Add Some Polish with Music and Titles
The video now has a solid foundation and a good rhythm. The last creative push is adding the little touches that make it feel complete and professional. We're talking about background music, some simple titles, and maybe a few transitions.
- Background Music: Drag a royalty-free music track onto the audio layer of your timeline. Music is a shortcut to emotion and can instantly change the entire feel of your video.
- Simple Titles: Use the text tool to add an opener like "My Weekend Escape" and maybe some text to identify a location or what you were eating.
- Basic Transitions: Instead of a jarring jump from one clip to the next, try adding a simple cross-dissolve. It just smooths the viewing experience and feels less abrupt.
These details might seem small, but they make a world of difference in how polished your final video feels.
Step 5: Export and Share Your Masterpiece
You did it! Your collection of clips is now a cohesive, polished story. The very last thing to do is export the project. This is the process where the software takes all your separate clips, audio files, titles, and effects and mashes them all together into a single video file (usually an .MP4).
Good beginner software makes this super easy with presets. Instead of getting bogged down in confusing settings like codecs and bitrates, you can just pick an option like "Export for YouTube" or "Save for Instagram." The program handles the technical stuff for you, making sure your video looks fantastic wherever you post it. Once the export is finished, your video is officially ready to be uploaded and shown to the world.
How AI Is Changing the Game for New Creators
If you're just getting into video editing, the biggest breakthrough for you isn't a new visual effect or a complex timeline—it's artificial intelligence. For years, editing software had a notoriously steep learning curve that kept a lot of creative people on the sidelines. AI is tearing down that wall. Think of it as a smart assistant that handles the boring, repetitive tasks that used to take hours of painstaking work and technical skill.
Let's say you just recorded a 20-minute video. The old way involved manually sifting through every second to find the good parts, snipping out every "um" and awkward silence, and then tediously typing out captions. Today, AI can do the bulk of that work in just a few minutes. It completely changes the dynamic, turning editing from a technical headache into a purely creative process.
This shift toward an AI-assisted workflow—from the moment you import your clips to the final export—is quickly becoming the new normal.
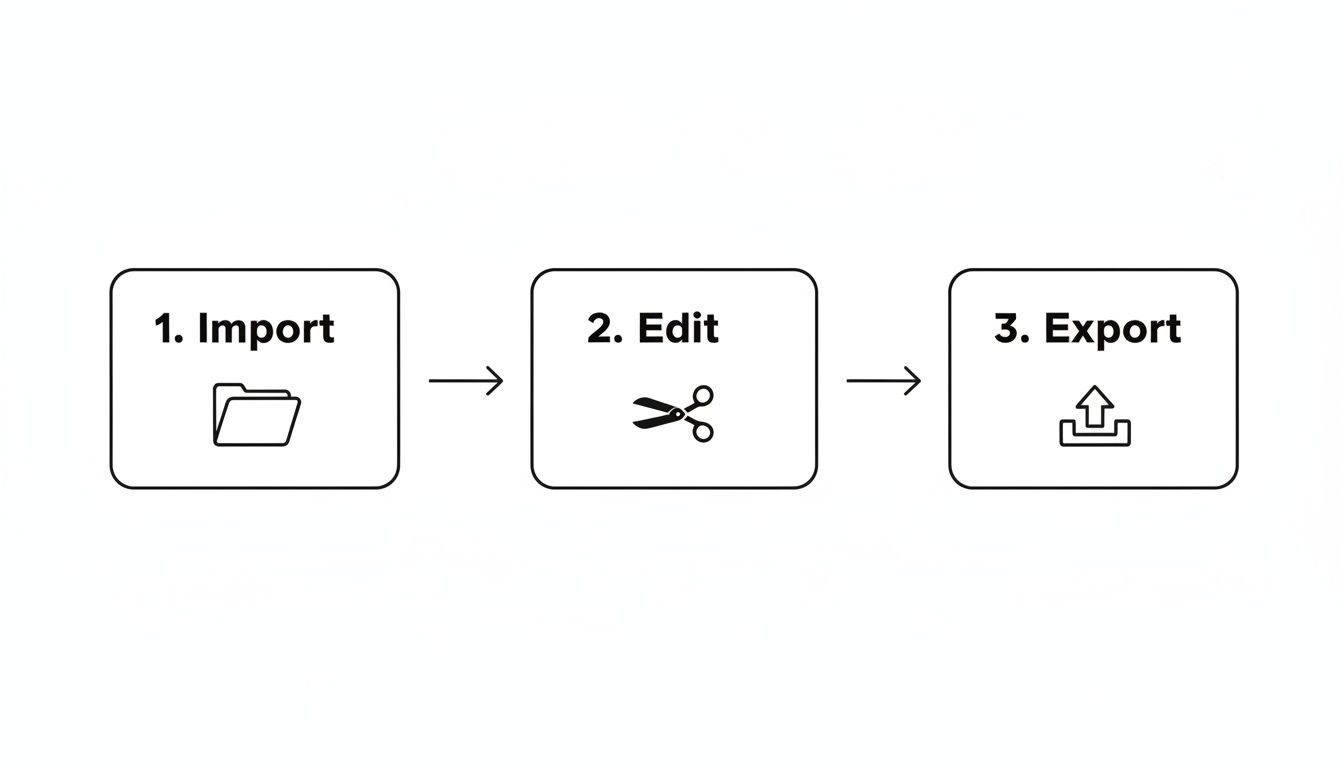
The simple diagram above shows the basic journey of any video project. What's exciting is how AI can now jump in at every single one of those steps to help you get to a finished product faster.
Practical AI Tools That Do the Heavy Lifting
Most modern video editors built for beginners now come with AI features that are genuinely useful, not just gimmicks. They're designed to solve the real-world problems you'll face right away.
Here are a few game-changing examples you'll actually use:
- Automatic Captions: The software listens to your video's audio and automatically generates subtitles. This is a huge help, since manually captioning a video is one of the most mind-numbing tasks in all of editing.
- Intelligent Trimming: Some tools can scan a long recording and automatically flag the most interesting parts, helping you cut out the fluff. It’s like having a co-editor pointing out all the highlights for you.
- Background Removal: Don't have a green screen? No problem. AI can now isolate you from your background with a single click, letting you drop in any image or video you want behind you.
The impact is massive. For example, powerful AI video summary generator tools can take your long footage and condense it into key moments, which is perfect for reviewing your content or creating highlight reels. Ultimately, these features let you focus on what actually matters: the story you're trying to tell.
The Next Wave: From Editing to Generating
But AI's role in video creation isn't just about making old tasks easier. The next generation of tools is completely flipping the script, moving from editing existing footage to generating brand-new visuals from scratch. This shift is happening fast, and it's backed by some serious market growth.
The entire image and video editing software market is valued at USD 19.40 billion in 2024 and is expected to rocket to USD 35.47 billion by 2031. This explosive growth is a clear sign that we're moving toward AI-first workflows, where new creators can achieve professional results without the traditional learning curve.
Platforms like Auralume AI (https://www.auralumeai.com/) are leading this charge. They offer tools that can turn a simple text prompt into a full-blown video clip. This reframes the whole creative act. Instead of needing to find or shoot the perfect clip, you can just describe what you want—say, "a drone shot flying over a misty forest at sunrise"—and the AI will create it.
For beginners, this is the ultimate shortcut. It lets you bring your vision to life without getting bogged down by the technical side of video production at all.
Top Video Editing Tools Recommended for Beginners
Diving into the world of video editing software for beginners can feel overwhelming. There are so many options, each promising to be the best. Instead of throwing a huge list at you, I’ve picked out a few tools that I’ve seen work wonders for new creators, each one solving a different kind of problem.
The market for this stuff is exploding. It's expected to jump from USD 3.22 billion in 2023 to USD 6.78 billion by 2030. That growth is fantastic news for us because it forces companies to build in smarter, AI-driven features that make tricky things like audio mixing and finding the right music dead simple. Professional-looking video is no longer just for the pros.
Clipchamp: The Social Media Specialist
If you live on TikTok, Instagram Reels, or YouTube Shorts, you know that speed is everything. Clipchamp (now owned by Microsoft) was practically built for the fast-paced world of social media. It runs right in your browser, so there’s nothing to install, and its interface is clean and easy to grasp.
Its real magic is in the templates and drag-and-drop system. You can knock out a vertical video, add automatic captions, and pull from a decent library of stock clips and music in just a few minutes. It's perfect for anyone who needs to create good-looking social content consistently without getting bogged down.
Wondershare Filmora: The Aspiring YouTuber
Ready to move beyond 60-second clips and build a YouTube channel? You'll need more power, but you don't want to get lost in a complicated program. This is where Wondershare Filmora shines. It gives you a proper editing timeline but keeps things from getting too intimidating.
Filmora is loaded with features that help new YouTubers make their videos look more polished right away:
- AI Portrait: A neat trick that lets you remove video backgrounds without needing a green screen.
- Audio Ducking: This feature is a lifesaver. It automatically lowers your background music whenever someone starts talking.
- Preset Titles & Effects: You get access to a massive collection of professional-looking animations and text styles.
Filmora is the perfect stepping stone for creators who feel limited by basic apps but aren't quite ready for the steep learning curve of advanced software. And remember, while great video is key, a lot more goes into production. It's worth checking out the best tools for content creators to round out your workflow.
Auralume AI: The Idea-Driven Creator
But what if you don't want to edit at all? For creators who are all about the idea and just want to see it come to life, Auralume AI changes the game completely. You don't edit footage—you generate it just by typing.
Auralume AI is for the person who thinks, "I have a killer idea for a video, but zero time or desire to spend hours piecing it together." It literally turns your words into video.
This platform pulls together some of the most powerful AI video generators, like Google Veo and Sora, into one simple dashboard. You can just type "an overhead drone shot of a coffee shop on a rainy day," and it will create the clip for you. It’s an incredible shortcut for making B-roll, illustrating a concept, or even building a whole video from scratch. For a beginner who wants to focus on storytelling, not technical editing, Auralume AI is an amazing creative partner.
Comparing Top Beginner Video Editing Software
To make the choice even clearer, let's break down these three tools side-by-side. Think about what you really want to create, and the right option should stand out.
| Tool Name | Best For | Key Beginner-Friendly Feature | Pricing Model |
|---|---|---|---|
| Clipchamp | Quick social media clips (TikTok, Reels) | Pre-made templates and a simple drag-and-drop interface | Freemium (with paid upgrades) |
| Filmora | Aspiring YouTubers and longer-form content | AI-powered assists like Audio Ducking and background removal | Subscription or perpetual license |
| Auralume AI | Creators who want to skip manual editing | Generating video clips directly from text prompts | Subscription / Credit-based |
Each of these tools offers a fantastic entry point into video creation. Whether you choose the quick-and-easy social editor, the balanced YouTuber toolkit, or the futuristic AI generator, you’re in a great position to start bringing your ideas to life.
Common Mistakes to Avoid in Your First Videos
Jumping into your first video edit is a huge thrill, but a few common hurdles can trip you up right out of the gate. Learning to sidestep these early on will not only make your videos look more professional but also save you a ton of frustration. Think of this as a friendly heads-up based on the mistakes we've all made.
One of the most jarring things you see in a beginner's edit is the jump cut. This is what happens when you cut from one part of a clip to a nearly identical part of the same clip. The result? Your subject seems to magically "jump" on screen. It’s an easy fix, though—just cover the cut with some relevant B-roll (that’s your supplemental footage) to smooth over the transition and give your audience more to look at.
The Overuse of Flashy Effects
When you first discover the effects library in your video editing software for beginners, the temptation to use everything is real. Spinning transitions, star wipes, and dramatic fades might seem cool, but they usually just distract from your message and scream "amateur."
In reality, a polished, professional edit often relies on clean, simple cuts. For most situations, a subtle cross-dissolve—or even no transition at all—is far more powerful.
Pro Tip: Less is almost always more. A great edit should feel invisible; it guides the viewer’s attention without calling attention to itself. Your job is to tell a clear story, not to show off every single effect your software has.
Neglecting Your Audio Quality
Here's a hard truth: viewers will forgive a slightly grainy video, but they will click away from bad audio in a heartbeat. Muffled dialogue, annoying background noise, or volume that’s all over the place can torpedo an otherwise great video. You don't need a pro-level studio, but you absolutely have to pay attention to your sound.
- Clean Up Your Sound: Start by using your software’s built-in tools to get rid of any obvious background hiss or hum.
- Balance Your Levels: Make sure your background music isn't fighting with your dialogue for attention. Most modern editors have an "auto-ducking" feature that can do this for you.
- Maintain Consistency: Keep the volume steady throughout the entire video. Nobody wants to be constantly reaching for the volume knob.
Creating an Inconsistent Pace
Pacing is the rhythm and heartbeat of your video. A classic beginner mistake is either letting scenes drag on forever or cutting them so fast that the viewer can't keep up. The secret is to learn to trim aggressively. Cut out every unnecessary pause, every "um," and every second of dead air.
Your goal is to constantly move the story forward. If a shot isn't adding anything valuable, it probably needs to go. By steering clear of these common slip-ups, your first videos will immediately feel more polished and keep your audience hooked.
A Few Common Questions About Getting Started
Diving into video editing for the first time usually brings up a bunch of questions. It's totally normal. Getting some clear answers can make all the difference, helping you pick the right tools and start creating with a lot more confidence. Let's clear up some of the most common things beginners ask.
How Much Should I Spend on My First Software?
This is probably the biggest question on everyone's mind, and the answer is simple: you don't have to spend a dime to get started. There's a ton of fantastic, free video editing software for beginners out there that's more than powerful enough for social media clips or your first YouTube videos. Starting free is the perfect way to learn the basics without any financial pressure.
Of course, once you get the hang of it, you might start bumping up against the limits of free software. That’s when a paid subscription can be a game-changer. It’ll open the door to more advanced tools, smoother performance, and huge libraries of music and effects. A small monthly fee is usually a smart move once you know you're serious about creating content.
What Kind of Computer Do I Need to Start?
You probably already have what you need. While professional 4K editing can make even powerful computers sweat, most modern laptops and desktops can handle basic editing just fine. The secret is using "proxies"—low-resolution copies of your video files that make editing much faster. Any decent software will create these for you automatically.
The best computer for video editing is the one you already have. Give it a try first. Only think about upgrading if you’re constantly waiting for your machine to catch up.
As a rule of thumb, a computer with at least 8GB of RAM and a decent multi-core processor made in the last five years should be a great starting point for 1080p projects.
How Long Does It Really Take to Learn?
Learning to edit is a process, not a race. You can pick up the fundamentals—like making cuts, trimming clips, and adding a music track—in just a couple of hours with a beginner-friendly tool. Finding your own unique style and feeling truly comfortable? That might take a few weeks of playing around and making things. Traditionally, getting to a professional level could take months, or even years, of dedicated practice.
But AI is flipping that whole timeline on its head. Tools like Auralume AI are built to crush that steep learning curve, taking it from months down to mere minutes. Instead of manually piecing everything together, you just type in what you want, and the AI builds the video for you. It frees you up to think about the story and the creative vision, not the technical headaches. You can get straight to making great-looking content right away.
Ready to skip the learning curve and just start creating? With Auralume AI, you can turn your ideas into polished videos in seconds, not months. Generate professional-quality clips from a simple text prompt and bring your vision to life today. See what's possible at https://auralumeai.com.