10 Video Production Best Practices for Cinematic Results in 2025
In today's visually-driven landscape, creating high-quality video content is no longer a luxury, it's a necessity. Whether you are a social marketer aiming for viral engagement, a content creator building a loyal audience, or a professional leveraging powerful tools like Auralume AI, the gap between a good video and a great one lies in a disciplined, strategic approach. But where do you start? The sheer volume of advice can be overwhelming, often mixing timeless principles with fleeting trends.
This guide cuts through the noise. We have compiled 10 foundational video production best practices that form the bedrock of any successful project. Think of this as your blueprint for turning creative concepts into polished, impactful content. Covering the entire workflow from initial pre-production planning and storyboarding to AI-enhanced post-production and multi-platform distribution, these actionable insights will equip you with a reliable framework.
The goal is to help you create videos that not only look professional but also achieve their specific strategic objectives, from driving conversions to building brand affinity. Each tip is designed to be directly applicable, providing clear steps to refine your process and elevate your final output. Forget generic advice; we are focused on the practical techniques that separate amateur efforts from professional-grade productions. Let's dive into the essential practices that will consistently improve your creative work, ensuring every project makes a lasting impact. By mastering these core tenets, you can build a more efficient and effective production pipeline, regardless of your project's scale or platform.
1. Pre-Production Planning and Storyboarding
The most crucial phase of any successful video project happens before the camera even starts rolling. Pre-production is the foundational stage where you translate your abstract ideas into a concrete, actionable blueprint. This meticulous planning, encompassing everything from scriptwriting to storyboarding and creating detailed shot lists, is a core tenet of professional video production best practices. It ensures your entire team shares a unified vision, minimizes expensive on-set delays, and prevents the dreaded need for reshoots.
Think of legendary directors like Alfred Hitchcock, who meticulously storyboarded every single shot, or animation giants like Pixar, whose entire films are visualized on storyboards long before any animation begins. This level of detail isn't just for Hollywood blockbusters; it’s a scalable practice that benefits creators at all levels, from a social media marketer planning a 30-second product ad to a YouTuber scripting a long-form documentary.
How to Implement Effective Pre-Production
To integrate this practice into your workflow, focus on creating three key documents: the script, the storyboard, and the shot list. These elements work together to provide a comprehensive guide for your production.
- The Script: Finalize all dialogue, voiceover, and on-screen text. This provides the narrative backbone for your visual planning.
- The Storyboard: Create a sequence of drawings or images to visualize each shot. This doesn't require artistic mastery; simple stick figures can effectively communicate framing, composition, and character placement.
- The Shot List: This is a technical checklist for your crew. It details everything for each shot: shot number, camera angle (e.g., wide, close-up), camera movement (e.g., dolly, static), lens choice, and a brief description of the action.
Actionable Tips for Success
- Use Digital Tools: Leverage apps like Procreate for free-form storyboarding or specialized software like StoryboardThat to create professional-looking boards quickly.
- Scout Your Location: Before the shoot day, visit your location and take photos from potential camera positions. This helps identify lighting challenges, sound issues, and logistical hurdles.
- Incorporate Audio Cues: Add notes for sound effects, background music, and specific audio timing directly into your script and storyboard to ensure a cohesive final product.
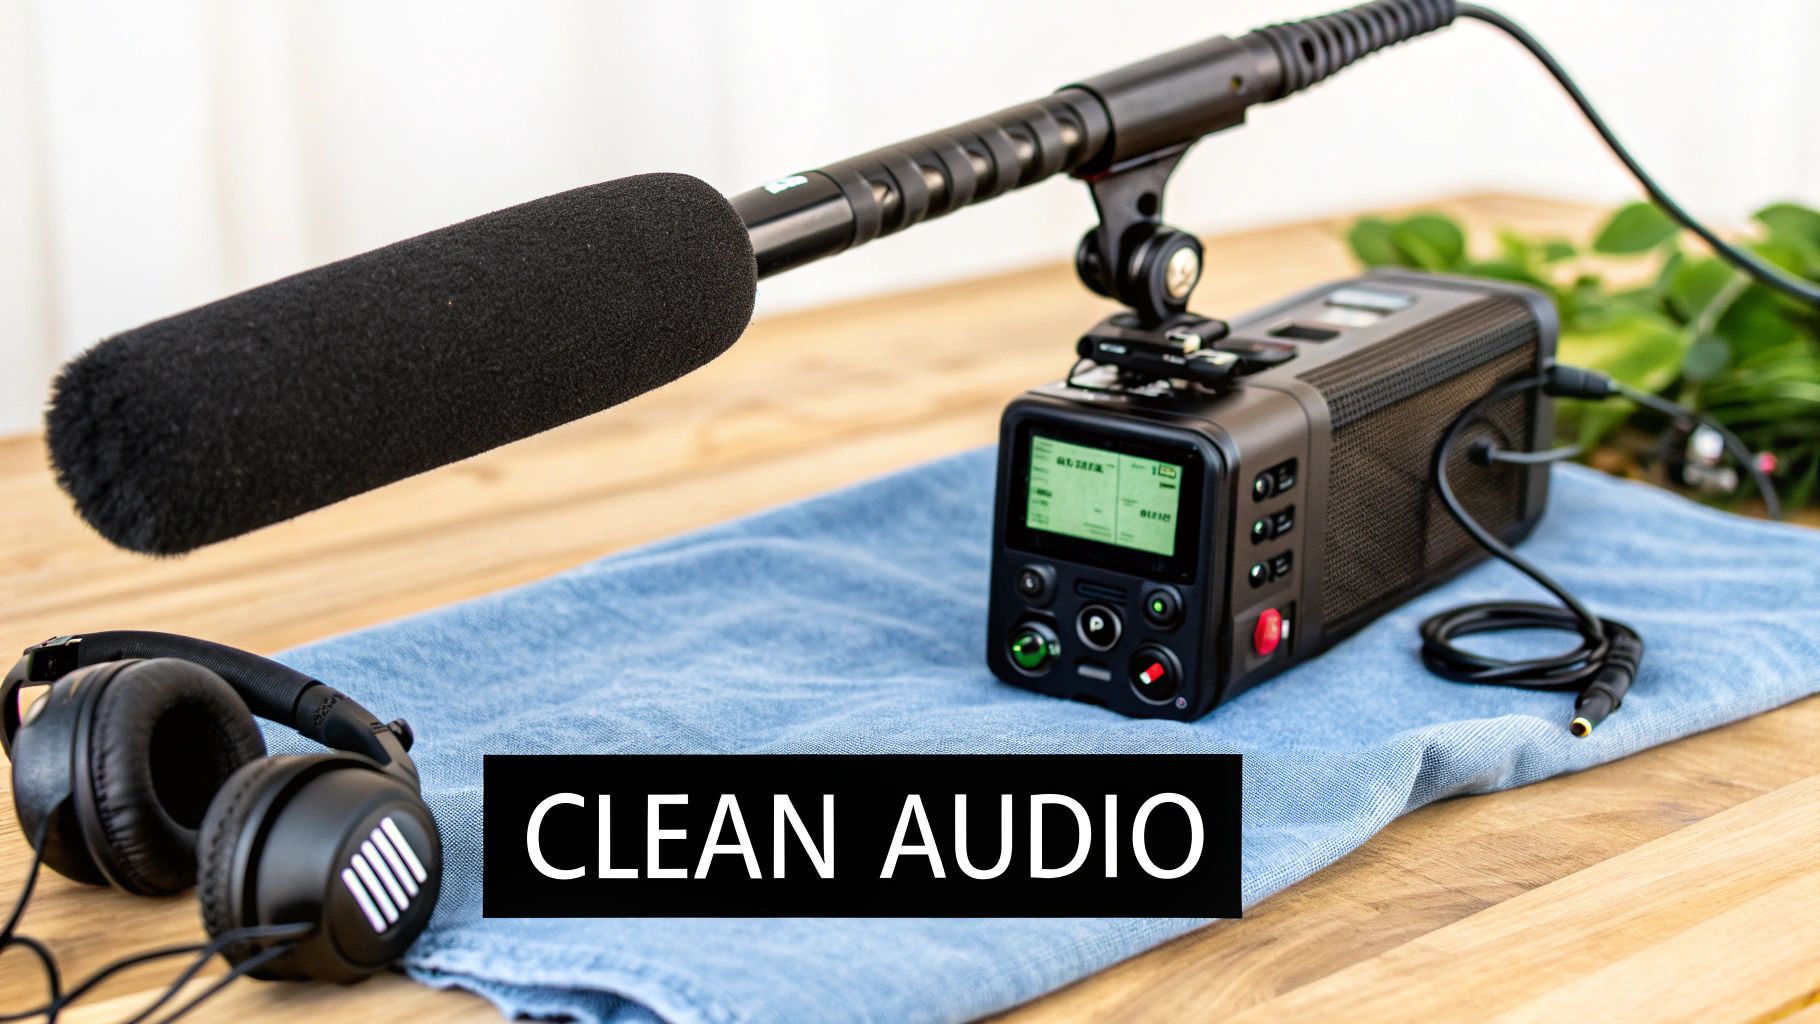
2. High-Quality Audio Recording and Design
It's an industry cliché that viewers will forgive mediocre video quality but will immediately tune out due to poor audio. This holds true because audio is more than just dialogue; it's the element that builds atmosphere, conveys emotion, and ensures clarity. Prioritizing high-quality audio recording and thoughtful sound design is a non-negotiable component of professional video production best practices. It separates amateur content from polished, engaging productions that hold an audience's attention.
This focus on sonic excellence is evident across professional media, from the immersive Dolby Atmos soundscapes in Netflix productions to the crystal-clear narration in BBC documentaries. Pioneers like Skywalker Sound have built an empire on the art of sound design, proving that what you hear is just as impactful as what you see. For creators, this means treating audio capture with the same respect as cinematography.
How to Implement High-Quality Audio
A professional audio workflow involves choosing the right tools for the job and paying close attention during both recording and post-production. The goal is to capture the cleanest possible source audio on set, giving you maximum flexibility later.
- Microphone Selection: Choose your microphone based on the environment. Use a shotgun mic on a boom pole for directional recording, a wireless lavalier mic clipped to the speaker for clear interview dialogue, or a studio condenser mic for pristine voiceovers.
- Recording Environment: Control your environment by eliminating background noise like air conditioners, refrigerators, or traffic. Use sound blankets or choose quiet locations to minimize echo and reverb.
- Post-Production Mixing: Balance your audio in post-production. This involves adjusting levels for dialogue, music, and sound effects, removing unwanted noise, and applying EQ and compression to enhance clarity and richness.
Actionable Tips for Success
- Always Record Room Tone: Before or after an interview, record 30-60 seconds of the location's ambient silence. This "room tone" is essential for patching audio gaps in post-production seamlessly.
- Monitor Audio with Headphones: Never rely on your camera's built-in meter. Wear quality headphones during recording to listen for clipping, wind noise, or other issues in real-time.
- Plan Your Sound Design: Don't treat sound effects and foley as an afterthought. Plan them during pre-production to create a more immersive and intentional soundscape for your video. Discover more about creating immersive videos with powerful audio at Auralume AI.
3. Proper Lighting and Color Grading
Beyond camera quality and resolution, nothing separates amateur from professional video faster than lighting. Strategic lighting design is a fundamental video production best practice that sculpts your subjects, creates depth and dimension, and powerfully establishes the mood of a scene. When combined with thoughtful color grading in post-production, it defines the entire visual style and emotional tone of your project, ensuring consistency and impact across every shot.

Think of the atmospheric, high-contrast lighting in David Fincher's films or the distinct, season-specific color palettes of Netflix's Stranger Things that transport viewers to a different era. These are deliberate choices that guide the audience's feelings and focus their attention. For marketers, controlled lighting makes products look premium and appealing, while for YouTubers, a simple three-point setup can dramatically elevate production value. Neglecting this crucial element results in flat, unengaging, and often untrustworthy-looking content.
How to Implement Effective Lighting and Grading
To master this practice, treat lighting as a key part of pre-production and color grading as a final, essential storytelling tool. This two-phase approach ensures your visual foundation is strong before you apply the stylistic polish.
- Three-Point Lighting: Start with this foundational technique. Use a key light (main light), a fill light (to soften shadows), and a backlight (to separate the subject from the background).
- Color Grading: In your editing software, use tools like color wheels, curves, and scopes to adjust the hue, saturation, and luminance of your footage. This is where you create a specific "look," like a warm, nostalgic tone or a cool, futuristic feel.
- Use LUTs (Look-Up Tables): LUTs are preset color profiles that apply a specific grade to your footage instantly. They are excellent for achieving a consistent look across multiple clips or for getting a professional starting point for your grade.
Actionable Tips for Success
- Invest in LED Panels: Affordable, versatile LED panels offer control over brightness and color temperature, making them ideal for creators at all levels.
- Create a Lighting Diagram: During pre-production, sketch a simple diagram showing where each light, the camera, and the subject will be placed.
- Set White Balance On-Location: Before you start shooting, use a white or grey card to set your camera's white balance correctly. This ensures your colors are accurate from the start.
4. Optimal Camera Settings and Technical Standards
Beyond creative vision, technical excellence is the bedrock of professional-grade video. Mastering your camera settings like resolution, frame rate, and shutter speed is a non-negotiable step in achieving a polished final product. This technical proficiency is a fundamental component of video production best practices, ensuring your footage is not only visually appealing but also compatible with your intended distribution platforms, from cinema screens to social media feeds.
This focus on technical standards is championed by industry leaders like RED Digital Cinema and ARRI, who build cameras for the highest cinematic specifications, and is enforced by platforms like Netflix, which has strict 4K HDR delivery requirements for its original content. Adhering to these standards from the start prevents critical post-production issues and ensures your content meets viewer expectations, whether you're aiming for a cinematic 24fps film look or a fluid 60fps for high-action sports content on YouTube.
How to Implement Optimal Technical Standards
To standardize your technical workflow, start by defining the core settings for your project before you record a single frame. This creates a technical blueprint that guarantees consistency across all footage.
- Establish Resolution and Frame Rate: Decide on your delivery resolution (e.g., 1080p, 4K) and frame rate (e.g., 24fps for a film look, 30fps for standard web video, 60fps for slow motion or action).
- Set Your Shutter Speed: Follow the 180-degree shutter rule by setting your shutter speed to double your frame rate (e.g., 1/48 or 1/50 for 24fps; 1/120 for 60fps). This creates natural-looking motion blur.
- Choose the Right Codec: A codec compresses and decompresses video data. Shoot in the highest quality, most flexible codec your camera and storage can handle, such as ProRes or DNxHD, to preserve maximum data for color grading and editing.
Actionable Tips for Success
- Research Platform Specs: Before shooting, look up the recommended technical specifications for your primary distribution platform (e.g., YouTube, Instagram, Vimeo).
- Create a Tech Spec Sheet: For team projects, create and distribute a simple document outlining all key settings: resolution, frame rate, codec, color space, and audio format.
- Shoot a Test Clip: Always record a short test clip with your final settings and review it on your editing timeline to check for any technical issues before committing to a full shoot.
5. Professional Editing and Pacing
Post-production is where your raw footage transforms into a polished, compelling story. Strategic editing and pacing are the invisible forces that control narrative flow, build emotional impact, and ultimately determine viewer engagement. Effective editing isn't about flashy effects; it's about making choices that serve the story, a fundamental aspect of professional video production best practices. When done correctly, the audience feels the intended emotion without consciously noticing the cuts.
Consider the signature rapid-fire, comedic editing of director Edgar Wright, which creates energy and pace, or the hyper-engaging, retention-focused style of YouTuber MrBeast. Contrast this with the deliberate, suspense-building cuts in a Stanley Kubrick film. Each style uses pacing to achieve a specific emotional and psychological effect, proving that the rhythm of your edits is just as important as the content of your shots.
How to Implement Effective Editing and Pacing
The key to great editing is intentionality. Every cut, transition, and sound cue should have a purpose. Start by assembling a "rough cut" focused purely on the story, then refine the pacing in subsequent passes to enhance the emotional journey.
- Prioritize Story Over Effects: Build your narrative first. Place your clips in a sequence that tells a clear and coherent story before adding any complex transitions, color grading, or visual effects.
- Use J and L Cuts: Smooth out your audio and visual transitions. A J-cut is when the audio from the next clip starts before the video, while an L-cut is when the audio from the previous clip continues over the new shot.
- Pace for Emotional Impact: Use quick cuts to build excitement or tension during action sequences. Use longer, more deliberate takes during dialogue or emotional moments to let the scene breathe and allow the viewer to connect with the subject.
Actionable Tips for Success
- Master Your Tools: Gaining complete command of your editing suite is crucial for an efficient workflow. For professional results, explore insights on the best video editing software for ambitious creators to find the right platform for your needs.
- Get a Fresh Perspective: After finishing a draft, step away for a day. Come back and watch it with fresh eyes to spot pacing issues, awkward cuts, or moments where the story drags.
- Cut to the Rhythm: Align your visual cuts with the beat of your background music or the rhythm of your dialogue. This creates a more seamless and satisfying viewing experience.
6. Establishing Visual Consistency and Style Guide
A key differentiator between amateur and professional content is visual consistency. Establishing a style guide is a fundamental video production best practice that ensures every element of your project, from color grading to typography, works together to create a cohesive and recognizable brand identity. This practice involves defining a set of visual rules and applying them rigorously, which strengthens brand recall and lends an air of authority and polish to your work.
Think of the instantly recognizable aesthetic of a Wes Anderson film, with its symmetrical compositions and distinct color palettes, or the minimalist, clean design language of Apple's marketing videos. Similarly, Vox's explainer videos maintain a consistent visual standard with specific motion graphics and typography, making their content immediately identifiable. This level of cohesion isn't accidental; it's the result of a deliberate, well-documented visual strategy.
How to Implement a Visual Style Guide
To build consistency into your workflow, create a reference document or template that outlines the core visual components of your video projects. This guide becomes the single source of truth for you and your team during production and post-production.
- Define Your Color Palette: Select a primary, secondary, and accent color palette. Use tools like Adobe Color to create harmonious combinations and document the specific hex codes for each color.
- Establish Typography Rules: Choose specific fonts for titles, subtitles, and on-screen text. Define rules for font size, weight (bold, regular), and capitalization to ensure text is always consistent and readable.
- Standardize Graphic Elements: Create or source a consistent set of icons, lower-thirds templates, and transition styles. This ensures all graphical additions feel like part of the same visual family.
Actionable Tips for Success
- Create Template Projects: Set up a template project file in your video editing software (e.g., Premiere Pro, Final Cut Pro) with your brand colors, font styles, and graphic assets pre-loaded.
- Use Consistent Aspect Ratios: Decide on your primary delivery platforms and stick to their standard aspect ratios (e.g., 16:9 for YouTube, 9:16 for TikTok/Reels) to avoid awkward cropping.
- Document Everything: Keep your style guide in a shared, easily accessible document. Include visual examples for each rule to make it easy for anyone on the team to understand and apply.
7. Adaptive Formats for Multiple Platforms
Creating a single, one-size-fits-all video is no longer an effective strategy in today's multi-platform digital landscape. Adaptive formatting is the practice of tailoring your video content for the specific technical requirements, aspect ratios, and audience expectations of each distribution channel, such as YouTube, TikTok, Instagram, and even traditional television. This approach is a cornerstone of modern video production best practices as it maximizes reach, boosts engagement, and respects the native user experience of each platform.
This practice has been popularized by the rise of short-form video platforms like TikTok and Instagram Reels, which favor vertical 9:16 content, in contrast to the traditional 16:9 horizontal format of YouTube and broadcast TV. News organizations exemplify this by snipping compelling vertical clips from long-form interviews for social media, while YouTube creators re-edit their primary content into fast-paced Reels to attract a wider audience, driving traffic back to their main channel.
How to Implement Adaptive Formatting
Integrating this practice begins in pre-production. The goal is to shoot with enough flexibility to allow for multiple high-quality exports later, preventing awkward cropping or loss of crucial visual information.
- Shoot for a Wider Canvas: Whenever possible, shoot in a higher resolution (e.g., 4K or 6K) and frame your shots wider than needed. This provides extra visual data, allowing you to punch in and reframe for both horizontal (16:9) and vertical (9:16) aspect ratios without losing quality.
- Establish Format-Safe Zones: Create guides or overlays in your camera monitor and editing software that show the "safe zones" for different formats. This ensures that key subjects, text, and graphics are visible whether the video is viewed horizontally or vertically.
- Create Tailored Edits: Don't just crop your main video. Create distinct edits for each platform. A TikTok version might require a faster pace, more on-screen text, and a trending audio track, whereas the YouTube version can be longer and more detailed.
Actionable Tips for Success
- Plan B-Roll with Versatility: While shooting supplementary footage, consciously capture shots that work well in both wide and tall compositions.
- Design Flexible Graphics: Create lower-thirds and other on-screen graphics that can be easily repositioned or resized to fit different aspect ratios without looking stretched or cluttered.
- Use Automation Tools: Leverage features in editing software like Adobe Premiere Pro's "Auto Reframe" or specialized platforms to automate the process of converting your primary sequence into various formats.
- Test on Real Devices: Before publishing, always preview your different video versions on actual smartphones, tablets, and desktops to catch any formatting or legibility issues.
8. Proper Backup and File Management Systems
One of the most overlooked yet critical aspects of professional video production is what happens after the footage is captured. Without a systematic approach to backups and file organization, a single hard drive failure or accidental deletion can wipe out hours, days, or even weeks of work. Implementing a robust backup and file management system is a non-negotiable video production best practice that protects your valuable assets from catastrophic data loss and streamlines your post-production workflow.
This principle is fundamental across the industry, from major Hollywood studios using secure services like Hollywood Vaults for archival to broadcasting companies employing redundant server systems to prevent any on-air disasters. Professional video studios rely on Network Attached Storage (NAS) systems, and stock footage libraries maintain massive, searchable archives. These systems ensure that digital assets are secure, redundant, and easily accessible for future use or edits.
How to Implement Effective File Management
A solid strategy combines a logical folder structure with a consistent naming convention and a multi-layered backup protocol. To safeguard your invaluable video project files, it's crucial to implement robust strategies, as outlined in a comprehensive data backup and recovery guide.
- Adopt a Naming Convention: Use a clear, consistent format for all files and folders. A common professional standard is
YYYYMMDD_ProjectName_Scene_Shot_Take(e.g.,20240921_BrandPromo_01_02A_01). - Create a Project Folder Template: For every new project, create a master folder with subfolders like
01_Footage,02_ProjectFiles,03_Audio,04_Graphics, and05_Exports. This keeps everything organized. - Implement the 3-2-1 Backup Rule: Maintain three copies of your data on two different types of media, with one copy stored off-site (e.g., one on your main drive, a second on an external drive, and a third in the cloud).
Actionable Tips for Success
- Back Up Daily: Never wait until a project is finished. Back up all new footage and project file updates at the end of every shooting or editing day.
- Use Cloud and Physical Media: Combine the accessibility of cloud services like Dropbox or Frame.io with the reliability of physical external drives for a comprehensive solution.
- Log Your Footage: Create a simple spreadsheet to log key metadata for your clips, including shot descriptions, keywords, and quality ratings, making it easier to find the best takes later.
9. Collaboration Tools and Workflow Communication
In modern video production, the "lone genius" model is rare. Success hinges on a team's ability to communicate clearly and work in sync, regardless of physical location. Establishing a robust collaborative workflow with dedicated tools is a critical video production best practice that transforms chaotic projects into streamlined operations. This practice involves using centralized platforms for project management, feedback, and communication to ensure everyone, from the director to the client, is on the same page.
This methodology is the lifeblood of distributed creative teams and global animation studios managing artists across different time zones. It's also essential for marketing agencies coordinating with clients for feedback on ad campaigns. By centralizing all assets, reviews, and decisions, you eliminate confusing email chains, prevent costly rework based on outdated feedback, and create a single source of truth for the entire project.
How to Implement a Collaborative Workflow
To build an efficient system, you need to integrate tools that solve specific production challenges. Focus on centralizing three key areas: project management, video review, and real-time communication. This creates a transparent and accountable environment for your entire team.
- Project Management Platform: Use a tool like Asana or Monday.com to create timelines, assign tasks, and track project milestones from pre-production to final delivery.
- Video-Specific Review Tool: Implement a platform like Frame.io for gathering feedback. It allows collaborators to leave time-stamped, on-screen comments directly on the video, making revisions precise and easy to understand.
- Communication Hub: Designate a primary channel like Slack for daily updates and quick questions, while documenting all major decisions and feedback within your project management or review tool.
Actionable Tips for Success
- Standardize Your Stack: Choose one primary tool for each function (e.g., Asana for tasks, Frame.io for reviews) and get full team buy-in to avoid fragmentation.
- Establish Naming Conventions: Create a clear, consistent system for naming files and versions (e.g.,
ProjectName_Scene01_V3_Draft) to prevent confusion. - Define Communication Protocols: Document when to use each tool. For example, use Slack for urgent queries, email for formal client communication, and your PM tool for task-related updates.
- Schedule Regular Check-ins: Hold brief, daily or weekly stand-up meetings with a clear agenda to align the team, discuss blockers, and maintain momentum.
10. Continuous Learning and Technical Skill Development
The landscape of video production is in a constant state of flux, with new technologies, software updates, and creative techniques emerging daily. Embracing a mindset of continuous learning is not just beneficial; it’s a fundamental video production best practice for staying relevant and competitive. Committing to ongoing education ensures your skills remain sharp, your creative toolkit expands, and you can adapt to industry shifts, from AI-driven editing to new social media video formats.
This principle is embodied by the most successful creators and professionals in the field. Think of YouTube educators like Peter McKinnon, who constantly experiment with new gear and share their findings, or professional cinematographers who attend workshops at festivals like Sundance to master the latest camera technology. Their success is built not just on existing talent but on an insatiable curiosity and dedication to growth. This practice is crucial for anyone, from a social media marketer learning the latest CapCut trends to a filmmaker exploring generative AI tools.
How to Implement Continuous Learning
Integrating ongoing education into your busy schedule requires a structured, intentional approach. It’s about building a sustainable habit of skill acquisition rather than sporadic, intensive cramming.
- Schedule Dedicated Time: Block out 5-10 hours per month specifically for learning. Treat this time like any other important project commitment.
- Identify Knowledge Gaps: Are you weak in color grading, audio mixing, or motion graphics? Objectively assess your skills and prioritize learning in areas that will have the most impact on your work.
- Choose Your Medium: Select learning formats that suit your style. This could be structured online courses, hands-on workshops, industry publications, or community forums like Reddit's r/videography.
Actionable Tips for Success
- Experiment on Personal Projects: Test new techniques, software, or gear on low-stakes personal projects before deploying them for a client. This builds confidence and mastery without risk.
- Follow Industry Leaders: Curate your social media feeds to include influential directors, editors, and tech reviewers to stay informed about emerging trends and discussions.
- Join a Community: Engage with peers in online forums or local meetups. Sharing challenges and solutions is a powerful way to learn and stay motivated. Exploring how emerging technologies are being discussed can offer valuable insights, and you can learn more about AI's role in video on auralumeai.com.
10-Point Video Production Best Practices Comparison
| Practice | Implementation complexity 🔄 | Resource requirements ⚡ | Expected outcomes 📊 | Ideal use cases 💡 | Key advantages ⭐ |
|---|---|---|---|---|---|
| Pre-Production Planning and Storyboarding | High 🔄🔄🔄 — time‑intensive coordination | Medium ⚡⚡ — planning tools, senior personnel | 📊 Fewer reshoots, clearer creative vision; ⭐⭐⭐⭐ | Narrative films, complex shoots, animation | Prevents errors; improves team alignment |
| High‑Quality Audio Recording and Design | Medium‑High 🔄🔄🔄 — technical monitoring & setup | High ⚡⚡⚡ — mics, recorders, trained engineers | 📊 Dramatically better perceived quality and retention; ⭐⭐⭐⭐⭐ | Interviews, docs, high‑production online/video | Clear dialogue; immersive sound design |
| Proper Lighting and Color Grading | High 🔄🔄🔄 — setup + iterative grading | High ⚡⚡⚡ — lights, modifiers, grading suite | 📊 Polished visuals and consistent mood; ⭐⭐⭐⭐⭐ | Cinematic, commercials, branded content | Strong storytelling through mood; professional polish |
| Optimal Camera Settings and Technical Standards | Medium 🔄🔄 — technical decision making | Medium ⚡⚡ — cameras, storage, codecs | 📊 Compatibility, efficient delivery, future‑proofing; ⭐⭐⭐⭐ | Platform distribution, archival, cinematic projects | Consistent quality; optimized file management |
| Professional Editing and Pacing | High 🔄🔄🔄 — craft and multiple revisions | Medium‑High ⚡⚡⚡ — editors, software, time | 📊 Improved engagement and emotional impact; ⭐⭐⭐⭐⭐ | Narrative, short‑form ads, YouTube content | Controls narrative flow; rescues imperfect footage |
| Establishing Visual Consistency and Style Guide | Medium 🔄🔄 — upfront creative work | Medium ⚡⚡ — design assets, templates | 📊 Strong brand recognition and scalable output; ⭐⭐⭐⭐ | Branded series, channels, repeat campaigns | Cohesive identity; faster approvals |
| Adaptive Formats for Multiple Platforms | Medium‑High 🔄🔄🔄 — multiple deliverables | Medium‑High ⚡⚡⚡ — editing passes, storage | 📊 Expanded reach and platform fit; ⭐⭐⭐⭐ | Social repurposing, cross‑platform campaigns | Maximizes audience; platform‑optimized versions |
| Proper Backup and File Management Systems | Medium 🔄🔄 — processes & discipline | High ⚡⚡⚡ — storage, cloud, redundancy | 📊 Prevents data loss; faster recovery; ⭐⭐⭐⭐⭐ | All professional productions, long‑term archives | Protects assets; simplifies collaboration |
| Collaboration Tools and Workflow Communication | Medium 🔄🔄 — governance + tool adoption | Low‑Medium ⚡⚡ — SaaS subscriptions, training | 📊 Reduced rework and clearer accountability; ⭐⭐⭐⭐ | Remote teams, multi‑department projects | Streamlines feedback; version control |
| Continuous Learning and Technical Skill Development | Low‑Medium 🔄🔄 — ongoing commitment | Low‑Medium ⚡⚡ — courses, time investment | 📊 Sustained competitiveness and skills growth; ⭐⭐⭐⭐ | Teams adapting to new tech, career development | Future‑proofing; expanded capabilities |
Elevate Your Workflow and Start Creating
The journey from a simple idea to a polished, impactful video is built upon a foundation of proven principles. We've explored the essential pillars of production, moving from the critical groundwork of pre-production planning and storyboarding to the nuanced arts of lighting, audio design, and professional editing. Mastering these ten video production best practices is what separates fleeting content from videos that resonate, engage, and endure. It’s the difference between a project that feels disjointed and one that presents a cohesive, compelling narrative from the first frame to the last.
Think of each practice not as a restrictive rule, but as a strategic tool in your creative arsenal. Proper file management and backup systems are your safety net, preventing catastrophic data loss and project delays. Establishing a clear visual style guide ensures your brand remains consistent and recognizable across every platform. Similarly, embracing adaptive formatting isn't just a technical step; it’s a strategic decision to meet your audience where they are, optimizing your content for every screen and context.
From Blueprint to Brilliant: The Real-World Impact
Implementing these best practices transforms your entire creative process. Instead of scrambling to fix issues in post-production, you’ll find yourself operating with foresight and intention. Your shoots will be more efficient, your edits will be smoother, and your final output will consistently hit a higher standard of quality. This structured approach doesn't stifle creativity; it liberates it. By systemizing the technical and logistical aspects of production, you free up more mental energy to focus on what truly matters: storytelling, creativity, and connecting with your viewers.
This is where the real value lies. A well-lit scene, crisp audio, and deliberate pacing aren’t just technical achievements. They are the vehicles through which emotion is conveyed and messages are understood.
Key Takeaway: Professional video production isn't about having the most expensive gear. It's about mastering a workflow that ensures quality, consistency, and efficiency at every stage, from initial concept to final distribution.
The Modern Creator's Edge: Integrating Innovation
The landscape of video creation is evolving at an incredible pace, and staying ahead means embracing both foundational knowledge and cutting-edge technology. The principles of good storytelling and technical quality are timeless, but the tools we use to achieve them are becoming more powerful and accessible than ever. The commitment to continuous learning is perhaps the most crucial practice of all. It ensures your skills remain relevant and you can leverage new innovations to push your creative boundaries.
As you move forward, challenge yourself to integrate these concepts into your next project.
- Start with a Plan: Dedicate ample time to your storyboard and shot list.
- Listen Closely: Prioritize your audio setup just as much as your camera.
- Stay Organized: Implement a logical folder structure for your files from day one.
- Adapt and Optimize: Think about your distribution platforms before you start editing.
By turning these video production best practices into habits, you build a reliable engine for creating high-quality content. You establish a repeatable process that not only saves time and reduces stress but also consistently delivers results that you can be proud of. The blueprint for excellence is now in your hands; the next step is to bring your unique vision to life.
Ready to accelerate your video creation process without sacrificing quality? Auralume AI empowers you to apply these best practices with unprecedented speed, generating stunning cinematic clips from simple text prompts and enhancing your existing footage with advanced AI tools. Transform your ideas into professional-grade videos in minutes by visiting Auralume AI and start creating today.