How to Animate a Picture and Bring Your Images to Life
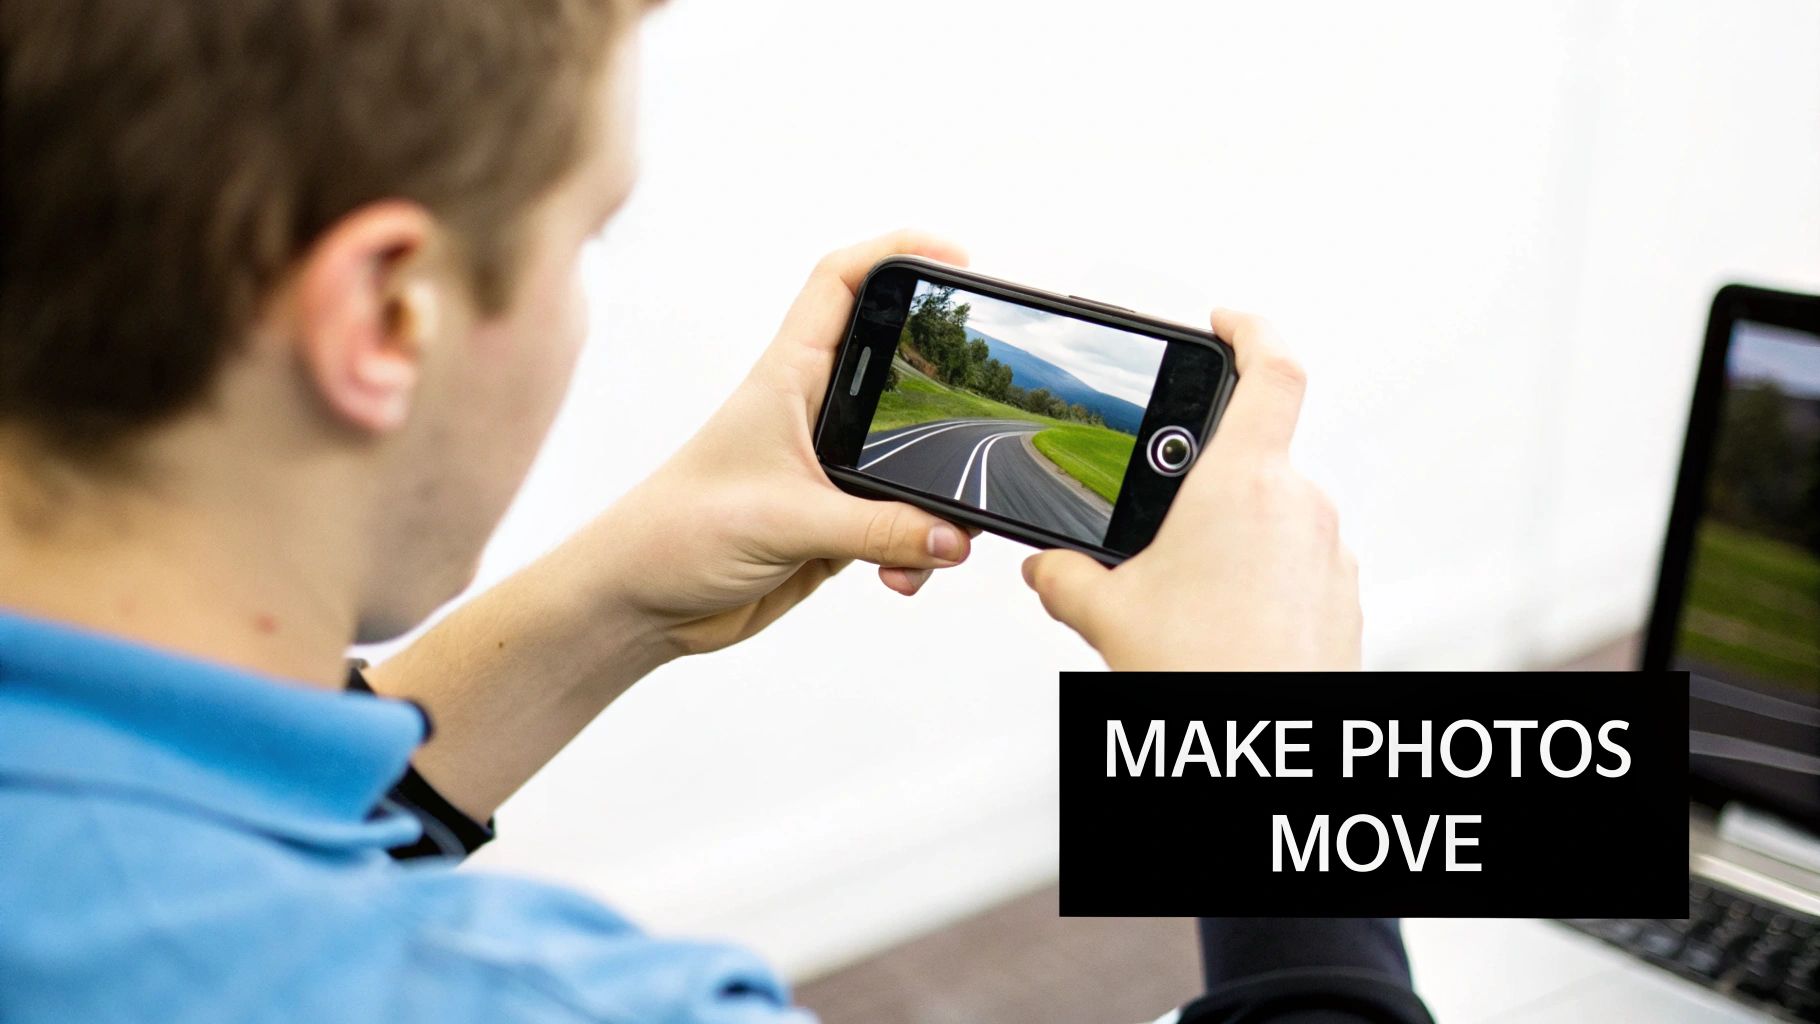
Ever wondered how to make a static picture move and really grab someone's attention? The easiest entry point is definitely with AI tools like Auralume AI, where you can literally upload a photo, type a quick description of the motion you want, and have a video ready in seconds. This guide will walk you through all the options, from those quick AI wins to the more hands-on techniques that give you complete creative freedom.
Why Animate a Picture in the First Place?
Knowing how to animate a picture isn't just a trick for VFX artists anymore. It’s a game-changer for anyone trying to get noticed online. A beautiful static image is great, but it can easily get lost in the endless scroll on our feeds. Adding just a little motion—like steam gently rising from a coffee cup or clouds drifting across the sky—is often enough to make someone pause.
This isn’t just a passing trend; the results speak for themselves. Turning a still photo into a short, dynamic clip has become a go-to tactic because people are naturally drawn to movement. In the marketing world, we've seen video-based posts boost engagement by anywhere from 38% to 80% compared to still images, all depending on the platform. It's a huge difference.
The Real Benefits of Making Your Photos Move
So, what’s the big deal with a moving picture? It all comes down to storytelling and visual gravity. Animation lets you guide the viewer's eye, emphasize key details, and create a much stronger mood. Think about it: a photo of a waterfall is pretty, but an animated version with the water actually flowing? That feels immersive.
Here’s why I think it’s worth the effort:
- It Grabs Attention: Motion is a natural magnet for the human eye, which translates directly to more likes, shares, and comments.
- It Tells a Better Story: Animation turns a single frozen moment into a tiny, living scene.
- It Looks More Polished: A tasteful animation just feels more professional and thoughtfully produced.
The goal isn’t just to make things move for the sake of it. It’s about breathing life into a static moment to make it more memorable and compelling.
To really get the most out of your images, it helps to understand the full scope of dynamic image generation and how it can transform static content into something truly engaging. Whether you're a marketer, an artist, or just want to level up your personal photos, the techniques we’ll cover here make it easier than ever.
Animating a Picture in Seconds with AI
Without a doubt, the fastest way to bring a still photo to life is with artificial intelligence. Tools like those on Auralume AI have completely upended the traditional animation workflow. Forget spending hours wrestling with complex software—now you can upload an image, describe the motion you want in plain English, and have a shareable video in seconds.
This is a huge win for social media managers, marketers, and anyone who needs to pump out engaging content on a tight deadline. The technology is moving at a breakneck speed, turning simple text prompts into surprisingly sophisticated camera pans, zooms, and environmental effects like flowing water or drifting clouds.
It's not just a niche trend, either. The generative AI animation market was valued at USD 652.1 million in 2024 and is projected to explode to nearly USD 13.39 billion by 2033. That’s a staggering 39.8% compound annual growth rate. This boom is fueled by tools that let anyone generate depth maps, camera paths, or full cinematic sequences from a single photo, no keyframing required. You can find more insights on this growing market on Superagi.com.
Choosing the Right Image for AI Animation
While AI feels like magic, its power is directly tied to the quality of your starting image. Not every photo is a great candidate for animation. To get the best results, you need to think a little strategically about the pictures you choose.
Here's what I look for in a source image:
- A Clear Subject: Photos with an obvious focal point—a person, a product, a building—tend to produce much cleaner animations. The AI has an easier time understanding what should be the center of attention.
- Distinct Layers: The best images have a clear sense of depth. Think of a landscape with a foreground of flowers, a midground with a lake, and a background of mountains. This separation gives the AI more to work with when creating a convincing parallax effect.
- High Contrast and Resolution: Sharp, high-quality images are non-negotiable. The more detail the AI has to analyze, the more refined and professional the final animation will look. Steer clear of blurry, pixelated, or low-light photos.
A simple landscape photo with a dramatic sky is often a better starting point than a busy, cluttered scene. The AI can easily isolate the clouds and create beautiful, subtle motion.
Writing Effective Motion Prompts
Your prompt is your superpower. The words you type are a direct command to the AI, telling it precisely what to move and how. Vague prompts give you vague, often disappointing, results. Specificity is everything.
You have to think like a film director, not just a user.
Instead of typing "make it move," describe the feeling and direction of the movement.
Vague Prompt: "Make the water move."
Effective Prompt: "Gentle, slow ripples moving across the lake surface from left to right."
Here are a few more ideas to get your creative juices flowing:
- For a coffee cup: "Wisps of steam gently rising and swirling from the mug."
- For a forest scene: "Sunlight filtering through the trees, with subtle dust motes floating in the air."
- For a product shot: "Slow, cinematic camera pan from left to right, subtly revealing the product."
If you’re trying to animate characters in your photos, a little prompt research can go a long way. Exploring collections of prompts for AI tools like Viggle AI can give you a massive head start. Getting good at writing prompts is the single biggest shortcut to turning a flat image into a thumb-stopping video.
Manual Techniques for Full Creative Control
AI tools are fantastic for quick results, but sometimes you need to get your hands dirty to create something truly unique. When you want complete command over every flicker, pan, and subtle movement, manual animation is the way to go. This is less about speed and more about craftsmanship—it's how you put your signature on your work.
Learning these hands-on methods is what takes your content from looking good to looking unforgettable. It’s the difference between using a preset and creating an effect that’s entirely your own, infused with a personality that no algorithm can quite capture.
Creating Depth with the Parallax Effect
One of the most effective manual tricks in the book is the parallax effect, often called 2.5D animation. It’s a clever way to fake three-dimensional depth in a flat image. The core idea is to slice your picture into layers—think foreground, midground, and background.
When you move these layers at slightly different speeds (the foreground moving fastest, the background slowest), you mimic how our eyes naturally perceive depth.
Imagine a photo of someone standing on a cliff overlooking the ocean. You'd pop it into a program like Adobe Photoshop and carefully cut out the person, the cliff edge, and the distant waves into separate layers. Then, in a tool like Adobe After Effects, you’d animate a slow camera push or pan. The result is a surprisingly immersive motion that pulls the viewer right into the scene.
The Art of the Cinemagraph
Another great technique is the cinemagraph. This is a beautiful hybrid where most of the image is a perfectly still photograph, but one small, isolated part moves in a seamless loop. Picture a quiet cafe scene where everything is frozen except for the steam gently rising from a coffee cup. It's mesmerizing.
Cinemagraphs are brilliant for directing the viewer's attention exactly where you want it. The process usually involves taking a short video clip, placing a static frame over it, and then using a mask to "reveal" the motion in just one area. The real trick is getting the loop just right so the movement feels endless and natural.
A great cinemagraph feels like a living photograph. It’s a moment frozen in time, yet with a single element that’s still breathing.
For a completely different, automated approach, the workflow is much simpler. This is what you can generally expect from an AI tool.
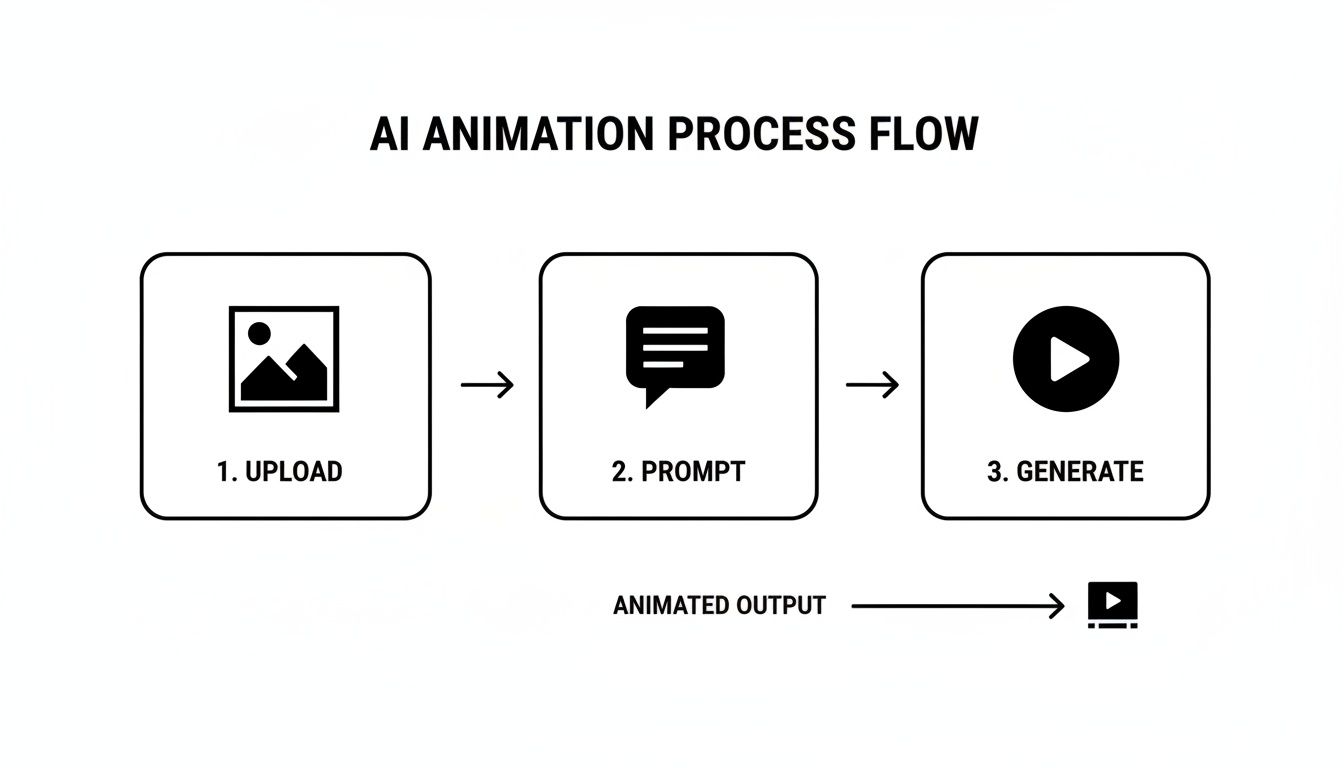
This kind of process makes animation accessible to anyone, but it trades the fine-tuned control you get with manual methods for speed and simplicity.
Frame-by-Frame Artistry
If you want absolute, pixel-by-pixel control, then frame-by-frame animation is the classic path. Just like the name implies, you're essentially drawing the motion onto your image one frame at a time. It’s definitely the most labor-intensive method on this list, but the creative freedom is unmatched.
This is the perfect technique for adding hand-drawn elements like glowing light trails, cartoonish sparks, or even animating a character's expression. It's the original foundation of all animation, and it’s still the best way to give your work a truly organic, hand-crafted feel. Whether you’re just adding a few frames to make a logo shimmer or animating a full-blown character, the final result is 100% yours.
Finding the Right Animation Tools for Your Goals
Knowing the how of animating a picture is only half the battle. The real magic happens when you pick the right software for the job, and the market is flooded with options for every skill level and deadline. Your choice of tool will completely define your workflow and the final result.
Think about it: a social media manager who needs to pump out 10 animated product shots before lunch has totally different needs than a digital artist spending a week perfecting a single, mesmerizing cinemagraph. One needs raw speed; the other demands absolute control. Let's break down the main categories you'll encounter.
Tool Comparison for Picture Animation
Choosing the right software can feel overwhelming, so I've put together a quick comparison to help you match a tool type to your specific project needs. This table breaks down the main options by what they're best for, the skill level required, and their standout features.
| Tool Type | Best For | Skill Level | Key Feature |
|---|---|---|---|
| AI Platforms | Quick social media content, ads, high-volume production | Beginner | Prompt-based animation, speed, ease of use |
| Professional Software | Custom parallax, frame-by-frame art, high-end projects | Advanced | Granular control, unlimited creative freedom |
| Mobile Apps | On-the-go editing, trendy effects, quick social posts | Beginner-Intermediate | Convenience, templates, direct social sharing |
Ultimately, the "best" tool is the one that gets your project done on time and to the quality you need. Don't be afraid to use a mix—an AI tool for quick posts and professional software for a major campaign.
AI Platforms for Speed and Simplicity
Lately, AI-powered animation platforms have become the go-to for anyone who needs to create content fast. These tools are built from the ground up for efficiency. You just upload your image, type a simple text prompt describing the motion you want, and let the AI do the heavy lifting.
This approach is a lifesaver for:
- Marketers who need to churn out video ads and social posts without a dedicated animator.
- Content Creators looking to boost engagement with a constant stream of eye-catching visuals.
- Beginners who want to jump into animation without getting bogged down by technical software.
For anyone just dipping their toes in, starting with an AI tool is the fastest way to see impressive results. Platforms like Auralume AI simplify this process by handling everything from generating the motion to upscaling the final video, all in one spot.
Professional Software for Deep Creative Control
On the other end of the spectrum, you have the industry workhorses like Adobe After Effects. There's a reason it's the standard for professional motion graphics—it gives you pinpoint control over every single pixel. This is where you go when you need to manually craft a complex parallax effect, design a beautiful frame-by-frame animation, or tweak every keyframe until it's perfect.
Of course, that level of freedom comes with a steep learning curve. These programs are dense and demand a real time investment to master. They're built for professional artists, animators, and video editors who have a specific creative vision that an automated tool just can't replicate.
Mobile Apps for On-the-Go Creativity
Finally, there’s a whole ecosystem of powerful mobile apps that sit comfortably in the middle. They offer a great balance, blending the simplicity of AI tools with some of the creative control found in desktop software. Their biggest advantage? Sheer convenience.
You can create slick, stylish animations right on your phone, often using templates and filters designed specifically for platforms like Instagram and TikTok. These are perfect for influencers, hobbyists, or anyone who wants to bring their photos to life without being chained to a computer. They might not have the raw power of After Effects, but for everyday content, they are an absolutely fantastic choice.
Polishing Your Animation for a Professional Finish
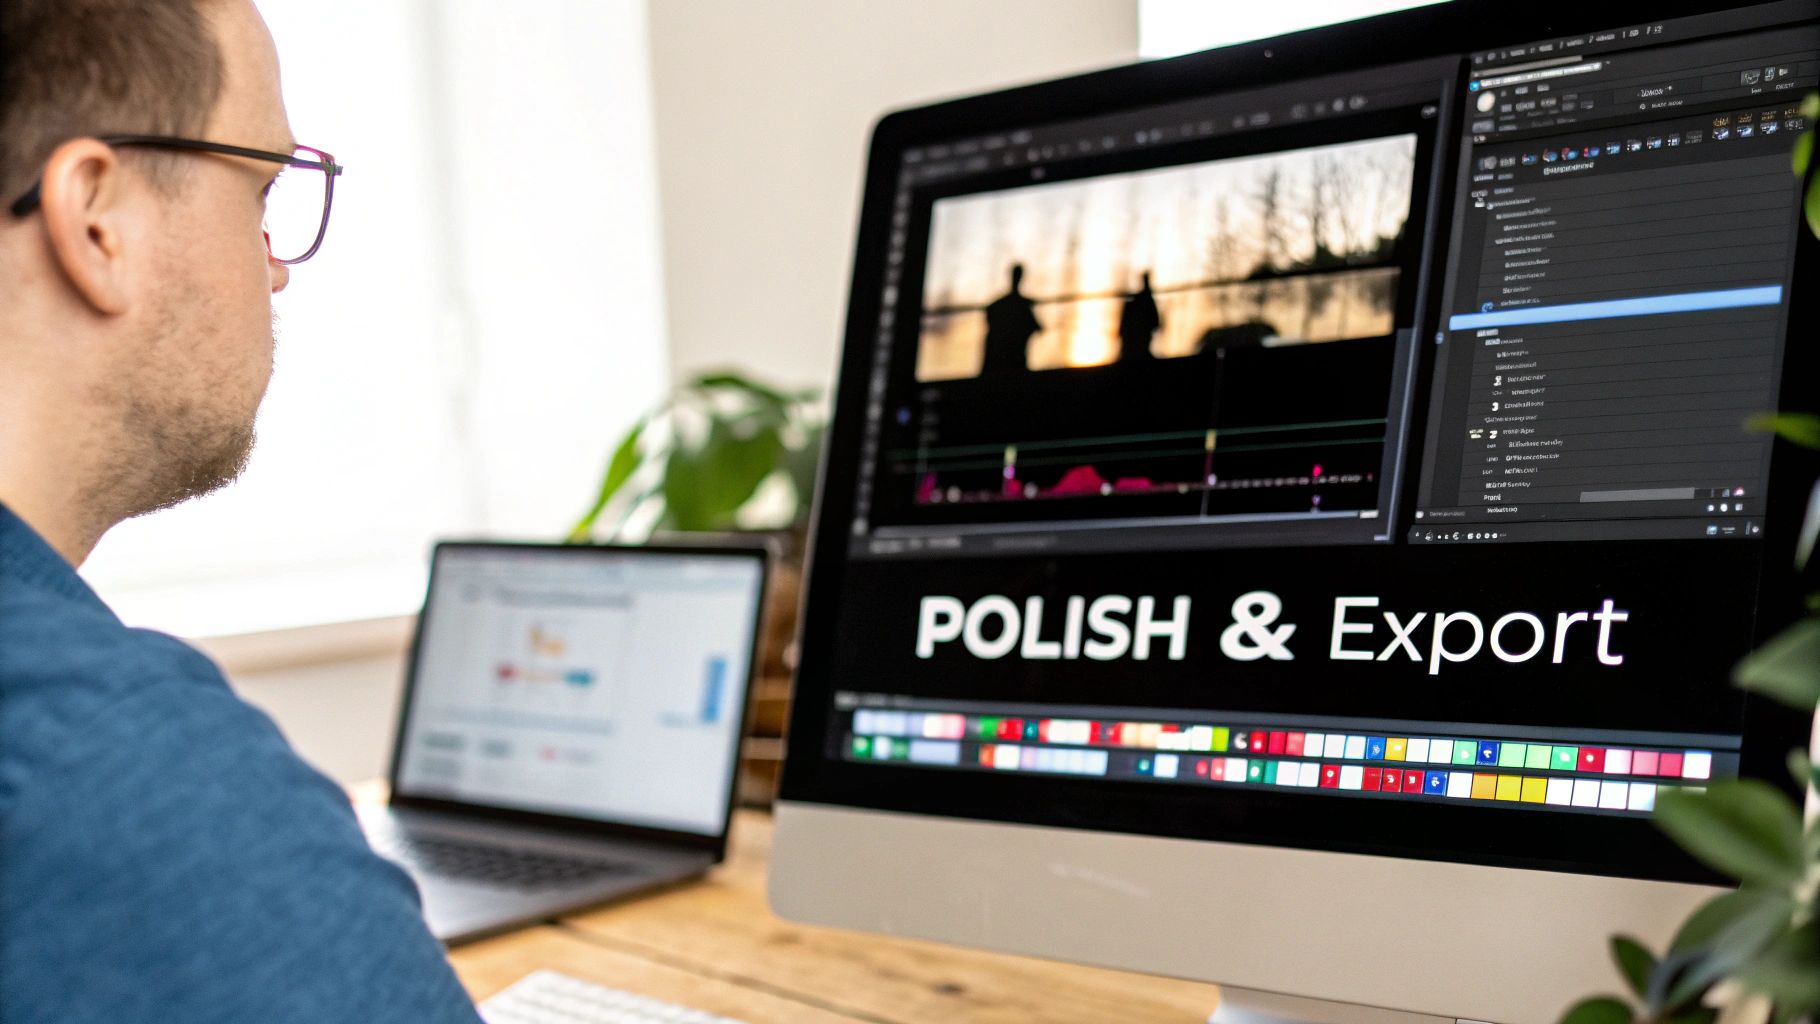
Getting your picture to move is a great start, but that’s where the real artistry begins. The initial animation is just the first draft. It’s the final touches—the upscaling, sound design, and export settings—that will make your creation look truly professional instead of like a quick gimmick.
I've learned this the hard way: that last 10% of effort is what delivers 90% of the perceived quality. Skipping these final steps is a classic rookie mistake. It can leave your animation looking blurry, feeling lifeless, or getting butchered by social media compression, wasting all the hard work you put in.
Sharpening Your Visuals with AI Upscaling
You'll often find that AI-generated animations look a little soft or have a lower resolution than the crisp photo you started with. It's a common quirk of the process, but thankfully, it's an easy fix. This is where an AI upscaler becomes your secret weapon.
These tools use machine learning to intelligently bump up your video’s resolution, sharpening details and clearing up any fuzziness without adding strange visual noise. Think of it as putting on a new pair of glasses. Your slightly blurry output becomes a crystal-clear animation that honors the quality of your original image. Many tools, like Auralume AI, build this feature right into their platform, so it’s just another step in the workflow.
Don't skip this, especially for AI-generated content. A quick upscale can be the difference between a video that screams "AI-made" and one that looks professionally produced.
Bringing Your Animation to Life with Sound
Sound is half the story. A silent animation just feels... empty. Adding the right audio can completely shift the mood and pull the viewer right into the scene. You don't need a Hollywood score; sometimes, less is more.
Try thinking in layers to build a believable soundscape:
- Ambient Noise: If you've animated a forest scene, add the gentle rustle of leaves or distant bird calls. For a busy street, a low hum of traffic works wonders.
- Specific Effects: Animated steam rising from a coffee mug? A faint hiss adds a satisfying touch of realism. A crackling fire sound can make an animated fireplace feel genuinely warm.
- Music: A simple royalty-free track can do the heavy lifting for the emotional tone. Match the music to the motion—a slow, thoughtful piece for a serene landscape, or something with more energy for a dynamic product shot.
Mastering Your Export Settings
Finally, how you save your file is just as important as how you create it. Every social platform has its own "preferred" video specs, and uploading a file that isn't optimized is asking for trouble. The platform's algorithm will compress it aggressively, and all that beautiful detail you worked on can turn into a pixelated mess.
Here’s a simple cheat sheet I use for exporting to the most common platforms:
| Setting | Recommendation | Why It Matters |
|---|---|---|
| Format | MP4 (H.264) | This is the gold standard. It’s universally accepted and gives you great quality without a massive file size. |
| Resolution | 1080p (1080x1920) | Perfect for vertical video on Instagram Reels and TikTok. For YouTube, stick to a standard 1920x1080. |
| Frame Rate | 30 FPS | This gives you smooth, natural motion that looks great on the web and keeps your file size manageable. |
Nailing these settings ensures that when you hit "post," your animated picture looks exactly how you designed it: crisp, smooth, and ready to stop the scroll.
Common Questions About Animating Pictures
As you start experimenting with animating photos, you’re bound to run into a few questions. Everyone does. Whether you're stuck on a technical hiccup or just trying to wrap your head around the process, getting a few clear answers can make all the difference.
Let's walk through some of the things people ask most often. Getting these sorted will help you sidestep common frustrations and keep your creative momentum going.
What Is the Easiest Way to Animate a Picture for a Beginner?
If you're just dipping your toes in, your best bet is to start with an AI-powered tool. Seriously, these platforms are built for people who have zero animation experience. You just upload a picture, tell the AI what you want to happen in plain English—like "make the clouds drift from left to right"—and it does all the heavy lifting for you.
This approach is a game-changer because you can skip the intimidating learning curve of traditional software. Instead of wrestling with keyframes and masks, you can just focus on your creative vision. It’s the perfect way to get a feel for what’s possible without getting bogged down.
Can I Animate Any Type of Picture?
Technically, you can try to animate any image, but you'll quickly find that some photos are much better suited for it than others. The best results, whether you’re using AI or doing it manually, almost always come from high-resolution images with a clear subject and a well-defined background. That separation gives the software a clean "map" of what should move and what should stay still.
Images with organic elements are fantastic candidates because their motion looks natural and believable. Look for photos that feature:
- Flowing water, like a river or ocean waves
- A sky full of clouds or dramatic weather
- Wisps of steam rising from a coffee cup or smoke from a fire
- Trees and foliage that can gently sway in a breeze
A word of advice: Low-quality, blurry, or cluttered images with no clear focal point are incredibly tough to animate well. Starting with a sharp, well-composed photo is half the battle.
How Long Should an Animated Picture Be for Social Media?
For platforms like Instagram Reels, TikTok, and YouTube Shorts, short and sweet is the name of the game. People scroll fast, so you need to grab their attention immediately.
Aim for a length between 5 and 15 seconds. That’s the sweet spot. It’s long enough to show off the animation and tell a tiny story, but short enough that people will stick around to the end—and maybe even watch it again. A seamless loop is your secret weapon here; when a video loops perfectly, it can drive up replays, which social media algorithms love.
Ready to bring your own photos to life? Auralume AI makes it incredibly simple to create eye-catching animations from any image with a few words. Turn your static pictures into videos that stop the scroll.