How to Make AI Videos Your Audience Will Love
Making an AI video is a unique blend of art and science. You start with a core idea, translate it into detailed text prompts, and then use an AI model like Pika or OpenAI's Sora to generate your clips. From there, it’s all about editing those raw outputs into a polished, final product. The whole process lets you create stunning, cinematic visuals without ever touching a camera.
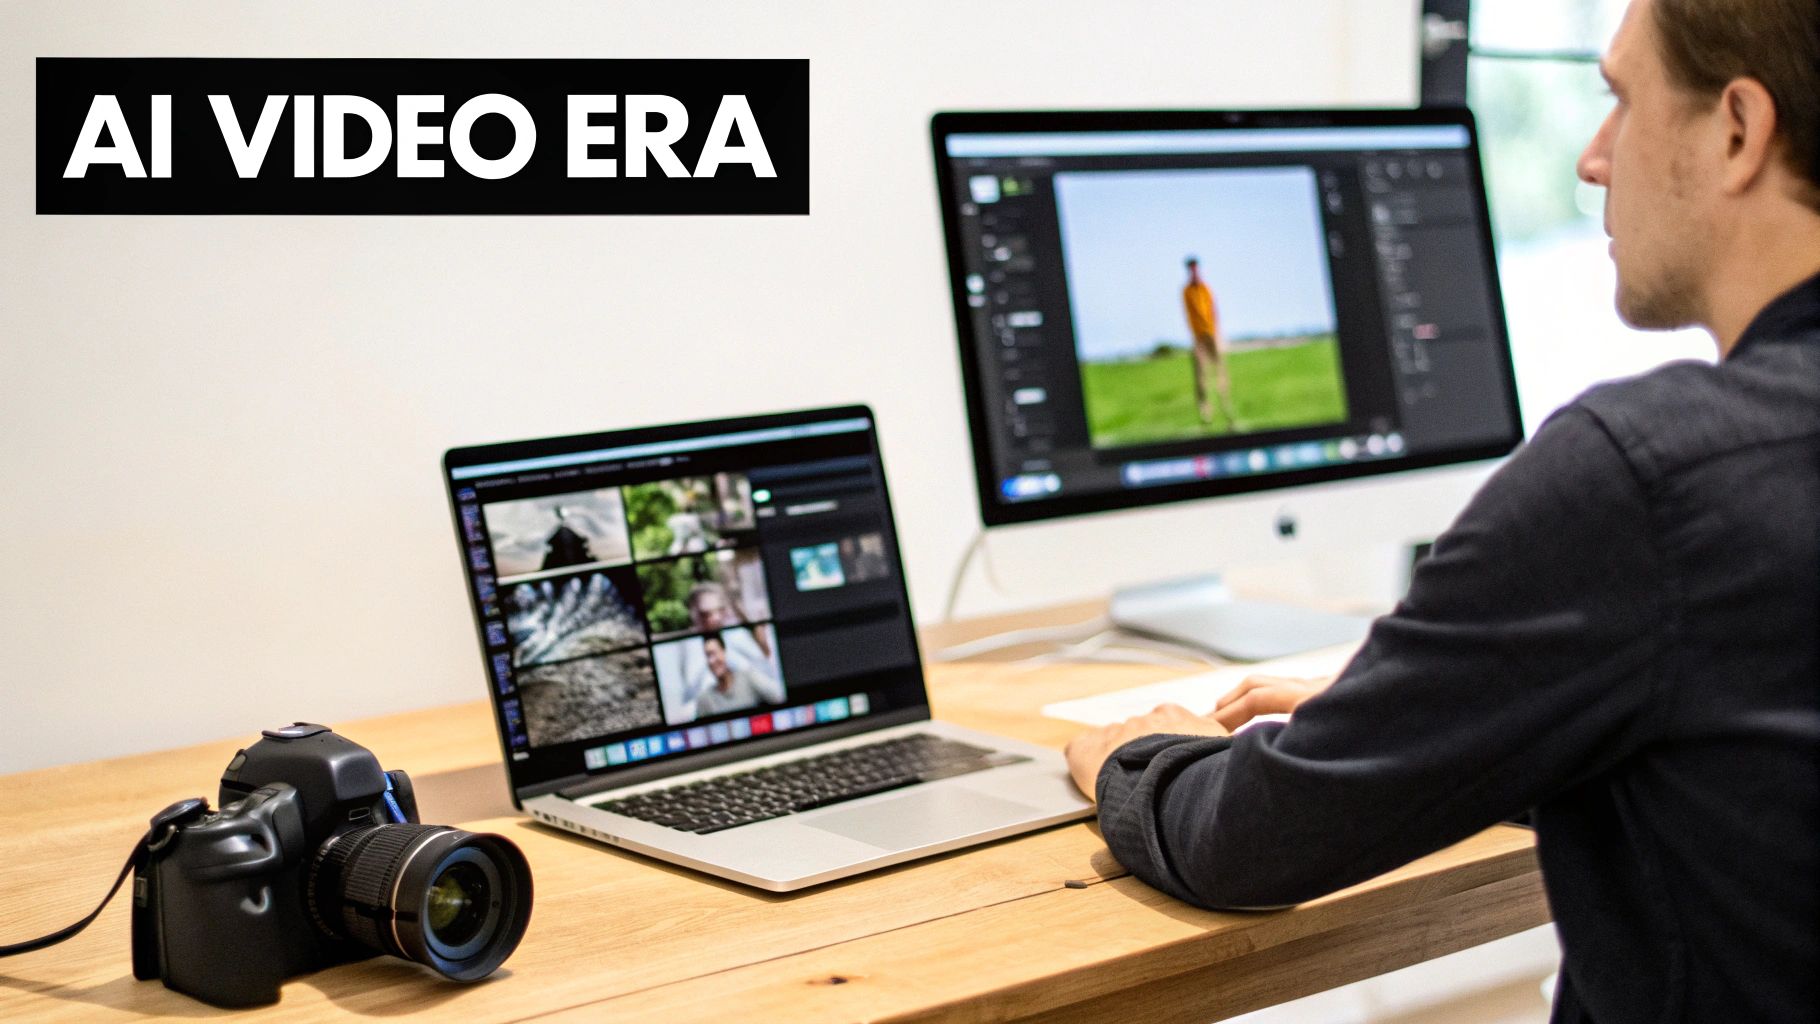
The New Era of AI-Powered Video Creation
Welcome to a whole new way of making things. Creating videos with AI has quickly moved from a cool, niche experiment to a legitimate creative workflow that's open to just about anyone. Forget the expensive cameras, complicated lighting setups, and massive production crews. Your most important tools are now a solid concept and the ability to write a killer prompt.
This isn't just a fleeting trend—it's a full-blown industry shift. The global AI video generator market is exploding, projected to jump from USD 534.4 million in 2024 to an incredible USD 2,562.9 million by 2032. That kind of growth tells you everything you need to know about how seriously creators and businesses are taking these tools. If you're curious about the numbers, you can find more market growth insights on ArtSmart.ai.
Understanding the AI Video Workflow
At its heart, the process is pretty straightforward. Once you get the hang of it, you'll be able to create some truly amazing visuals. The best part? You don't need a film degree—just a bit of creativity and a willingness to experiment.
It all boils down to a simple, three-part flow: come up with an idea, use AI to bring it to life, and then get it ready to share.
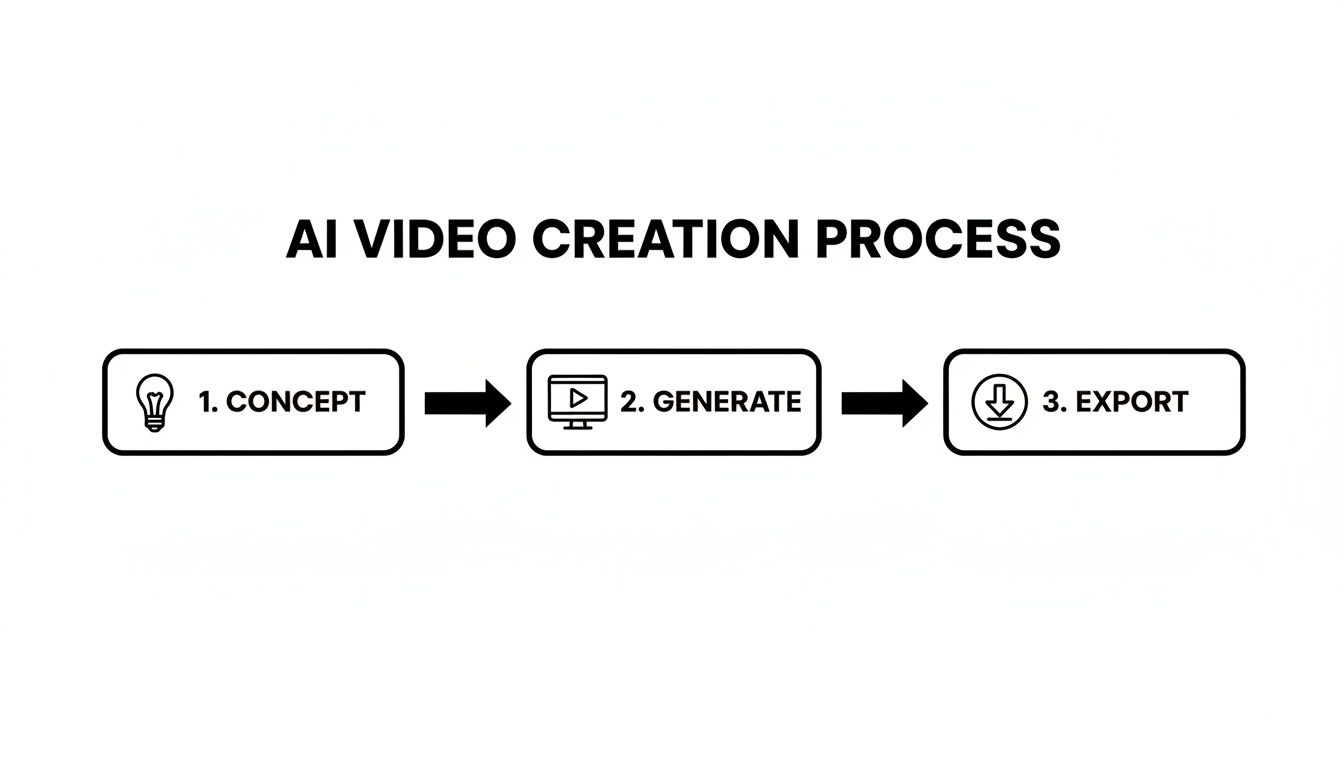
This simple Concept > Generate > Export model is the backbone of every AI video project. It’s what empowers you to turn a passing thought into moving art, fast.
Here's a quick overview of the core stages involved, giving you a clear roadmap of the process we'll cover in this guide.
Your AI Video Production Roadmap
| Stage | Your Goal | Key Tools and Techniques |
|---|---|---|
| 1. Planning & Prompting | Define your vision and write descriptive text prompts to guide the AI. | Storyboarding, shot lists, prompt engineering, style references. |
| 2. Generation & Iteration | Use AI models to generate video clips and refine them until they match your concept. | Text-to-video models (Pika, Runway), image-to-video animation. |
| 3. Post-Production & Export | Edit, enhance, and assemble your clips into a final, polished video. | Video editing software, upscaling tools, sound design, color grading. |
Think of this table as your project checklist. As we go through this guide, we'll dive deep into the tools and techniques for each of these stages.
The Key Components of AI Video
To really get good at this, it helps to understand the moving parts you'll be working with. Each one has a huge impact on the quality of your final video.
- Generation Models: These are the engines that do the heavy lifting. Platforms like Runway and Pika have their own unique personalities. Some are fantastic for photorealism, while others might be your go-to for animation or more abstract, painterly styles.
- Prompt Engineering: This is the real craft. Learning to write clear, descriptive, and evocative instructions for the AI is what separates a generic, wobbly clip from a breathtaking cinematic scene. It’s more art than science.
- Post-Production: The clips you get straight from the AI are just the beginning. This is where you'll edit everything together, upscale the resolution for better quality, add music and sound effects, and apply color grading to create a cohesive look and feel.
One of the most fascinating areas where AI video is shining is historical content. Think about it—recreating ancient Rome or the Wild West would traditionally cost a fortune. AI makes it possible with a few good prompts.
Once you have a handle on these components, you can start thinking like a director, guiding the AI to bring your unique vision to life. Let's start with the most important piece of the puzzle: crafting the perfect prompt.
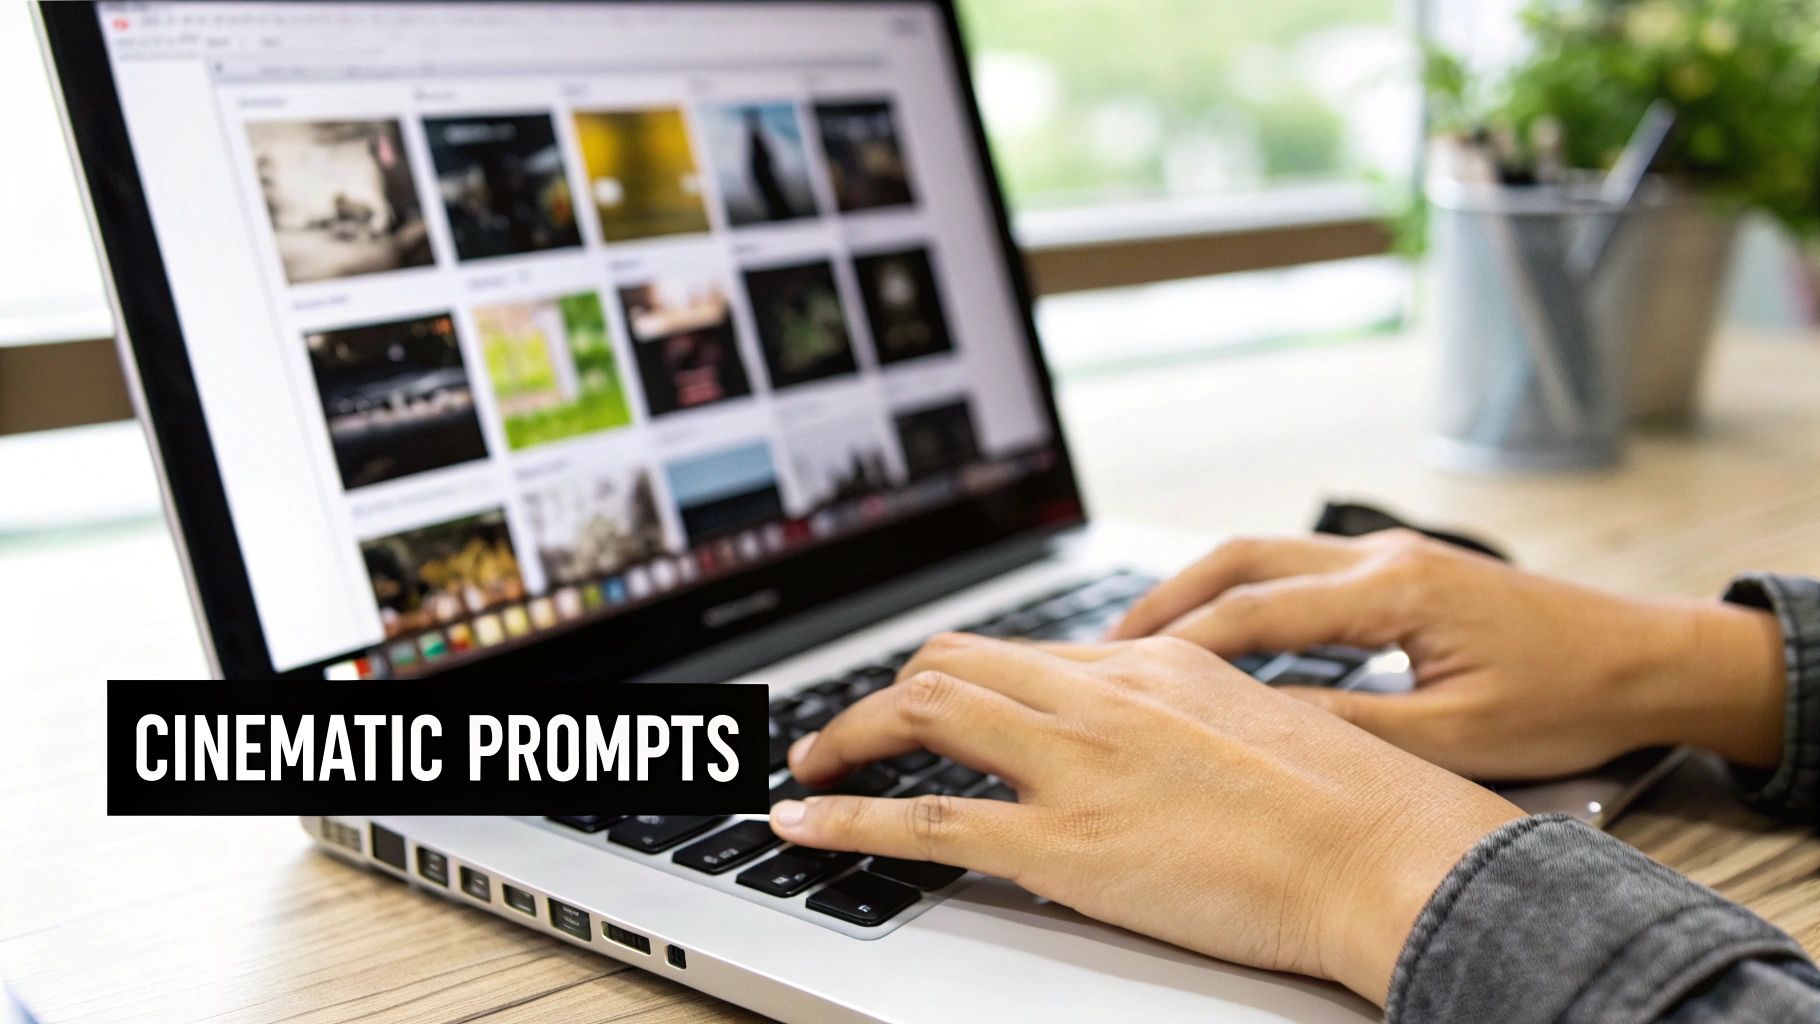
Mastering the Art of Cinematic AI Prompts
Behind every stunning AI video is a well-crafted prompt. This is your chance to stop being a passive user and start acting like a director, guiding the AI to bring your vision to life. Think of your prompt less as a command and more as a detailed creative brief for a digital artist that happens to be an algorithm.
This skill, what people call prompt engineering, is probably the single most important part of getting cinematic results. Honestly, it's a game of patience and precision. You almost never get what you want on the first try. I've seen top creators spend hours just tweaking prompts and running generation after generation to nail one perfect shot.
The Anatomy of a Powerful Prompt
So, what makes a prompt work? A good one is like a recipe with a few key ingredients. The more detail you pour into each component, the more control you'll have over what comes out. If you skimp on these details, you’ll likely get something generic or completely off-the-wall, which is a common frustration when you're just starting out.
A solid prompt needs to cover these bases:
- Subject: What’s the main focus? Be specific. Instead of just "a lion," try "a majestic lion with a flowing dark mane."
- Action: What is the subject doing? Give the scene some life. Is it "walking slowly through tall grass" or "roaring at the sky"?
- Setting: Where is all this happening? Paint a clear picture of the environment, like "African savanna at sunrise."
- Style: This one is huge because it defines the entire aesthetic. Words like "hyperrealistic," "anime aesthetic," "watercolor painting," or "dystopian sci-fi" will completely change the look and feel.
Just by combining these four elements, you've already moved from a vague idea to a concrete visual direction. Getting this structure down is fundamental.
Adding Cinematic Layers
Once you've got the basics handled, it's time to add the layers that turn a simple animation into something that feels like cinema. This is where you put on your cinematographer hat and start telling the AI not just what to show, but how to show it.
The real magic happens when you start specifying camera work and lighting. These details are what create mood, depth, and a professional feel in your AI-generated footage.
Try weaving these kinds of advanced modifiers into your prompts:
Camera and Shot Type:
- Angle:
low angle shot,high angle shot,dutch angle - Distance:
extreme close up,medium shot,wide shot - Movement:
slow dolly zoom,panning shot,handheld tracking shot
Lighting and Mood:
- Quality:
soft diffused light,dramatic hard shadows,neon glow - Time of Day:
golden hour,dusk,overcast midday - Atmosphere:
eerie fog,cinematic lens flare,volumetric lighting
Let's see this in action. A simple prompt like "a cyberpunk city" is okay, but it gets way more compelling when you add these cinematic layers: "A sprawling dystopian cyberpunk cityscape at dusk, towering neon-lit skyscrapers, flying vehicles weaving through traffic, dramatic volumetric lighting cutting through rain-soaked streets, wide angle shot."
This level of detail gives the AI a clear blueprint to follow. It’s this kind of specificity that truly unlocks what these tools can do and drastically boosts your chances of getting a jaw-dropping result.
Choosing the Right AI Video Generation Tools
Alright, you’ve got your prompts dialed in. Now comes the fun part: picking the right engine to bring your vision to life. The world of AI video is moving incredibly fast, and every platform has its own personality, strengths, and quirks. Knowing which tool to grab for a specific job is the secret to a smooth and effective workflow.
Some models, like OpenAI's Sora, are blowing minds with their realism and ability to create complex, coherent scenes. Others, like Pika and Runway, offer a fantastic mix of text-to-video generation with more hands-on features like motion control and animating still images. The best choice really hinges on your project's aesthetic. Are you chasing photorealistic footage, or is a more stylized, animated look what you're after?
Make no mistake, these tools are becoming standard issue for creators. By 2025, it's expected that 83% of content creators will have AI somewhere in their video pipeline. The trend is even stronger among those who focus on video, with 54% already on board. They’re using AI for everything from brainstorming scripts to putting the final touches on an edit.
Comparing Top AI Video Generation Platforms
A feature-by-feature comparison of popular AI video tools to help you choose the right platform for your creative needs.
| Platform | Best For | Key Feature | Pricing Model |
|---|---|---|---|
| Pika | Stylized animation, quick concepts, and social media clips. | Highly creative outputs and a strong, community-focused interface. | Freemium with paid tiers. |
| Runway | Cinematic control, realistic scenes, and image-to-video. | Advanced camera controls and multi-modal generation tools. | Subscription-based credits. |
| Sora | Hyper-realistic, long-form scenes with high coherence. | Unmatched realism and ability to generate minute-long clips. | Currently in limited access. |
Choosing a platform can feel like a big commitment, especially when you’re just starting out. Each of these tools is powerful in its own right, but the best one for you is the one that best matches your creative goals.
Of course, platforms like our own here at https://www.auralumeai.com/ are designed to make this easier by bringing several of these top-tier models under one roof. This lets you bounce between different engines for different shots, all without juggling a half-dozen subscriptions. It’s all about giving you the most creative firepower.
The Powerful Image to Video Workflow
Here’s a pro tip that goes beyond just typing text into a box: the image-to-video workflow. This technique is my go-to when I need absolute control over the composition and subject of a shot.
The process is surprisingly simple but incredibly effective:
- Generate a Perfect Still: First, use a dedicated AI image generator like Midjourney to create a stunning, high-detail still image. You can tweak and reroll this single frame until it’s exactly right.
- Animate the Image: Next, take that perfect static image and upload it to a platform like Runway or LeiaPix. These tools are built to add motion—think subtle camera pans, zooms, or dynamic effects like wind blowing through trees.
This two-step approach is often faster and more predictable than pure text-to-video for specific shots. You lock in the visual foundation with the still image, then use the video AI purely for adding life and movement.
I find this strategy is a game-changer for establishing shots, character introductions, or any scene where the composition is absolutely critical. It helps you sidestep the frustrating moments when a video model just doesn't quite "get" your complex scene description.
Ultimately, building a flexible toolkit with both text-to-video and image-to-video options is the smartest way to tackle any creative challenge that comes your way. When looking at your overall content strategy, you might even consider how an AI social media tool like Postful could fit in, as many are starting to integrate video features.
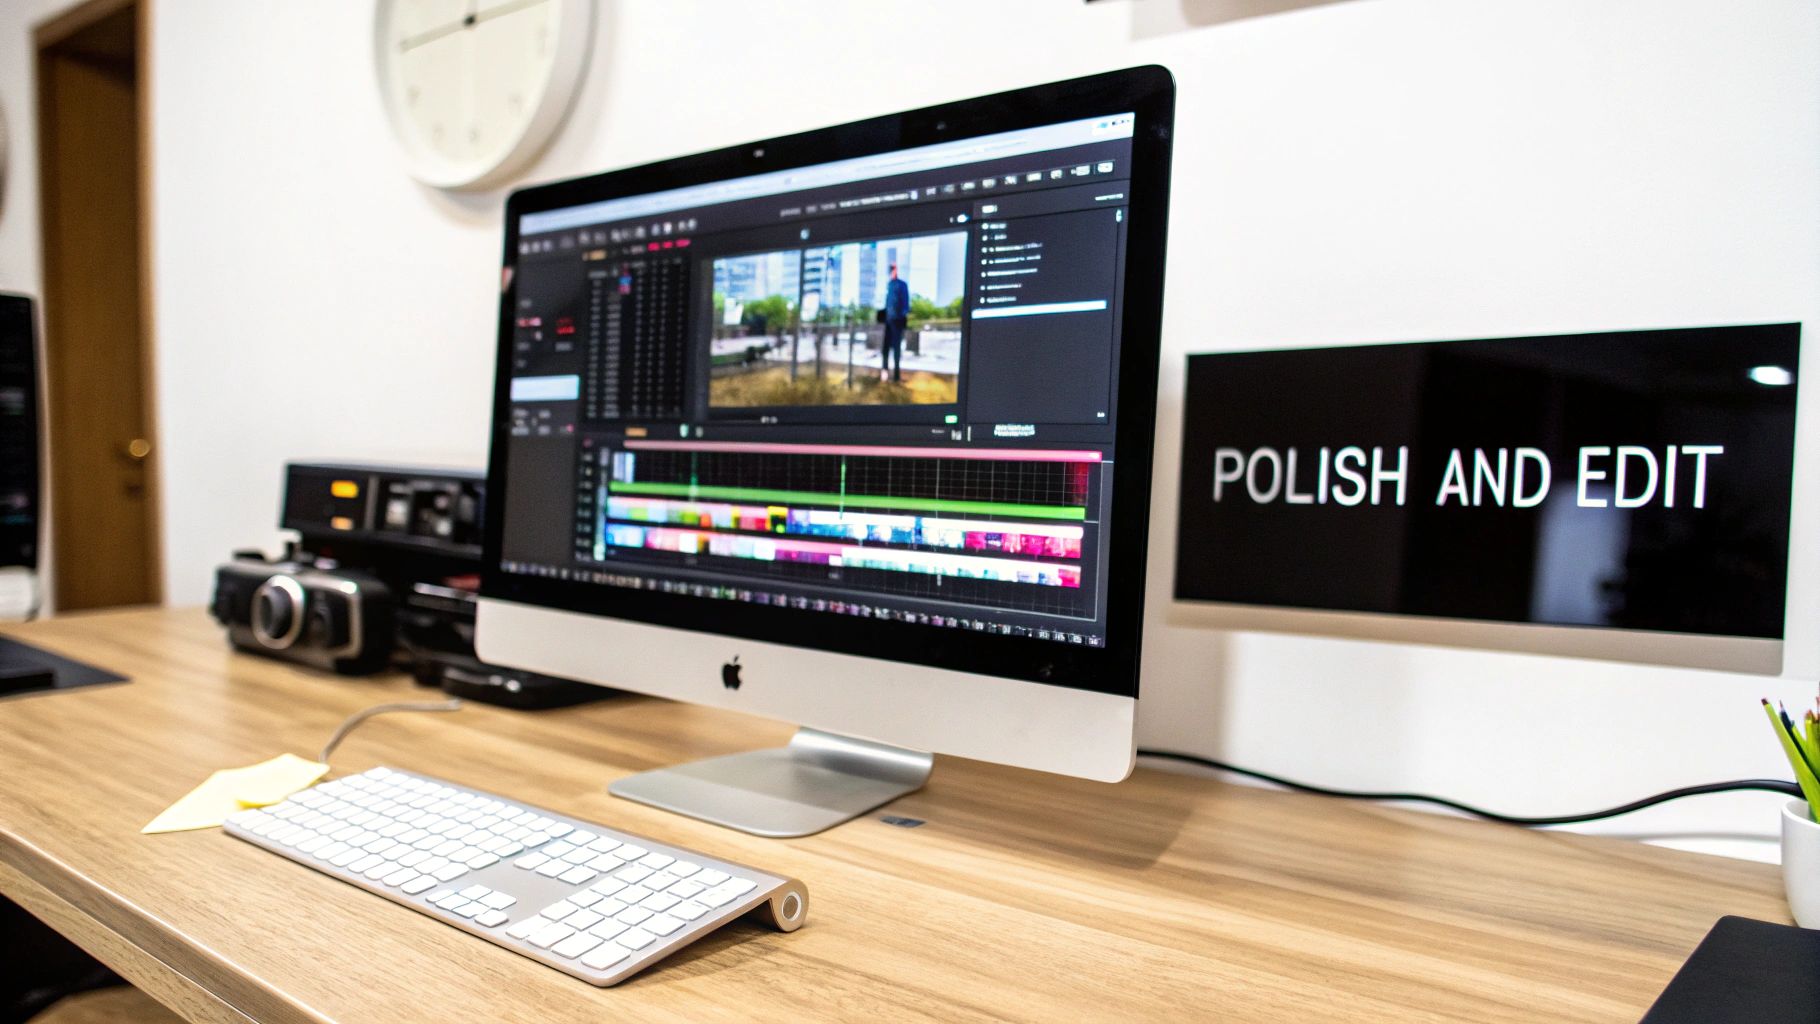
Assembling and Polishing Your AI-Generated Clips
So you’ve got a folder full of AI-generated clips. That's a huge milestone, but the real magic happens in post-production. This is where you transform those raw, disconnected shots into a polished, cohesive story. Your role now shifts from prompt engineer to video editor.
This is where you bring it all together. You'll pull your clips into an editor like CapCut or Adobe Premiere Pro, lay them out on a timeline, and start building the narrative. This whole process is a massive time-saver. In fact, AI has been shown to cut video production time by 62%, which can mean saving an average of eight days on something like a single training video. If you're curious about the numbers, Synthesia has some eye-opening AI statistics.
Upscaling for Crisp Visuals
Most AI video models spit out clips at a lower resolution to keep generation times reasonable. To get that professional, high-definition finish, you're going to need to upscale them. This is where AI-powered upscaling tools become your best friend.
These tools use smart algorithms to increase the resolution and sharpen the details in your footage, turning a soft 720p clip into a crisp 4K shot. Don't skip this step. It's absolutely essential if you want your final video to look good on modern screens.
Crafting the Audioscape
Visuals are only half the battle. Sound design is what breathes life into your AI video, adding emotional weight and directing the viewer's attention. A well-chosen audio track can turn a simple scene into something truly powerful.
Think about layering these key audio elements:
- Voiceover: Use a quality AI voice generator or, even better, record your own narration to guide the story.
- Music: Find a royalty-free track that matches the mood. Is it an energetic, upbeat piece or something more slow and thoughtful?
- Sound Effects (SFX): Subtle background noises—wind, distant city traffic, footsteps—add a layer of realism that makes the world you’ve created feel tangible and immersive.
Don't underestimate the power of audio. I've seen mediocre AI visuals become incredibly compelling simply by adding a professional voiceover and a cinematic music score. It's often the secret ingredient that makes a video feel complete.
Final Polishing and Export
With your clips and audio in place, it’s time for the final touches that really elevate your work. This is where you’ll tackle common AI video artifacts and add that last layer of polish.
Color Grading is crucial for visual consistency. Since different AI generations often have slight color and exposure variations, applying a uniform color grade makes everything look like it belongs in the same world.
Next, smooth out your transitions. Simple cuts are fine, but a few subtle fades or dissolves can help the story flow better, especially when you're bridging shots with different visual styles. A common quirk in AI video is a subtle flickering or "boiling" effect; I've found that adding a touch of motion blur or a gentle film grain overlay can help mask this quite effectively.
Finally, add subtitles. This makes your video accessible and is a must for social media, where tons of people watch with the sound off. Once your AI-generated clips are assembled, you can easily convert TXT to SRT for perfect subtitles. With these final steps complete, you’re ready to export your masterpiece and share it with the world.
Advanced Techniques for Truly Compelling AI Videos
Alright, so you’ve got the hang of prompting and you’re stitching clips together. Now it's time to dig into the strategies that will really elevate your work. Moving beyond basic generations means you need to start thinking more like a filmmaker and less like a prompt engineer. We're talking about narrative, visual consistency, and creative blending—the stuff that helps you develop a signature style.
This is how you get past the "cool experiment" phase and start making AI videos that actually connect with people.
Just know that patience is a massive part of this. I’ve personally spent hours cycling through dozens of generations just to nail a single, perfect three-second shot. The first thing the AI spits out is almost never the final product. Think of it as your raw material, ready for you to shape and refine.
Building a Coherent Narrative
Let's be honest, one of the biggest headaches with AI video is stringing together a bunch of short, disconnected clips into something that feels like a real story. The secret is to map out your narrative arc before you generate a single frame. Even if your video is only 30 seconds long, think about giving it a clear beginning, middle, and end.
To pull this off, you need visual consistency, which is notoriously tricky with AI. My go-to method for this is using a "seed" prompt for a character or style. I'll write a super-detailed description of my main character or the overall aesthetic, then copy and paste that exact block of text into every prompt for that project. This gives the AI an anchor, which makes a world of difference in keeping the look and feel consistent from one scene to the next.
A common mistake I see is people changing too many variables between prompts. If you want your character to look the same, lock in their description. Only tweak the action or the camera angle.
Blending AI with Reality
Some of the most interesting work I've seen comes from mixing AI-generated footage with other types of media. This hybrid approach can ground your video in a way that’s tough to achieve when you're 100% in the AI world. It's a fantastic technique to learn when you're figuring out how to make AI videos that don't just look like everything else out there.
Here are a few combinations that work really well:
- AI + Stock Footage: Generate an epic, fantastical establishing shot with AI, then cut to a high-quality stock video clip for a close-up on a real person's reaction. It's a classic cinematic trick.
- AI + Your Own Recordings: Shoot simple things yourself. Maybe it’s your own hands typing on a keyboard or someone looking at a screen. Then, you can composite your AI-generated visuals onto that screen.
- AI Style Transfer: This is a fun one. Take the artistic style from a static AI image and apply it to a live-action video you shot. You can get some incredible, dreamlike rotoscoped effects this way.
Mixing media like this doesn't just add a layer of professional polish; it gives you far more creative control. You get to play to the strengths of both worlds—using AI for the impossible and traditional footage for authentic, human moments. Suddenly, the project becomes something that is uniquely yours.
Got Questions About Making AI Videos? We've Got Answers.
Jumping into AI video can feel like learning a whole new language. It's totally normal to have a bunch of questions right out of the gate. Let's walk through some of the most common ones I hear from creators who are just starting out.
Figuring out which tool to use first is often the biggest roadblock. The sheer number of options can be paralyzing.
What Are the Best AI Video Generators to Start With?
If you're new to all this, I'd point you toward tools like Pika or InVideo. They're built for beginners, with clean interfaces and plenty of tutorials to guide you. Plus, their free plans are generous enough that you can experiment without spending a dime.
These platforms prioritize getting you a good result, fast. You can build some confidence and momentum before you even think about graduating to more complex, pro-level tools like RunwayML.
How Do I Keep My AI Videos From Looking… Creepy?
Ah, the "uncanny valley." It's that weird, unsettling feeling you get when a character looks almost human, but something is just off. This is probably the biggest hurdle in AI video right now, especially when you're generating people.
My best advice? Don't even try for perfect photorealism. Instead, lean into a specific, stylized look where slight imperfections feel intentional.
Try adding style cues to your prompts. Something like 'anime aesthetic,' 'watercolor animation,' or 'claymation style' tells the AI to stop chasing reality and start creating art. I also make it a rule to avoid super tight close-ups on AI faces—that’s where the weirdness almost always shows up.
Here’s a pro tip: killer sound design is your best friend. When you layer in great music, a solid voiceover, and good sound effects, the audience focuses less on tiny visual flaws. It makes the entire experience feel more polished and believable.
Can I Actually Make Money From AI Videos on YouTube?
Yes, absolutely. But there's a catch. YouTube's policies are pretty clear: you can monetize AI-generated content, but only if you've added significant creative value and you're transparent about it.
This means you can't just string together a bunch of raw AI clips and expect to get approved for monetization. That’s a fast track to getting your channel flagged.
You have to show that a human was in the driver's seat. Here’s what that looks like in practice:
- A Real Narrative: Craft a unique story that a bot could never come up with.
- Skillful Editing: Your pacing, cuts, and transitions are where your creative voice shines through.
- Custom Audio: Record your own commentary or narration. At the very least, curate a soundtrack that elevates the story.
Think of AI as your super-powered paintbrush, not the artist. It's there to help you bring your vision to life.
Ready to stop wondering and start creating? Auralume AI brings the world's best AI video models together in one powerful, easy-to-use platform. Animate your images, generate cinematic clips from text, and upscale your creations to stunning quality—all in a few clicks. Start your project today at https://auralumeai.com.